Event Photo Editing in 5 Simple Steps
- March 22, 2025

Event photography can be incredibly rewarding, but event photo editing can be an equally daunting task. However, Adobe has a powerful, versatile editing tool that can help you make the most of your pictures: Lightroom. In this guide, we’ll take you through the steps necessary to edit event photos in Lightroom. By the end, you’ll be equipped with the knowledge to make the most of your event photos in Lightroom.
The Basics of Event Photo Editing
Basic knowledge for event photo editing includes understanding the different functions of photo editing software, such as Lightroom or Photoshop. Learning the basics of photo editing can help you achieve better results and ensure your event photos look stunning.
The reward of Event Photo Editing
The fun thing about event photo editing is that these can be transformed into beautiful pieces of art with careful editing. With a few adjustments, you can add brightness, contrast, and saturation and create different moods. You can also remove distractions, blemishes, and other elements that take away from the overall quality of the photo.
Main Challenge of Event Photo Editing
Whereas the ‘not-so-fun’ or biggest challenge in event photo editing is finding the right balance between realism and artistic vision. It’s also important to ensure that any edits you make don’t distract from the main subject, since there are so many subjects present in an event.
How to Edit Event Photos in Lightroom?
Lightroom is the easiest and most powerful piece of Adobe software, making the editing process much simpler and more efficient for both novice and expert editors. You’ll be able to quickly and easily transform your event photos into beautiful and polished works of art. So, let’s get started!

Step 1: Download and Install Lightroom
The first step is to download and install the software. You can do this by visiting the Adobe website. Also, you can sign up for a subscription for premium feature access.
Once you have registered, you can log in to your account and download the program. After it is installed, open the software, and you are ready to start editing.
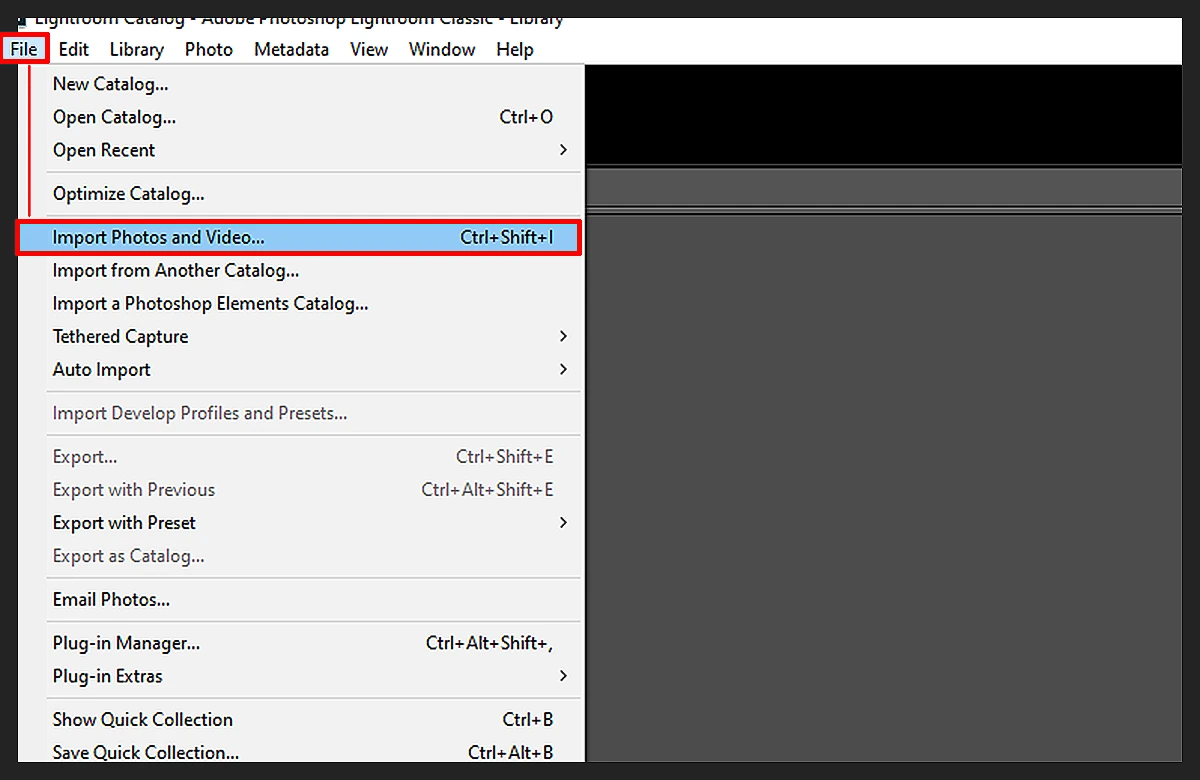
Step 2: Import Your Photos into Lightroom
Open Lightroom and select the ‘Import’ option. You’ll be prompted to choose the source for your photos. From there, select either the memory card or hard drive that contains your photos. After selecting the source, you can choose to import all or specific photos.
Once you hit the ‘Import’ button, Lightroom will start transferring your photos into the program. This process usually takes a few minutes, depending on the size of your photo library. Once the import process is complete, you’ll be ready to begin editing your event photos.
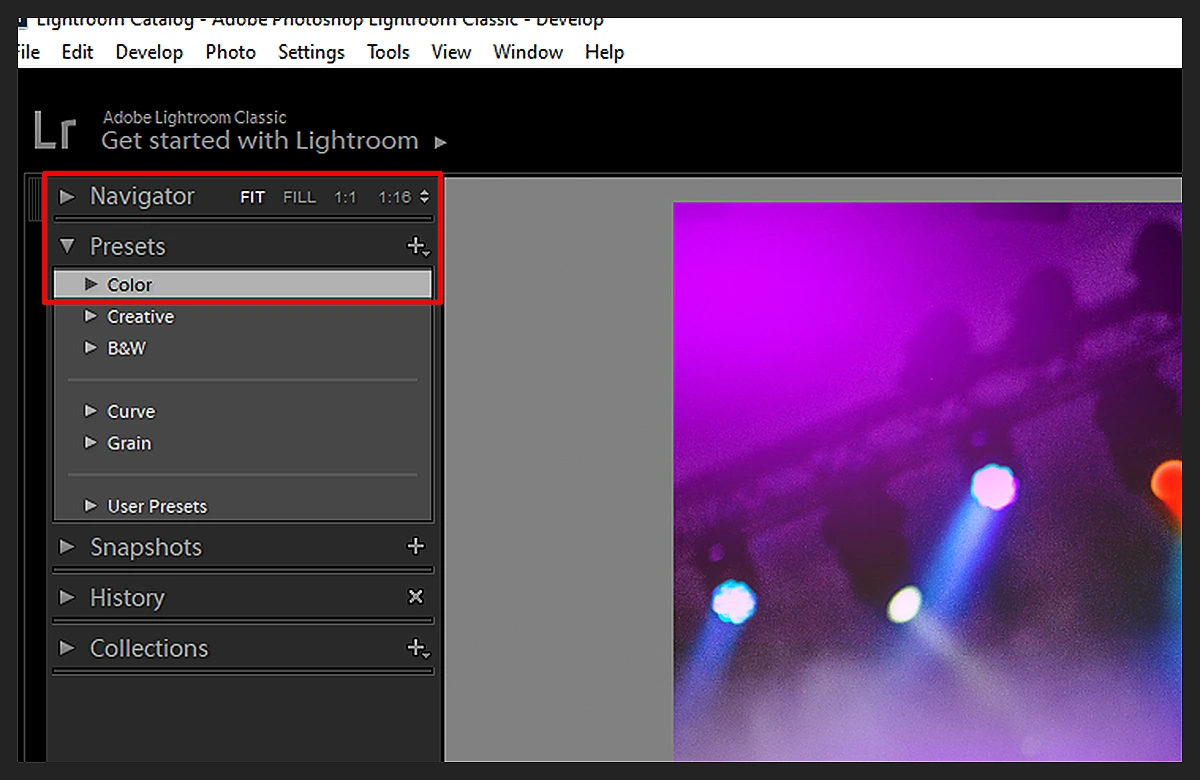
Step 3: Choose Your Editing Preset
A preset is a saved combination of adjustments and effects that you can apply to a photo with a single click. You can find a variety of presets available for download online, or you can create your own.
Before you begin editing your photos in Lightroom, it is important to decide on the editing preset you want to use. Once you have chosen the preset you want to use, open the ‘Preset Browser’, select the preset, and click ‘Apply’.
This will automatically adjust the image according to the preset’s settings. For example, a portrait preset might include adjustments such as contrast, white balance, shadows, and highlights. Experiment with different presets to find the one that produces the best results for your photos.

Step 4: Edit Your Photos
To start, select the photo you want to edit and click on the ‘Develop’ tab in the top menu. This will open up the editing tools.
From here, you can adjust your photo’s colour, exposure, sharpness, highlights, shadows, whites, and blacks. Additionally, you can make precise adjustments to individual areas of your photo with the adjustment brush tool.
If you want to speed up your workflow, you can choose from various presets available in Lightroom. Finally, if you want to get creative, you can add special effects or filters to your photo.
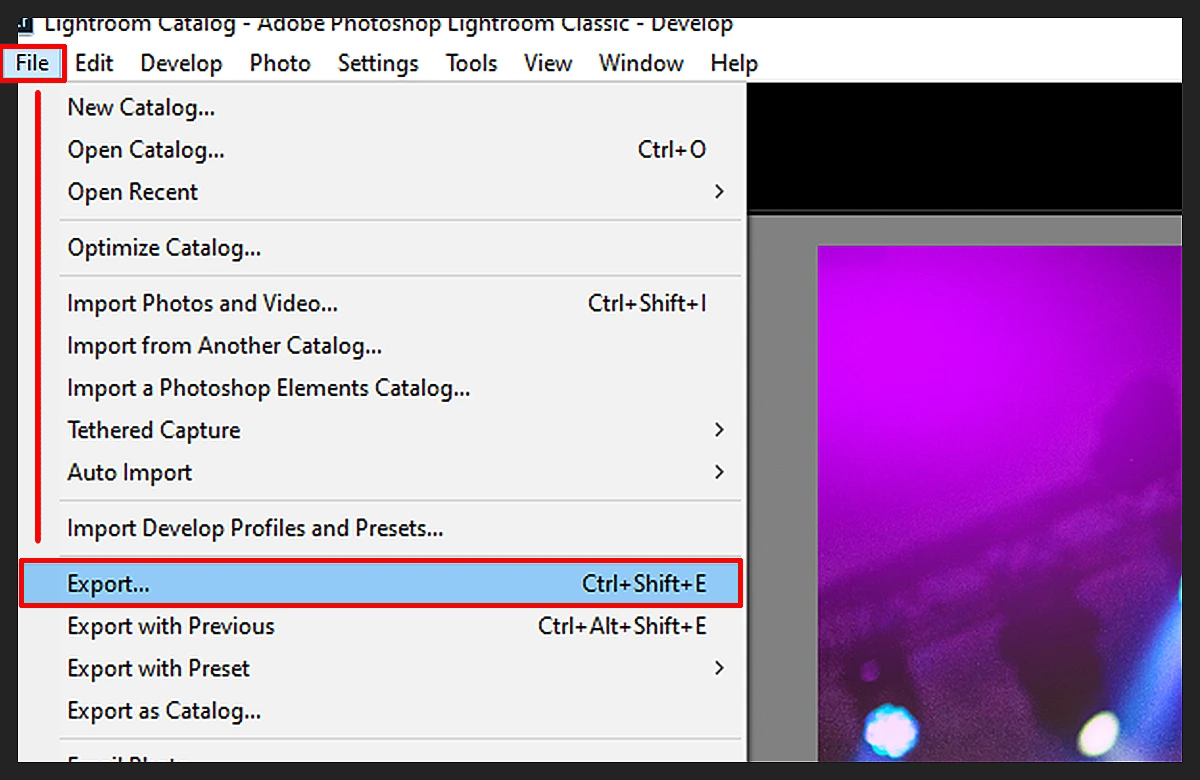
Step 5: Export Your Edited Photos
Once you’ve finished editing your event photos, it’s time to export them from Lightroom. To begin, select the photos you want to export in the Library tab. Then, click ‘Export’ in the menu bar.
You will be guided to choose the file type and size for the exported photos. Make sure to select a size that meets your needs. After that, specify where you want to save the exported photos and click ‘Export.’
The exporting process may take several minutes, depending on the number of photos you are exporting. When it’s finished, you can use the exported photos however you like! Read more: Wedding Anniversary Photo Frames Editing − Best Software to Use.
Final Thought
Event photo editing can be a great way to enhance and improve your photos, giving them more impact and making them look their best.
Not to mention, Lightroom is an excellent choice for editing event photos and can help you create stunning images quickly and easily with its powerful tools, presets, and easy-to-use interface.