How to Clip in GIMP: Step-by-Step Guide to Clipping Mask & Image Editing
- February 22, 2025

If you are an avid photo editor, you must have heard of the GNU Image Manipulation Program (GIMP), which is a free, cross-platform image editing software used by professionals and amateurs all around the globe. You can perform several useful edits with GIMP, whether it’s a simple glow-up of your favorite picture or a studio poster for a flagship event you are organizing. One useful feature of GIMP is the clipping tool. Clipping in GIMP can be done very easily by first creating a new layer group, inserting the clipping mask, combining the photos, adding layer masks, and exporting the final product. In this blog, I will take you through a step-by-step guide to clipping in GIMP, explain why clipping is such a useful tool, and answer some of the most common questions about GIMP and its clipping feature. Tune in if you are ready to make mind-boggling edits to your photo of choice with GIMP!
What Is GIMP?
GIMP is a cross-platform photo editing software that can be used on almost all operating systems, including Windows, macOS, and GNU/Linux. Because it is open-source software, you are free to modify it and share your modifications with peers and the community.
Whether you are a scientist, photographer, artist, architect, or graphic designer, GIMP gives you the advanced tools you need to do the required task. With GIMP, you can increase productivity even further thanks to its many customization options and third-party plugins.
Moreover, the open-source GIMP community continually updates the platform and software with the latest features and enhancements. There are discussion forums and a helpful circuit to help you with any problems you face while using GIMP.
What Is Clipping and Why Is It Useful?
This is done by combining multiple layers of images into a single graphic.
In the latest version of the GIMP, a new feature lets you combine multiple image layers by applying clipping masks to layer groups.
Clipping allows you to fuse the essence of multiple images into a single powerful image. Whether for advertising or awareness, clipping meaningful pictures together can create a lasting impression on the audience.
Moreover, if you have multiple messages in different graphic files or need to place your school logo perfectly in a picture, clipping can help you achieve that easily.
Using the clipping function, you can also create a collage of your treasured pictures. If you want to impress a friend on their birthday or combine your favorite memories of a certain trip, the clipping function in GIMP is a must-try!
Clipping Mask with GIMP
The clipping mask is the tool that lets you create transparency variations across each layer of the image. This is done to perfectly merge multiple pictures together in the correct combination.
Multiple edits can be applied to the clipping masks, including creating variable contrasts, colours, and saturation, and fading different images. This is done to create focus in one image while keeping the other images, in combination, less focused and more as a background ambience.
What Are the Steps Required to Clip with GIMP?
To create a clipping path in GIMP, you have to follow a few simple steps as listed below.
- Create a New Project: The first step in any editing process is to create a new project or document to work on. To do this, you have to click the file option on the upper left corner of the GIMP software application and click New. You can also do this by pressing the Control button and N buttons together (Ctrl + N).
- Set the Dimensions: After pressing New, you will be prompted to select the dimensions and background colour. You can also set the image size by filling out the size option in the prompt. Another way to fix the resolution of your image is by clicking the PX button and selecting the number of pixels in PPI. You could also perform advanced modifications, such as selecting the X and Y resolutions of the pictures and the colour space and precision.
- Set the Background Colour: The background color of your image can also be selected when the prompt arrives after pressing New. The fill tool can also be used to fill the background with the colour that you want. The colour of your background will decide what kind of fade occurs during the gradient setting process.
- Import Picture: Once your new project is created, you need to import the pictures you want to combine. This will be done by the option to file open as layers, which lets you select the picture to import. Depending on the number of pictures you want to merge, you have to select the appropriate set of pictures. After pressing the open as layers button, select the picture, click open, and repeat for the other pictures in your combination.
- Select Your Layers: Now that you have imported the pictures, you need to select which layers to place them in. You have to organise the photos in the correct order on the right layers panel of the GIMP software application. The first layer should be placed above, the next below it, and so on.
- Create a New Layer: The next step is to create a new layer group by pressing the “Create a new layer group” icon at the bottom. This will generate a new layer group folder, which you can rename to your preferred file name. By default, the name will be “Layer Group ,” but by simply double-clicking the folder name, you can change it. After creating the folder, drag the photo layer and drop the imported photo layers into the new folder to start the clipping process.
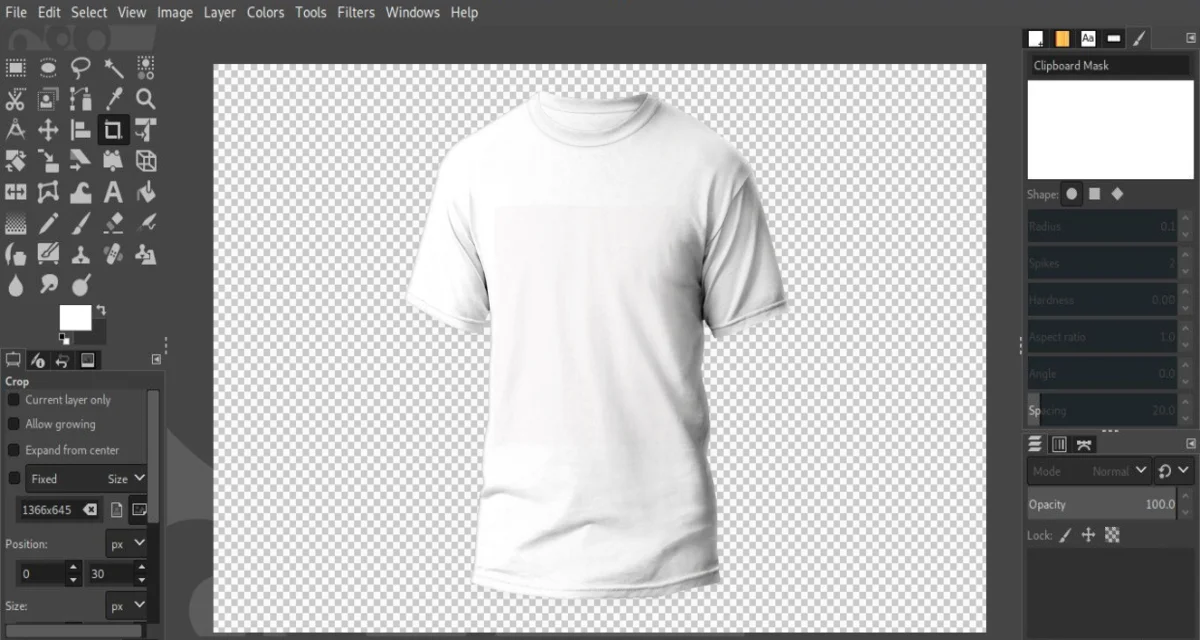
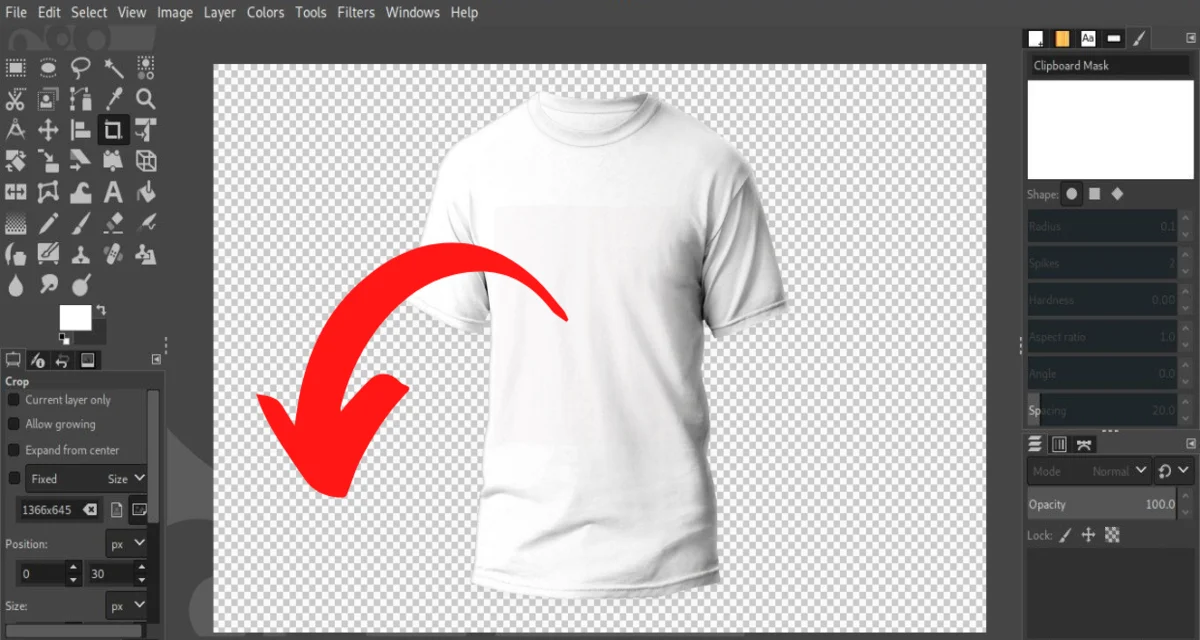
- Add Layer Mask: Now that all the layers are in the correct folder, you will need to put a clipping mask on the layer. To add the layer mask, you first have to select the appropriate shape. You will find an option to select the shape in the Tool options. You have to go to the Select Tool section and choose the shape you want to apply. This will be the shape of the mask inserted into the layer.
- Create the Clipping Mask: Now, go to the Layer Group icon and right-click on it to get a prompt with multiple options. Choose the option “Add Layer Mask.” You will get another prompt with the heading “Initialise Layer Mask To.” Here, you have to choose the selection button and press add. This will create a clipping mask in the shape that you specified before.
- Combine the Layers and Edit the Photo: This is the most crucial part of the clipping process. You have to select each picture, press “Add Layer Mask,” and choose the colour you want to keep as in the “Initialise Layer Mask To:” option.
After choosing the correct colour, you have to add the correct gradient to match the combined pictures. You could also select which parts of the pictures will fade into the gradient by creating a clipping path.
This will combine the images with the picture layers into a single layer.
For instance, if you choose white in the colour section, the gradient will run from black to white. After the gradient reaches the correct consistency, press the Enter key.To move the pictures and achieve the perfect look, you can use the move tool in the Tools option. You can position the picture layers exactly how you want them.
- Export the Picture: After successfully creating the desired picture, it is time to export it for use in your presentations or posters. Go to the file option and select export. Select the file destination and the file type, for instance, JPEG, HTML table, Microsoft Word Icon, OpenEXR image, MNG animation, KISS CEL, or TIF.
Conclusion
The GIMP software is a very versatile tool that can be used for high-end graphics design and photo editing. Clipping with GIMP is not only easy but also useful for creating powerful graphic content. I hope you are now more well-versed in the art of photo editing using GIMP. You can now easily edit pictures for your events and programs, while also creating fabulous graphic content on an everyday basis.