How To Resize An Image In Photoshop CS5 Or Latest Versions?
- September 1, 2025

For any developer, knowing how to resize an image in Photoshop is an important skill. It’s pivotal to get the size right, whether publishing an image to the web or setting it up for printing. Fortunately, Adobe Photoshop offers numerous options to help you get your image size right. But if you’ve never tried how to resize an image in Photoshop by dragging, the overall procedure can be a bit problematic for you. It’s all about literacy and rehearsing contemporaneously. In this Photoshop guidelines for newbies, we’ll look at how to resize an image in Photoshop without losing quality. Also, we’ll bandy about some introductory ways anyone can use efficiently. Start reading from now!
How To Resize An Image In Adobe Photoshop? [6 Simple Steps]
Anyone can quickly learn how to resize an image in Photoshop by following the easiest steps if the image is too large to work with the idea. You need to set your width and length specifications or change the size of a photo by a proportion of its present size when adjusting its parameters.
In Adobe Photoshop for Windows and macOS, you can enlarge or reduce an image by following the key steps below:
Step-1: Open The Photo You Want To Resize.
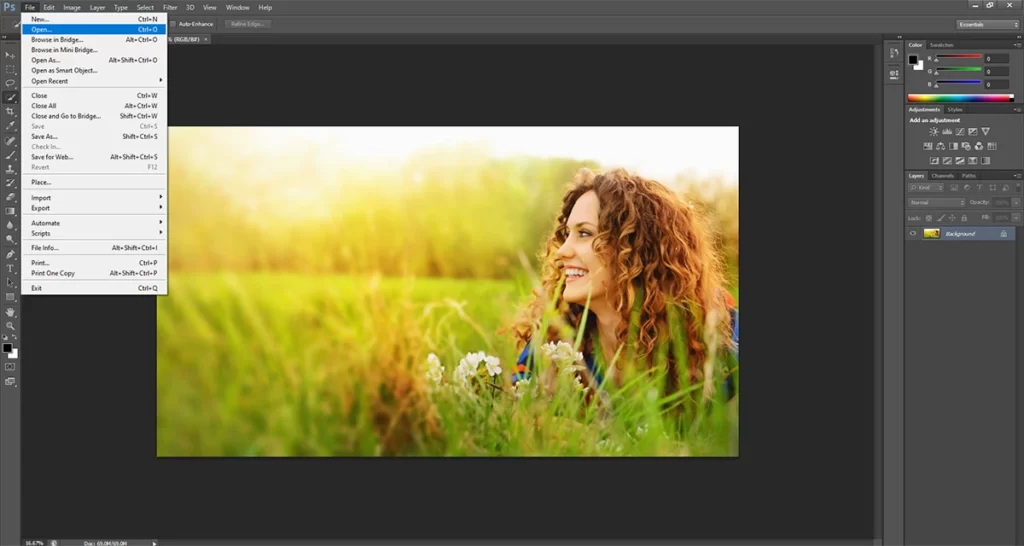
Firstly, open your image in Photoshop. You can do this quickly by selecting ‘Open With’ from the context menu when you right-click the photograph on your desktop and select Photoshop.
Alternatively, you can open your Photoshop first. Choose the image under ‘File’ > ‘Open,’ and then click ‘Open.’

Step 2: Create A Backup Of Your Image File.
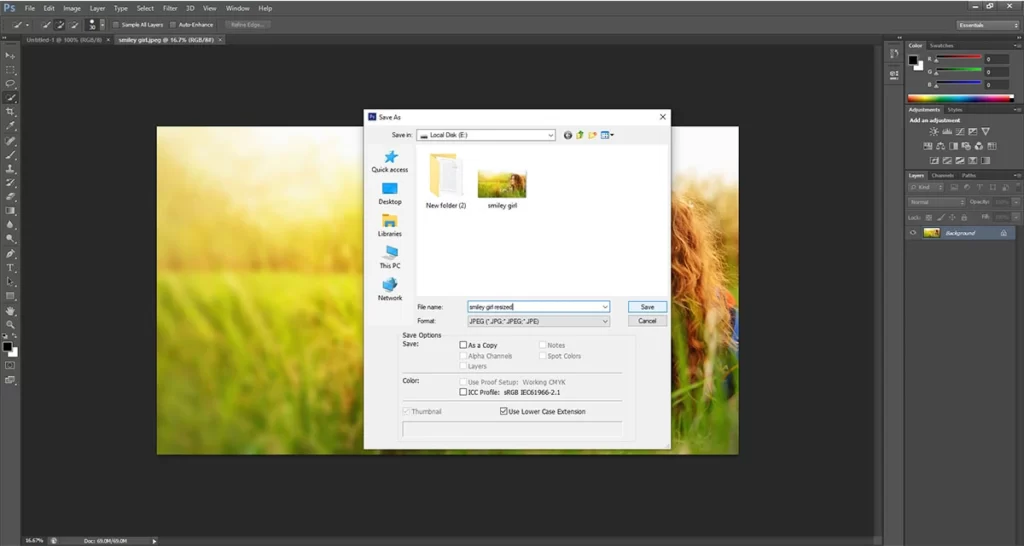
Next, you need to create a fresh copy of the file. If you haven’t previously made a copy of the original file, choose ‘Save As’ from the ‘File Menu’ and change the file’s name to include the word ‘Resized.’
For example- If the image file is called smileyboy.jpg, rename it as smiley boy resized.jpg. You will be dealing with the new duplicated version of the image after clicking on ‘Save.’
Step-3: Click On The ‘Image’ Menu.
The ‘Image Menu’ can be found at the top of Adobe Photoshop. The menu will expand.
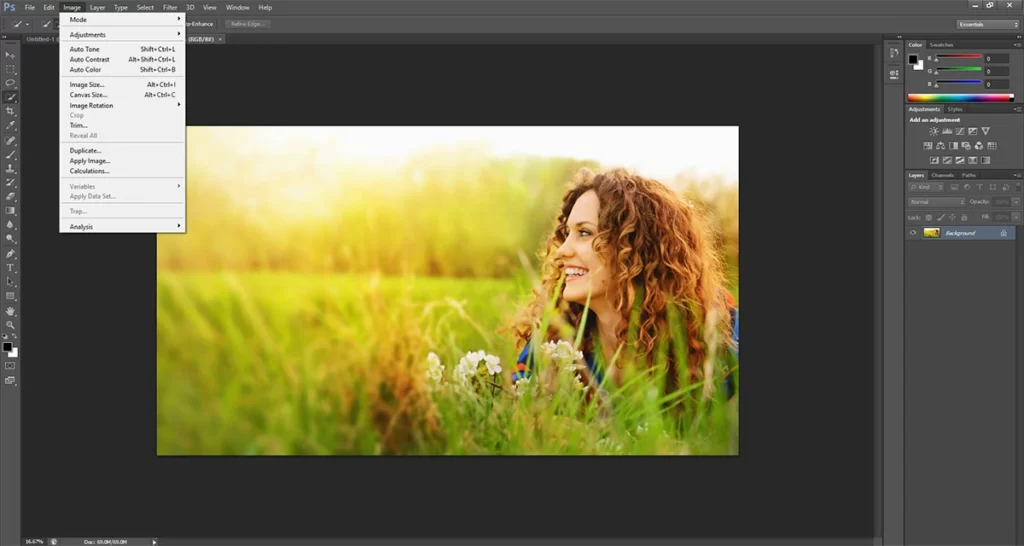
Step-4: Click ‘Image Size’ On The Menu.
Now, the ‘Image Size’ window will be displayed. The size of your photograph as of this moment is visible.
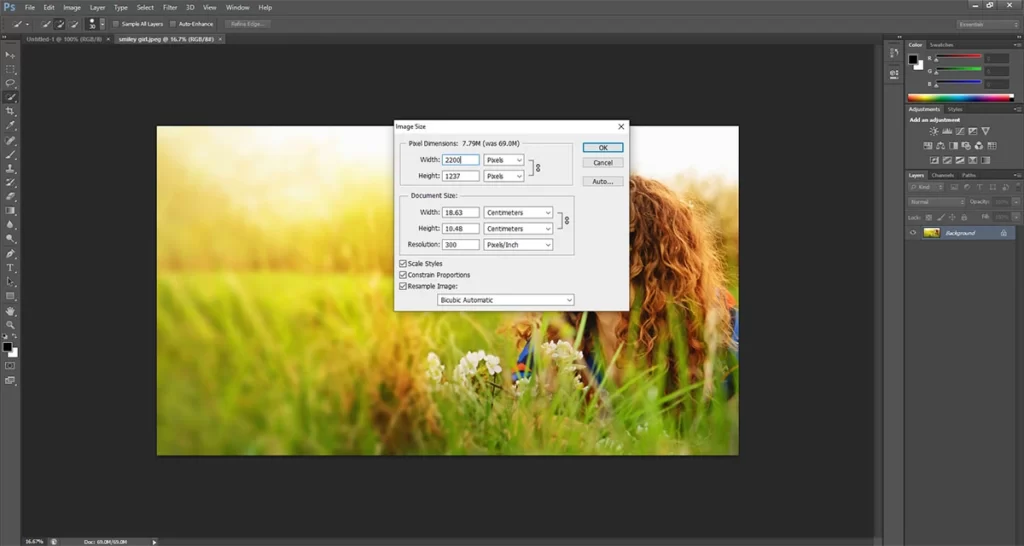
By default, the ‘Length and Width’ numbers are in pixels, but you may change this by selecting a different unit of measurement from the ‘Dimensions’ drop-down menu located above and close to the top of the display.

Step-5: Enter New Dimensions.
Fill in the Width and Height areas with the revised measurements. To maintain the proper proportions, adding a new dimension for ‘Width’ will automatically adjust the ‘Height’ measurement until you modify values.
Click the tiny link button to the left of the ‘Length and Width’ boxes to deactivate the two measures so that you can enter both the width and the height without affecting the other.
Next to the Width and Length parameters, choose percentage if you don’t need to define the size in pixels. A proportion of its original size can adjust the image size.
For instance- lowering the ‘Width’ variable to 18% can reduce the photo’s width from 2200 px to 1400 px. On the other hand, the dimension may expand to 4400 px if it sets up to 200%.
To expand the effects in the scaled image, click the gear icon in the top-right corner of the ‘Image Size’ box’ if the photograph has some levels with associated styles.

Step-6: Click ‘OK.’
Here, you need to click ‘OK.’
Since the image has been resized, it will reopen. Click the ‘File Menu’ and choose ‘Save’ to save the new photo. The photo is still stored in its original location with its initial dimensions.
After clicking on the ‘OK’ button, you’ll get your final resized image like the below image file.
Why Should You Know How To Resize An Image In Photoshop?
Earlier, the image files were frequently resized to more significant sizes to produce enormous prints. But resizing larger may not even appear required with the greater pixel count of modern cameras and high-end mobile devices, and it might not be for many users.
However, enlarging your image before printing can be necessary if you want to generate prints of the highest quality from it. It doesn’t usually mean making the image larger.
Preparing photographs for social media posting is another resizing situation I encounter almost daily. In this case, I usually use Photoshop CS6 to reduce the size of photos before posting them to my social media platforms, my personal or business website.
Other justifications for scaling images include sending them to magazines, putting them in movies, and many more.
Recommendation For You [How To Resize An Image In Photoshop]
Resizing photographs may not be as easy as it first seems and when it ends out. It relies on how significant the overall quality is for the photo’s intended use. It becomes evident that you should look at the settings of the resize image dialogue box once you examine the detail of a scaled image attentively.
For many years, Adobe Photoshop has been regarded as the top image editing and modification programs industry. Using it for this operation is still straightforward, even though you may think it’s tremendous overkill for something as basic as enlarging an image.
However, Adobe provides Photoshop via a US $19.99 per month package, making it accessible to Lightroom if you need to resize photographs frequently and perhaps want to get a little more innovative with your photo editing and manipulations. Digital photographers of all skill levels who wish for the most refined output from their cameras can benefit from using Lightroom.
Hence, I wouldn’t suggest this membership if you only sometimes deal with digital photo editing. But it’s something to consider if you’re getting into professional photography for business purposes or if you frequently love fiddling with pictures. In the end, I believe the information provided in this blog post will enable you to make a sound decision when determining how to resize an image in photoshop cc for your personal or professional usage.
Read more : How to Remove Image Background Using GIMP
Conclusion:
In a nutshell, learning how to resize an image in Photoshop can be a quick and easy process if you have minimal specialized knowledge. While resizing an image can be grueling, especially if you have to fit it into exact measurements down to the last pixel. In addition, software like Adobe Photoshop is inviting, and online coffers can feel shady. Every shooter should understand the pivotal Photoshop feature for resizing images. Since you need to publish your prints in both print and virtual formats regularly, it’s better to use this Photoshop trick professionally to achieve stylish layouts. After reading this composition and applying the six ways mentioned in your own work, we guarantee that the image size & quality will be optimized, whether you’re downscaling to share images online or upgrading to produce larger prints.