How to Create an Alpha Channel in Photoshop?
- November 9, 2021
Every photo editor needs to have a piece of good knowledge about how to create an alpha channel in Photoshop. There are several alpha channels that you can use to create an alpha channel in Photoshop. All you have to do is learn about the tools and filters used to create the special effects of Photoshop. First, you only need to select the text level and magnify the selected option. At this point, you can extend and change the choices made to open the channels. In this way, you can select the channel you want, eventually saving. If you need something to blur, this alpha channel guide takes you through the steps to create an alpha channel blur and create it easily. Check top-quality image masking service here.
You need to go to the channel and click the channel setting, select it, and then click Save. Pull it gently down to the desired position. You can destroy it by filtering or darkening it. Then add about nine pixels. If you want to make more changes, you have to go to the unclear filter and get it changed. You can also try other pixels from a hero to six.
Create an alpha channel in Adobe Photoshop
Let’s learn how to create an alpha channel in Photoshop in an effective way.
Alpha channel isolates objects from an image and allows you to use them in other programs. In image processing, its significance is huge.
Follow this step-by-step guide on how to create an alpha channel in Adobe Photoshop:
Step 1: Open Adobe Photoshop
Open Adobe Photoshop and load the image you want to create an alpha channel for. Select the image wisely
Step 2: Select Layer
Select the layer in which you want to create an alpha channel. If the layer is locked, double-click on it to unlock it.
Step 3: Create New Channel
Click on the “Channels” tab in the Layers panel to view the channels.
From there, click on the “Create New Channel” button at the bottom of the Channels panel. This will create a new channel called “Alpha 1”.
Step 4: Select the Brush Tool
Select the “Brush” tool from the toolbar and choose a soft-edged brush with a low opacity.
Paint the areas that you want to be transparent in the “Alpha 1” channel using the brush tool. The painted areas will appear black in the channel.
Also, don’t leave out the areas that you want to be opaque in the “Alpha 1” channel. Paint the area also using the brush tool. The painted areas will appear white in the channel.
You can also use different shades of gray to create semi-transparent areas in the “Alpha 1” channel. The darker the gray, the more transparent the area will be.
Step 5: Save File
Save the alpha channel by going to “File” > “Save As”. In the “Save As” dialog box, select “Photoshop” as the format and check the “Alpha Channels” box.
Name the file and click “Save” to save the image with the alpha channel.
Another advance way of Alpha Channel
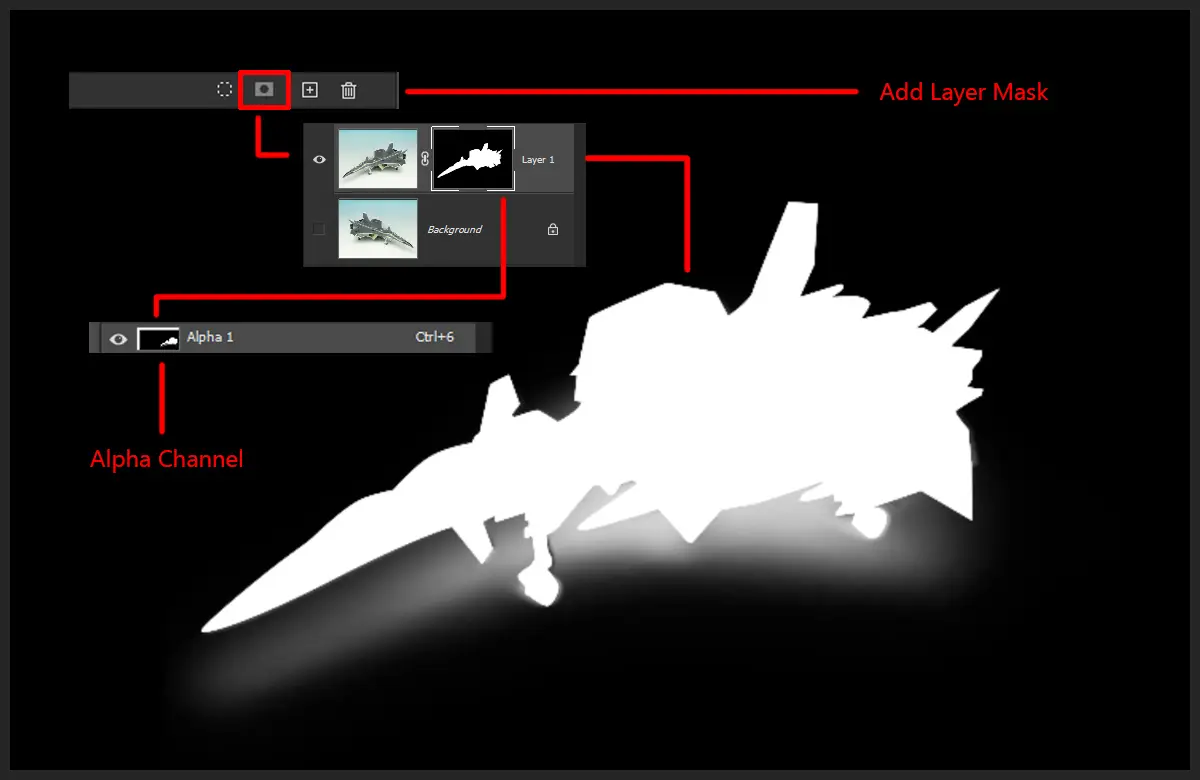
Step 1: Select the object using quick selection tool.

Step 2: Add layer mask.

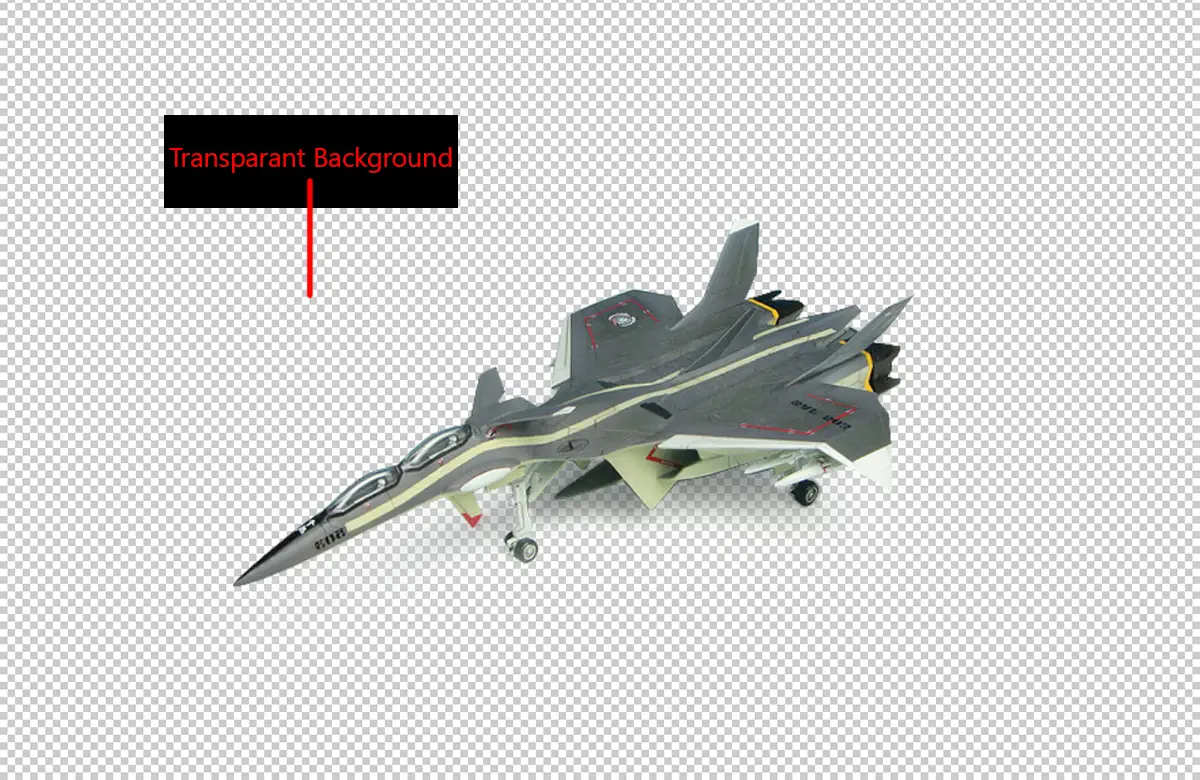
Step 3: Then you’ll have a Transparent background.

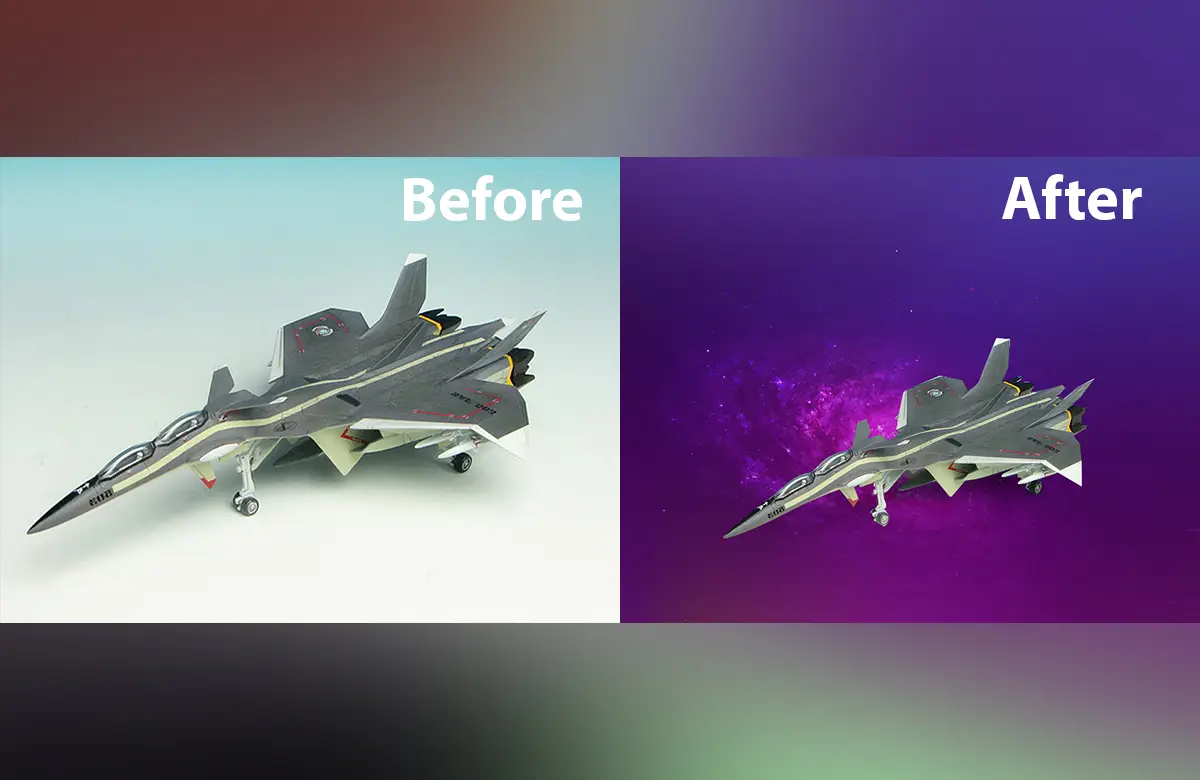
Final Step: Select any image to change the transparent layer.

That’s it! You now have an image with an alpha channel that can be used for various purposes such as compositing and masking.

Alpha channel or grayscale mask is accessible. All you have to do is create a black and white tone that describes color printing. They begin to create mask selections that allow you to keep the image separately and have smooth colors. It may be necessary to isolate the color or background. You must cut and paste the grayscale images into the layer mask, download the mask to save as an Alpha channel.
In essence, images start with creating an alpha channel created by layers and a duplicate. Before copying, turn the eye icon on the double layer. Then, you open the primary and then copy the layers on the screen. You have to disconnect the layer to be copied and the channel you want to record. When you are done, you will notice that a grayscale image replaces the screen. You can then download the grayscale image as a mask. Loading grayscale is easy. Copy gray, select all gray shades, copy it, and use it as it is. Finally, you can add layer palettes and add a layer on the mask. Hope you enjoy it and will be able to create an alpha channel in Photoshop now.
