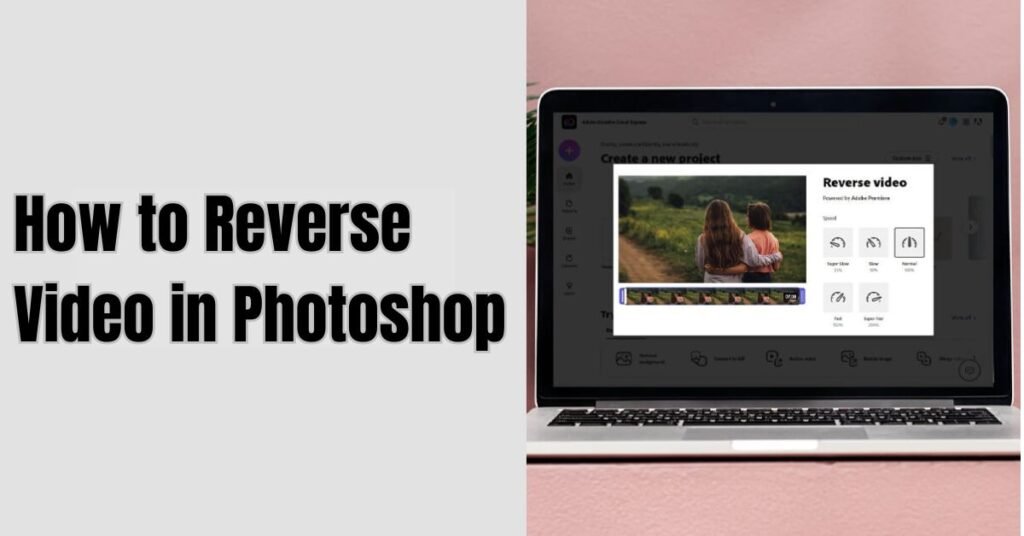
How to Reverse Video in Photoshop: Photoshop Hacks 2024
- March 3, 2024
A reverse video has been on trend for a couple of days now. If you still don’t know how to do it, here’s why you need to know how to reverse video in Photoshop –
- To recap a moment.
- To add dramatic change.
- To add a climax to the scene.
Whatever the reason you may be looking for, you must learn how to reverse video in Photoshop. If not, all the efforts would go in vain. If you have no idea where to start, don’t worry, we are here to help you.
Today we will learn how you can reverse a video. We will use Photoshop for our tutorial. Many of you may need help finding Photoshop an ideal tool for videos. In fact, I use Adobe Premier Pro for editing videos. That’s more convenient.
So, yes, reversing a video in Photoshop may seem irrelevant to start with. Today, we will prove it wrong and actually do it in Photoshop. Let’s begin, shall we?

How to Reverse Video in Photoshop?
Photoshop offers a simple interface. If you are just starting out in the world of video and photo editing, start with Photoshop. It’s easy to browse and learn. Practice yourself and you will master it within a few days. For more tips, follow here.
Follow the steps below with us. We have tried to keep the article as minimal as possible. So, beginners can easily grasp the steps and catch up.
Phase 1: Import the Video File
You will have to start with like any other file, importing the file. To do this, go to file and then select import. Later, click on Video Frames to Layers.
This is the first step to get your video in reverse.
Phase 2: Transform Videos to Layers
Now, go to the document where you have all the videos. You must have a dedicated folder for videos on your computer, right? From here, you will have to select the video you want to reverse. A dialogue box will appear with Import Videos to Layers. Select it.
Next, select From Beginning to End. It is because you are working with the entire video, not just one. Next, select the Make Frame Animation button. Click OK to Continue.
However, some videos are too long. Take 90 minutes to 250 minutes for example. You will have to wait a few times before the layers load. For small videos of 10 to 20 minutes, it won’t take too long.
Phase 3: Switch to Photoshop Timeline
Once all the layers load, your video will be extracted in layers before you. Then, go to Windows, and after that select Timeline. This will take all your layers into the timeline frame of Photoshop. From here, it’s easier to reverse the video.
Phase 4: Work With the Frames
Now the main part comes in! Here you have to reverse the video. Go to the drop-down option. You will find it in the right corner of the timeline dialogue box. Select and click on it.
Once you do it, next you will find the Reverse Frames option. And voila! Now, you have all your frames will be in reversed motion.
Phase 5: Save the Reverse Video
Now you are done! All you have to do is save the video otherwise it won’t be saved. You can do it easily. First, go to File and then select Export. You can’t save videos as smoothly as photos. They have to be rendered in order to be saved.
Go to Render Video. A dialogue box will pop up. From here, you can give your video file a name. Save in .mp4 as it’s accessible by almost all media players.
Naming the Video You can save the video without a name. But that would keep your video as an untitled mp4. It’s always a good practice to save your video with a proper name.
Now, while you name the file, we highly recommend you not delete the entire video. It will need some information later.
Such as, by default your video will appear as Untitled.mp4. Give it a suitable name such as reverse.mp4. Don’t remove the .mp4 part. Or, your video will be unsupported. Select the subfolder you want to select your video in and save the video now.
Phase 6: Complete Your Render
You are almost done. Now, you don’t have to change a thing. Only modify a few options from the All Frames option. You will have a 3D quality option in Photoshop. Choose the Interactive option and select Render.
Now you have rendered your video and it is fully reversed now. Click on your video and enjoy your video in reverse motion.
Final Opinion
As strict we are to say goodbye, we are at the end of our article. To know how to reverse video in Photoshop, is really easy, isn’t it?
Our comprehensive guide will help you with the details. We hope it’s enough for you. Which phase on how to reverse video in Photoshop are you in? Let us know in the comments.
We also share regular articles and tips on Photoshop, feel free to take a look at our blog section. Also, share our article with others. It will help us grow too. See you soon with another article on Photo Editing Services.
