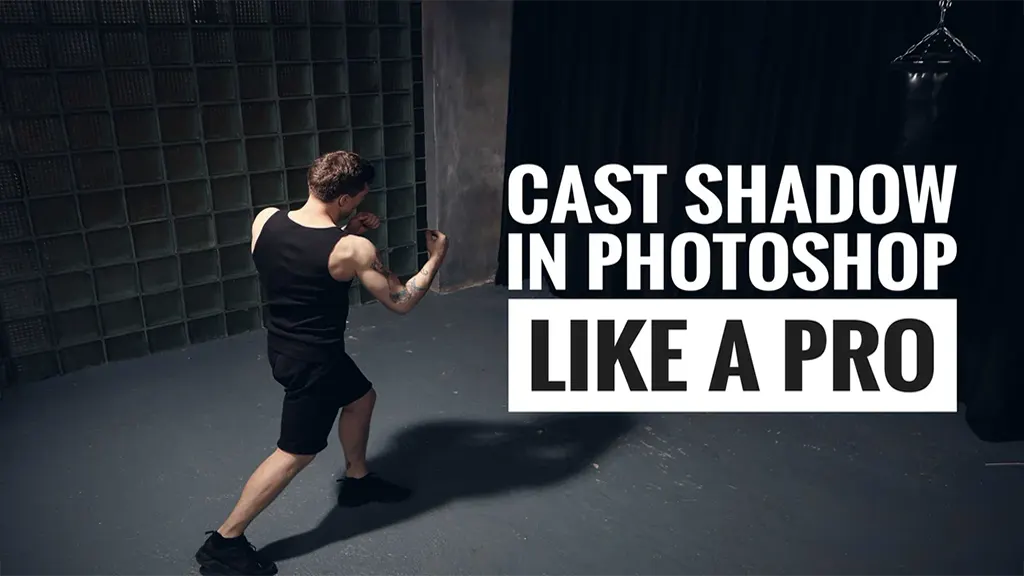
How to Cast Shadow in Photoshop Like a Pro
- June 1, 2025
Do you want to know how to cast a shadow in Photoshop like a pro? Well, you’ve come to the right place. When adding shadows to your photos in Photoshop, there are several methods to choose from. The one you use will depend on the aesthetic you want to achieve and the tools you have available. In this post, we’ll explore three of the most popular methods for casting shadows in Photoshop: the gradient tool, layer styles, and the shadow tool. Thus, every method has its own set of benefits and drawbacks. It’s critical to understand how these methods differ so you can decide which is best for your project. Take some time to explore the specific distinctions of this method.
Benefits: Cast Shadow in Photoshop
There are several ways to create shadows in Photoshop. The method you choose depends on the look you want. In this lesson, we’ll show you how to use the cast shadow approach. This is a great option if you want realistic shadows that look like they’re being cast by real-world objects. Let’s get started!
There are a few key benefits to casting shadows in Photoshop which you must know before we jump into the actual topic. It can:
- Add realism to your photos.
- Assist in defining the outlines of specific subjects.
- Give your photographs depth and dimension.
- Enhance the impression of your beautiful photos.
Read more: A Photographer’s Secrets: How Long Do Photographers Take to Edit Photos
Prerequisites: Cast Shadow in Photoshop
So, you want to cast shadow in Photoshop like a pro? Awesome! Before you get started, things you must know are listed below:
First of all, the basic concept behind casting shadows is that you need two layers: the object you want to cast a shadow on and the background. The object should be on its own layer, and the background should be on a separate layer below it.
The item will then require a mask to be created. The mask controls which sections of the object shed shadows and which do not. To make a mask, go to Layer> Layer Mask > Reveal All after selecting the object’s layer.
Now, it’s time to add the shadow. Go to Filter > Render > Lighting Effects and select Cast Shadow. A new window appears for you to define your shadow. Adjust the parameters until you achieve the results you want.
How to Cast Shadow in Photoshop
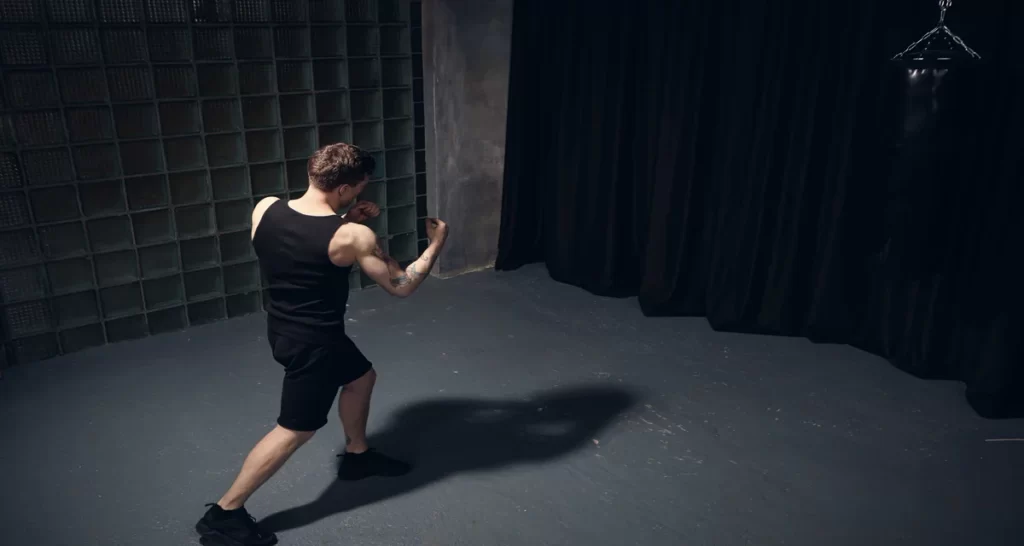
This article will demonstrate how to cast a shadow in Photoshop like a pro. First, open up the photo that you want to edit in Photoshop.
Next, use the Pen Tool to create a selection around the object that you want to cast a shadow on in Photoshop. After you’ve decided, proceed to the Layers panel’s bottom and click the Create New Layer button.
Now, change the blending mode of this layer to Multiply and then use the Move Tool to adjust the position of the shadow until you’re happy with the results.
If needed, you can also use the Pen Tool to create additional shadows by selecting different areas of your photo. And there you have it! You’ve finally mastered the art of casting shadows in Photoshop.
Tips and Tricks for Creating Realistic Shadows
When creating realistic shadows, there are several factors to consider. Here are some pointers to consider before you create realistic shadows in Photoshop:
1. Use the layer blending mode “Multiply” to create a shadow that’s easy to edit and blends in well with the rest of the image.
2. Keep your shadow layer separate from the rest of the image, and use a layer mask to blend it in.
3. Use the “Contrast” setting under “Levels” to adjust the darkness and brightness of your shadow.
4. Use a Gaussian Blur filter to soften your shadow and make it look more natural.
5. Experiment with different blending modes and opacity levels to get the desired effect.
Conclusion
Creating realistic shadows in Photoshop is a powerful way to elevate your images and make them feel more professional and visually compelling. By using techniques like layer masking, blending modes, and subtle blurring, you can closely mimic natural lighting effects. Each method—whether using gradients, layer styles, or lighting effects—offers unique creative control depending on your desired outcome. The key is to experiment with opacity, direction, and softness to achieve believable results. With consistent practice, you’ll develop an eye for detail that makes your shadows look natural and seamless. Start applying these techniques today to add depth, dimension, and realism to your designs.