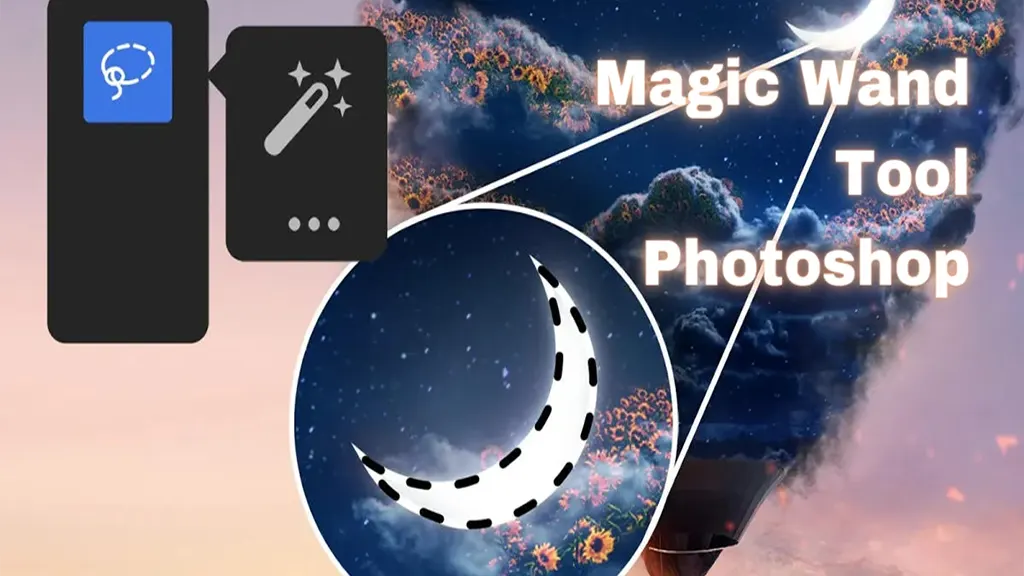
Magic Wand Tool Photoshop: Functions and Possibilities
- March 13, 2025
Like most Photoshop users, you’re always looking for smart ways to accelerate your workflow progress and skill in Photoshop. And if you’re a fan of the Magic Wand tool in Photoshop, you’re in for a treat with the latest release of Photoshop. In this article, we’ll look at this tool’s new features and capabilities and see how it can help you get the most out of your photos. This tool is adaptable and available to you so that you can bring smart solutions for your photos. This article will explore the functions and possibilities of the Magic Wand Tool. We will discuss the different positions you can use for this tool and the potential benefits of using the device. Additionally, you will get some pointers on how to use this magic tool seamlessly.
What is the Magic Wand Tool in Photoshop
The Magic Wand Tool is one of Photoshop’s most popular and versatile tools. It allows you to quickly choose and manipulate parts of a photo depending on its colour or tone.
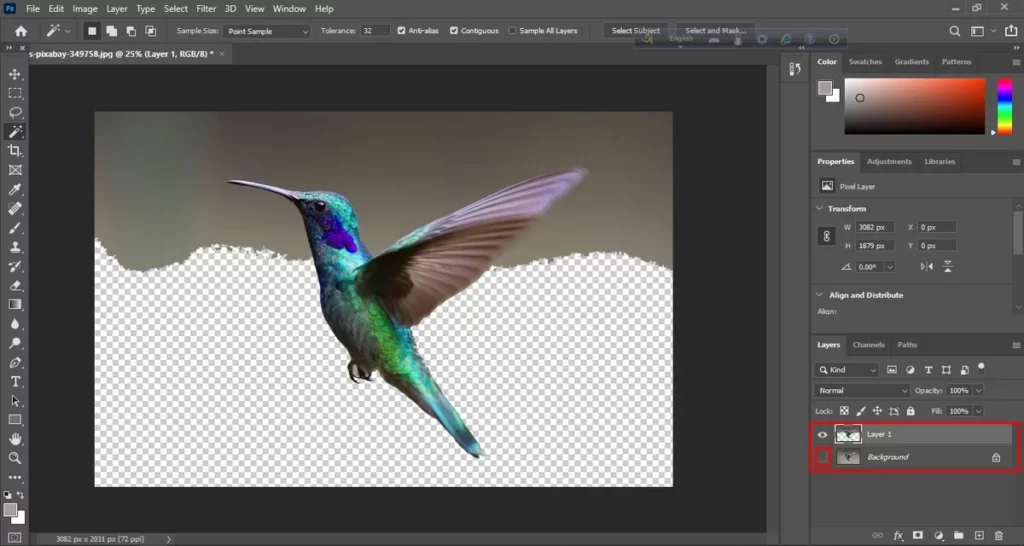
One of the most common uses for the Magic Wand Tool in Photoshop is to remove background colours from an image. To do this, select the colour you want to extract with the magic wand tool, and then make a selection for the “Delete” button on your keyboard. You will remove the background colour and have a transparent image.
This tool is also great for quickly selecting complex shapes or areas of an image. For example, if you want to set the sky in an image, you can click on the blue room with the Magic Wand Tool and choose the entire sky. You can then add a new layer behind the sky and fill it with a different colour or texture.
Read more: How to Create an Alpha Channel in Photoshop?
How Does the Magic Wand Tool Work?
One of the most widely employed tools from the Adobe Suite is this one. It allows you to select a certain region of a picture depending on colour. So, for example, if you wanted to choose all of the blue pixels in an image, you could use this tool.
This tool is powerful and serves multiple purposes. For example, you can use it to select an area of an image and then copy and paste it into another image.
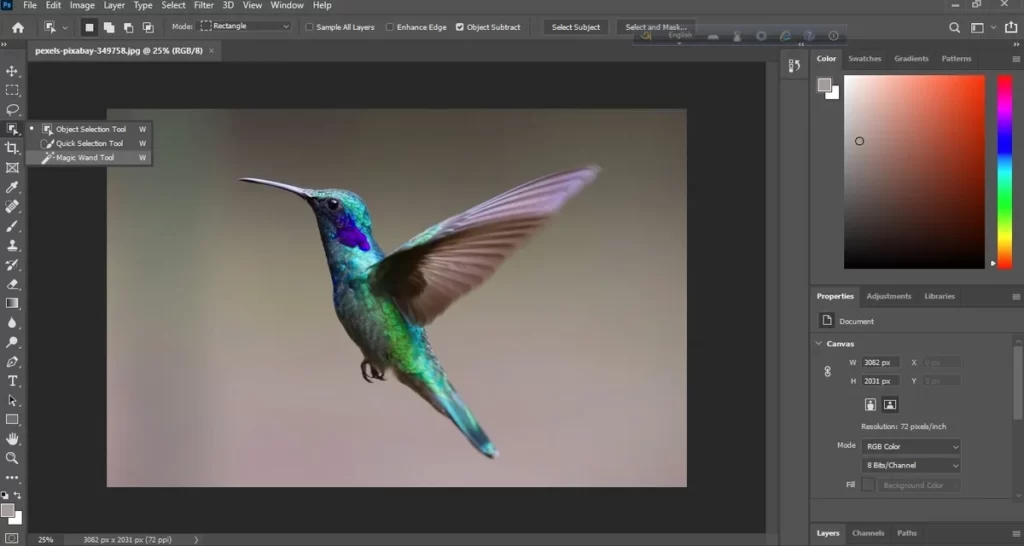
First, open the image that you want to edit in Photoshop. You don’t need to create a new layer for this. However, if you want, you can have a new layer to prevent serious changes from the original layer.
Choose Layer> New Layer> Layer via Copy.
Next, select this tool from the toolbar. Keep your selection to the new layer.
Now, click the specific area in the photo you want to select. Select all the pixels of the same colour as the one you clicked on to perform the action.
You can now do it according to your preference with the selected area.
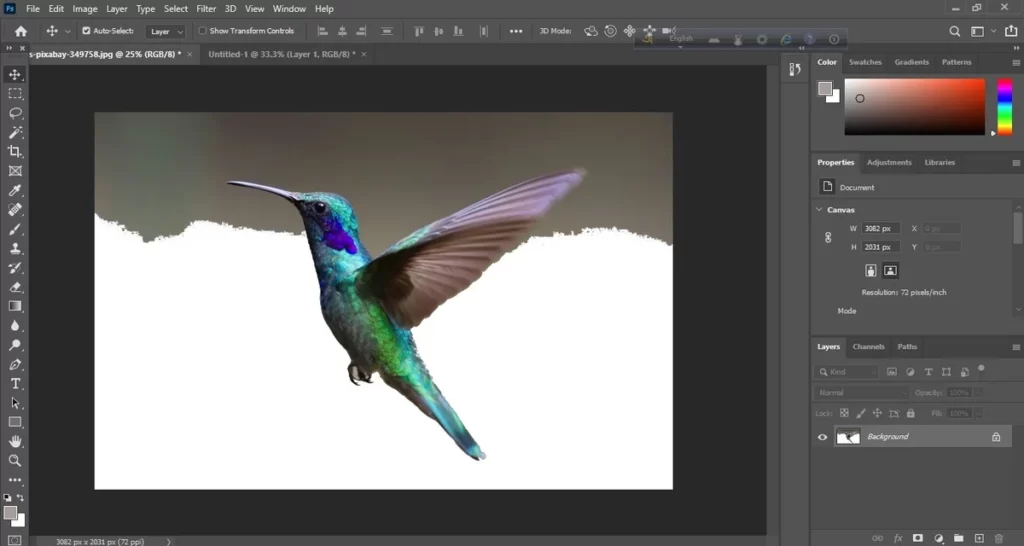
For example, copy (Ctrl+C) and paste (Ctrl+V) it to another image or change the colour.
You can utilise this tool as well to modify the colour of a specific area in an image. If you are not familiar with this tool, here is a quick tutorial:
Magic Wand Tool Photoshop: Benefits
It is one of the most popular and versatile tools in Adobe Photoshop. It allows you to smoothly and seamlessly make a selection of areas in a photo based on colour. You can use this tool to select a variety of different things, including:
- Backgrounds
- Objects
- Text
This tool is a great way to quickly and easily select areas of an image. In addition, it is beneficial for selecting backgrounds and objects. To make the best use of the Magic Wand Tool, select the image area you want to change. The tool will automatically pick out all adjacent pixels with the same colour. You can then use the Photoshop Edit menu to modify the selected area. For example, if you want to choose a specific location, you can hold down the Shift key while clicking on the image. This step will add the new selection to any existing section.
You can also hold down the Alt key (Windows) or Option key (Mac) to remove pixels from a current selection. It is beneficial for selecting backgrounds and objects. To use this fantastic tool, choose the image area you want to edit. When using the Magic Wand tool, any neighboring pixels with the same colour will be automatically selected. You can then use the Photoshop Edit menu to modify the chosen area. If you want to select a more specific area, you can hold down the Shift key while clicking on the image. This step will add the new selection to any existing section.
It is beneficial for selecting backgrounds and objects. After selecting the image area you want to process, follow the few steps above, and the Magic wand tool in Photoshop will do the rest.
Magic Wand Tool Photoshop: Functions
This magic wand tool is a versatile tool that you can use for a variety of purposes, including:
- Seamlessly select specific areas of an image.
- Remove colours from backgrounds easily.
- Replace existing colours with any colour you like.
- Draw straight lines anywhere you prefer.
- Fill in any specific areas of your image.
How Can the Magic Wand Tool Be Used in Different Ways?
The Magic Wand Tool in Photoshop can make a selection of areas of a photo depending on its colour. You can also use this tool to create a quick and easy way to create a mask. You can also use the Magic Wand Tool to quickly and easily remove a background.
Click on the desired area of an image to utilise this tool. The device will automatically select all areas of the idea that are similar in colour. To create a mask, click the “Create Mask” button. To remove a background, click the “Remove Background” button. It doesn’t end here. You can also investigate the possibilities of the Magic Wand Tool; click on the “Create Clipping Path” button. To create a vignette effect, you have to select the “Create Vignette” option, and to add a shadow, select the “Create Drop Shadow” button.
There are many other possibilities for the Magic wand tool in Photoshop 2025; you can effortlessly create a bevel and emboss effect with the “Create Bevel and Emboss” button and a 3D effect with the “Create 3D Effect” button.
Conclusion
In conclusion, the Magic Wand tool in Photoshop is powerful and versatile. With a few simple clicks, you can change the background of an image, add special effects, or even create an entirely new appearance. However, before exploring the full possibilities of the magic wand tool, you have to keep practising and exploring new tricks of this tool. Make sure to take help from professionals like CCI when you are stuck with something.