How to Make Perler Bead Patterns in Photoshop: 2025 Guide
- March 7, 2024
Perler Bead Patterns can be too difficult for beginners. Especially, when you are trying it in Photoshop for the first time, things may become more difficult for you.
Not only beginners but sometimes, even professionals stumble upon the steps and make a mess. So, our article today is for both – beginners and professionals. If you are a beginner, you will learn how to make perler bead patterns in Photoshop from scratch today.
And if you are a professional, today you will have your memory revised. Stay with us till the end of our article, no matter how complicated the path is, we will help you get into the process.
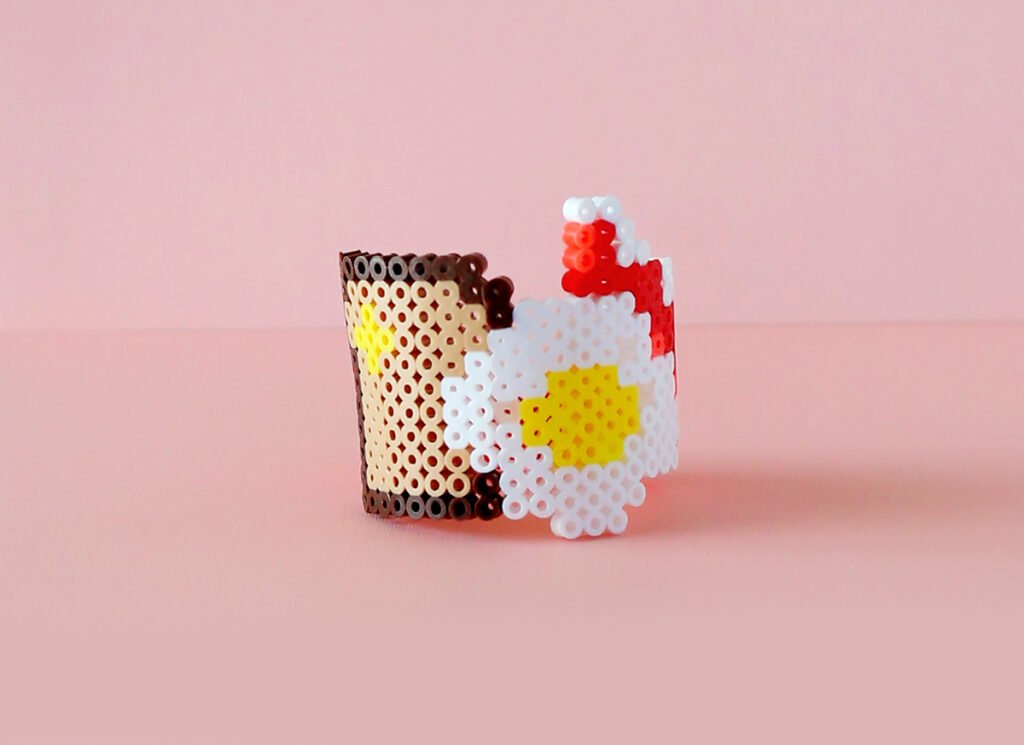
How will Perler bead patterns help you? Sometimes, you may need it to explore your creativity and sometimes you may need it to recreate your favorite artwork. Whatever the reason might be, we are here to help you.
We will also share some of the tools that would help you create Perler bead patterns. We believe our article will be a wonderful source of resources for you. Our final Perler Bead Pattern will help you guide fully with Photoshop. Let’s cut the words and start already.
Can You Really Make Perler Bead Patterns in Photoshop?
You can create Perler bead designs in different applications, including Photoshop. Making Perler bead patterns in Photoshop, on the other hand, requires exact methods and painstaking attention to detail. Making Perler bead patterns should be simple if you are attentive enough to follow directions.
How to Make Perler Bead Patterns in Photoshop?
Here, you can learn how to make Perler bead patterns in Photoshop. Follow each step with us carefully.
Step 1: Convert Your Background Into a Smart Object
First, open the image in Photoshop, and as soon as it appears, begin modifying the backdrop. To do so, navigate to the Layers tab and make the backdrop a smart object.
Now, double-click the backdrop and rename it. You may also call the layer “Photo” and click “OK”. Go to the layer panel, click the “menu” in the top right corner, and select “convert to smart object”. Then, in the photo’s preview thumbnail, you will see a smart object symbol in the lower right corner.
Step 2: Use A Solid Color Fill
To add a background color to the effect, use a “solid color fill layer”. Go to the bottom right and select a solid color. After entering the color picker, select “Black” and click “OK”. You will now see a fill layer over your picture preview thumbnail.
Step 3: How to Make Perler Bead Patterns in Photoshop
Now, click and drag the fill layer over the real picture. The real picture now appears at the top, followed by the fill layer at the bottom. You must first choose the image and then go to the “filter” menu and select “pixelate” followed by “mosaic”.
This will open the filter mosaic dialogue box; now, navigate to the cell size option and drag the pointer from left to right while keeping an eye on the image to pick the size, how huge squares you want to construct your Perler bead designs, and remember the cell size you chose. Then, click “OK” to exit the dialogue window.
Step 4: Make A New Document
To make the Perler bead pattern, go to the “File” menu and select “new” to start another document. In the new document dialogue box, set both the Height and Width, and enter the cell size number that you selected before. Set the Resolution to “72” and the backdrop color to “White” and then click Create or “OK” to dismiss the box.
Step 5: Use A Round Shape (Preferably A Circle)
To make the Perler bead pattern, go to the “File” menu and pick “new” to start a new document. In the new document dialogue box, enter the cell size number that you previously chose, as well as the Height and Width. Set the Resolution to “72” and the background color to “White” before clicking Create or “OK” to close the box.
Step 6: Create a Black Round Shape On a White Background
After that, go to the “edit” menu and choose “fill”. The fill dialogue box will open; select the “Contents” option and the “Black” color, then click the “Ok” layer. A large black circle will now appear on the screen, with a white rectangular backdrop. To delete the selection, navigate to the pick menu and pick the “Deselect” option.
Step 7: Revert the Color of The New Document
If you zoom in close enough, you will see a grid pattern known as the pixel grid. If you want to remove it, go to the “view” option, choose “Show” and then “pixel grid,” and you will see a black circle with a white rectangular backdrop. To do the reverse, go to the “image” menu, choose “adjustments”, and then “invert”.
Step 8: Close the New Document
Turn the circle into a pattern by going to “edit” and selecting “define pattern”; then, as soon as the dialogue box displays, name the pattern and click “OK”. After that, go to “file” and select “close” because you do not need this document for the time being. After that, Photoshop will ask if you want to save it or not, and you should select “NO” here.
Step 9: Add A Layer Mask to The Image
It will now take you to the main picture document. In the layer panel, choose the image and click the “add layer mask” icon. The mask will display with the real picture preview. You must fill the mask with Perler bead patterns.
Final Step: Fill the Layer Mask with The Perler Bead Pattern
Return to the “edit” menu, pick the “fill” icon and this time choose the “contents” option, then “pattern” and click the “custom pattern” thumbnail to select the custom pattern you generated a while ago, a white circle with a black backdrop.
The following should be the last choice at the bottom of the thumbnail, so select it and then click “OK” again. Photoshop will now fill the layer mask with the Perler bead design. Finally, you can see how to convert your favorite image into a visible Perler bead pattern, with more customization options available if desired.
If you already have an account, all you have to do is type what you’re looking for into their browser, and all the gorgeous pins on that subject will appear. Begin by entering the pattern type you’re seeking for. Let’s assume if you are looking for some cool Star Wars Perler Bead patterns. In their search field, you will have to write “Star Wars Perler Beads” and you can get them in seconds.
Closing Words
There are several virtual platforms, including Pinterest, Facebook, YouTube, and Google. Pinterest is where you can look for Perler Bead designs. If you’re new to Pinterest. Here is what you need to know about Pinterest. It is a visual bookmarking tool that allows you to save and share ideas on almost everything. Perler beads are not any different.
If you already have an account, simply put what you’re looking for into their browser, and all of the beautiful pins on that subject will show. Begin by entering the pattern type you are looking for. Let us pretend you’re seeking some interesting Star Wars Perler Bead designs. In their search area, type “Star Wars Perler Beads” and you’ll have them in seconds.
You will encounter problems when learning how to create Perler bead designs in Photoshop. You will find it easy to finish this activity if you attentively follow our steps and directions.
If you loved our blog, be sure to read our other posts where we covered everything related to picture editing services. If you have any queries, please post them in the comment box. We look forward to seeing you again soon.