A Definitive Guide on How to Edit Car Photos on Lightroom
- February 6, 2025
Have you ever seen some amazing car photos online and thought, why don’t your photos look like that? They will, too, if you use Adobe Lightroom. So, how to edit car photos on Lightroom to make them look professional?
Your car images look dull, mostly because of a lack of colour and vibrance. Adobe Lightroom module can help you change that. The ultimate goal is to create a vibrant contrast between the car and the background so that your car stands out with all its majesty.
Don’t worry. All you need is to follow 4 simple steps with Lightroom to make your image look like professional photography. Let’s dive in.
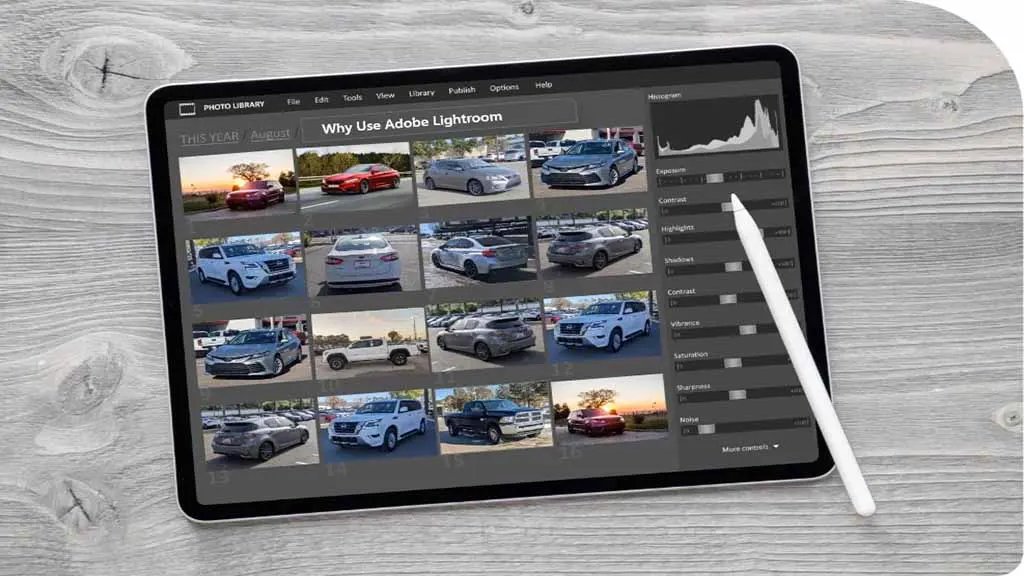
Why Use Adobe Lightroom
There are plenty of other editing tools and software that can effectively help you tidy up your image. Then, why use Lightroom? Lightroom is simpler and more convenient. It’s like a one-stop shop or a supermarket for post-processing images.
White tools like Photoshop have a diverse pool of options available; Lightroom caters specifically to a pro photographer’s needs. One can easily edit, manage, and provide finishing touches to their photos using Lightroom.
The settings are relatively intuitive and straightforward. Also, many presets already exist online for you to choose the best one for your image.
How to Edit Car Photos in Lightroom in 6 Steps
There are a good number of Lightroom car-editing presets available that you can directly apply to your images. But wouldn’t it be better to control some of the settings yourself? You can edit your car photos in Lightroom using these six simple steps below.
- Import Your Image
- Handling the White Balance
- Fixing the Tone and Presence
- Adjusting the Colours
- Utilising the Linear Gradient Tool
- Giving the Final Touch-up
Now let’s take a look at them in detail.
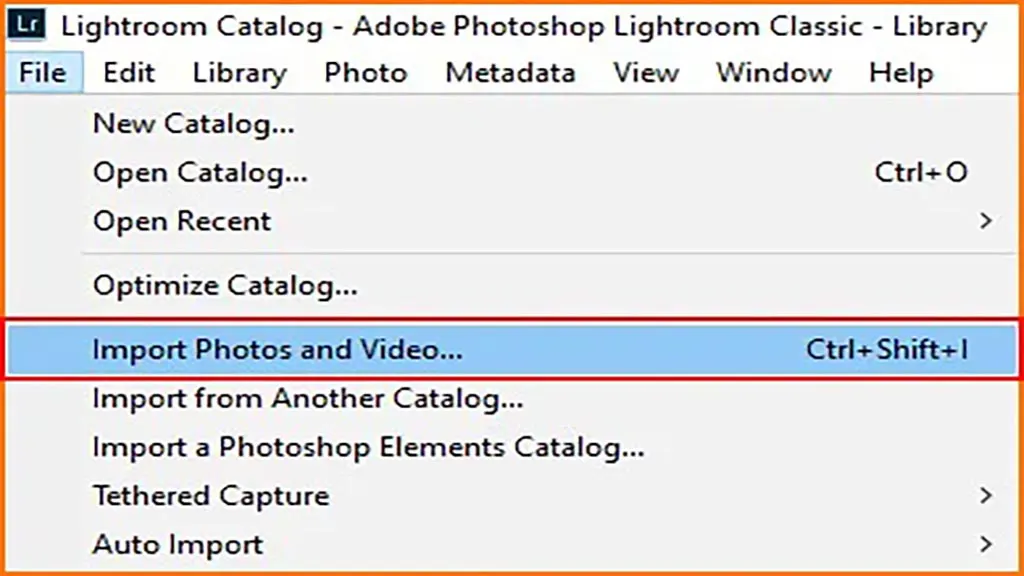
Import Your Image
You can import images into Lightroom from your hard drive or directly from the camera. For importing images from a camera, connect it to your computer first.
There may be ways to connect the camera directly to the PC, like a USB connection, or you may have to detach the memory card and use a card reader to access the camera storage.
After connecting the storage, go to Lightroom and find the plus sign icon in the upper left corner. Another way is to go to File>Add Photos from the toolbar at the top of the window.
Both of these will bring up a context dialogue box where you’ll be able to choose whether you want to access the camera or the hard drive. After choosing your preferred option, select your project image from the browser that appears.
Handling the White Balance
So, there is a panel named ‘Basic Panel’, which will let you tune the rudimentary appearance of your image. In professional or casual editing, handling the options in the basic panel is extremely important because this sets the image for a better touch-up.
The basic panel can be compared to the steak in a burger, as it’s the core of your image-editing process. You can access this panel from the toolbar at the top.
The first portion of the basic panel takes care of the white balance of your image. The white balance consists of many options and sliders, which you can adjust. If your original picture looks warm and greenish, you’ll need to tone down the temperature and adjust the tint.
Sometimes the picture can look bluish and colourless due to the absence of sunlight. For those, the temperature slider needs to go up. The basic rule of thumb is to set the temperature slider to near 5000-5500 and the tint to 10-12.
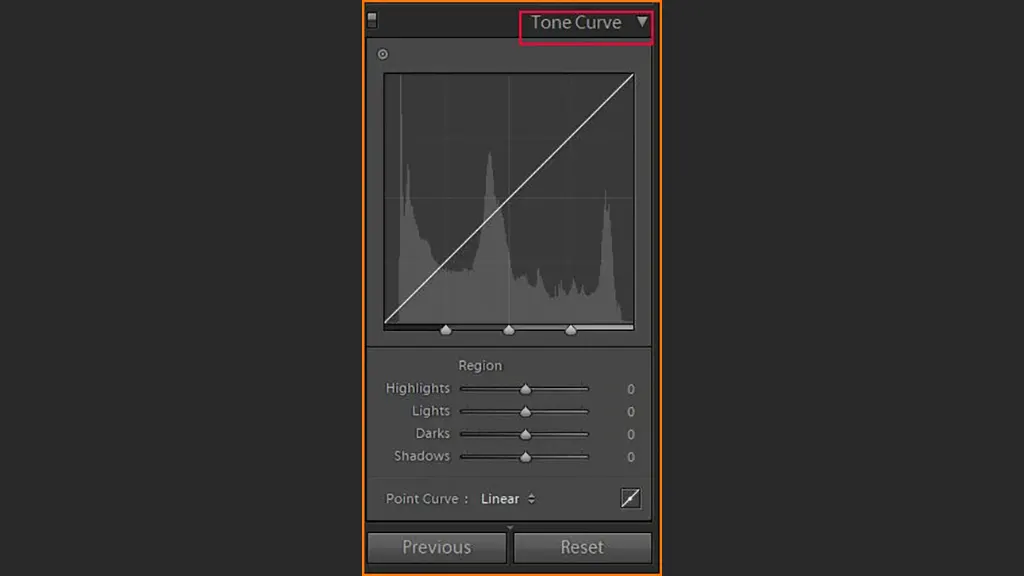
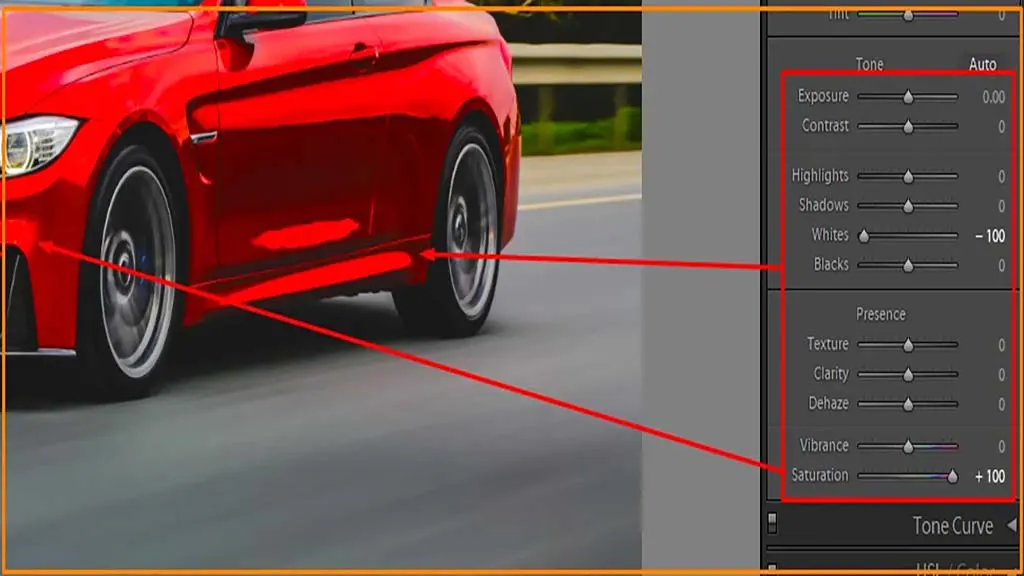
Fixing the Tone and Presence
The bottom two portions of the basic panel let you adjust tone and presence. These portions have important slider exposure, contrast, shadows, saturation, etc.
Tweak these settings based on your personal preference. Find out which combination provides more details to your image. Also, keep the clarity setting under 30 but above 0. Clarity provides a dramatic effect to your image
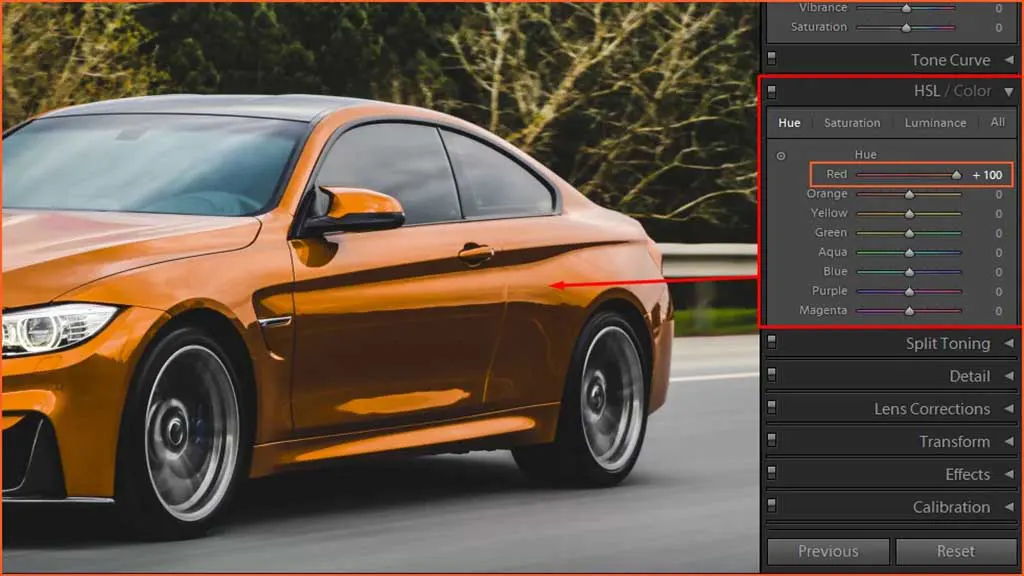
Adjusting the Colours
In the toolbar, find the ‘HSL/Color/B&W’ option and click it to access all the colours for the image. Here, you can enhance or suppress a particular colour to increase the visibility of any part or object in the image.
For instance, if your car has blue body paint, you can increase its visibility to make the vehicle more prominent in the image. Also, by enhancing certain colours, you can bring out intricate details in the image.
You can also access the colour grading panel to set the saturation and hue for particular pieces. The panel consists of colour circles with a circular adjuster in the middle. Each circle has a balance slider at the bottom. But tweaking these makes things complicated, so you’re better off without them.
Utilising the Linear Gradient Tool
This tool helps you make your car stand out from the background of the picture. You’ll find this tool in the masking panel located just above the basic panel. After selecting the tool, drag your pointer from the bottom of the picture to the top of the car.
Doing this will create three parallel lines with dots in the middle. Adjust the filter length by clicking and dragging the middle line with the cursor. Now you can work on the available sliders to find a suitable setting for your image.
You can optimise a particular area’s temperature, exposure, and contrast to make your vehicle more prominent. Darkening shadows, brightening body paint, etc., can prove to be helpful in different scenarios.
Giving Final Touch-up
Taking care of little details, like boosting wheel contrast, making the bumpers shinier, or darkening the windows, can take your photo to another level. You can use the brush tool for all of these.
Locate it in the masking panel, where you will find the linear gradient tool. Keep the brush density at 100 and the feather at 20 to avoid complexity. And choose the size according to your object.
Only mark the area you want to work on using the brush. The adjustment brush will have sliders for exposure, contrast, saturation, and other tweakable options. Change them to add character to your marked area.
Avoid Doing These While Editing in Lightroom
Lightroom settings are amenable and intuitive, but sometimes one can go overboard with them. There are certain settings that can make your pictures look unprofessional if not tuned correctly.
While tuning, I’ll advise you to keep the highlights, white, and exposure sliders in check because increasing them more than necessary omits a lot of crucial textures and details from the picture.
Another option you can badly overdo is Clarity. Clarity might add dramatic effects to your photos, but too much of it will make your photo weird and unrealistic.
Conclusion
Following the simple steps above will get you a quick, satisfying result and leave a lot of room for you to understand the tweaked features. So, I believe this guide will help you master how to edit car photos in Lightroom.
Adobe Lightroom forgives more when it comes to editing images. Meaning every single setting here is non-destructive. So, there is no pixel removal involved, and you can revert any changes you don’t see fitting. Also, don’t shy away from presets; they’re quick and give you examples to learn from.