Your Hand Guide on How to Color Line Art in Photoshop 2025
- February 28, 2024
Ask around, and four out of four designers near you use Adobe Photoshop. Most of us use Photoshop to edit photos. However, there are more uses to it as you may already know such as thinking of how to color line art in Photoshop.
If you are someone, who likes to work with color, you can turn a simple line drawing, or what we call it line art today, into something beautiful. We are talking about beautiful and creative color projects. You can do it all in Photoshop.
Today, we will help you how to color line art in Photoshop. It’s quite easy and requires only a few steps. Our guide is easier to follow and of course beginner beginner-friendly. Even if you are a pro, you can have specific help too.
Read our article till the end, and immediately change your line art to any color you like.
What Is Color Line Art?
So, before the process begins, here’s a short introduction to color-line art.
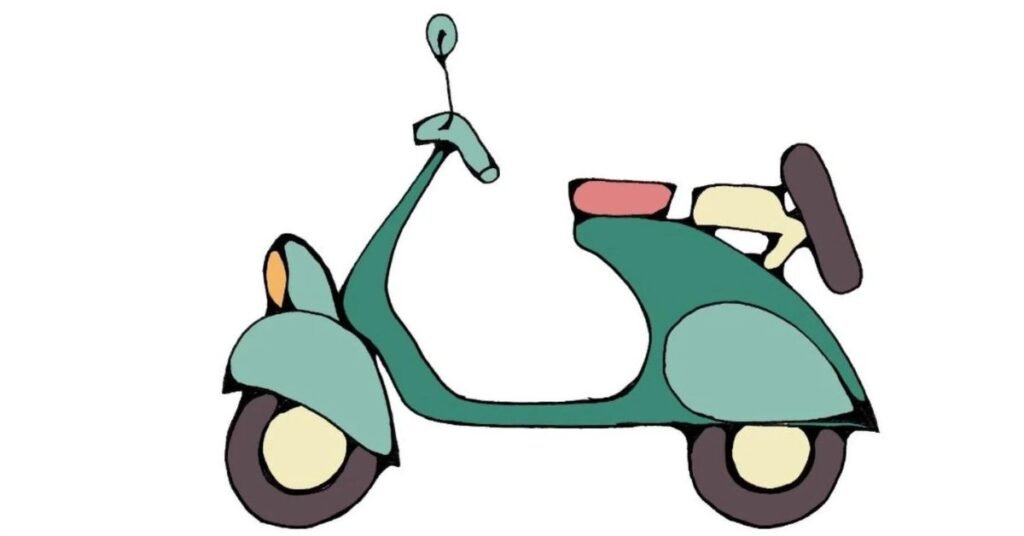
Line Art is also known as line drawing. It basically refers to any image with clear and solid straight lines or curves. All the lines are located against a plain background.
Color line art doesn’t have layers of shapes in darkness or hue of colors. They are two-dimensional lines. However, sometimes you can make clip-line art with three-dimensional objects.
You can draw color line art in two days – whether on paper or digitally. On paper, you can draw with a pencil and ink. Digitally, use pixels to draw line arts.
Additionally, for some people line art monochromatic illustrations. Each line art is unique and has lines of different weights and thickness. Browse through any color or use any solid background to create line art.
However, most people typically create line art in black and white. Below, we will use one of the simplest techniques to draw line art. Keep reading to find out.
How to Color Line Art in Photoshop?
Line arts are special. Photoshop is specially made for creating line art. Although many of us prefer AI Illustrator, you can do the work just fine with Photoshop. If you don’t want to invest a significant amount of time in mastering AI now, Photoshop is your best catch.
Follow the steps with us for more.
Step 1: First, Select the Object to Color Line Art
Perhaps you already know, that there are plenty of platforms online where you can have free line art. Browse through Google and search for Line Art. Sometimes, also try removing the space between – lineart.
You may have a particular interest in any specific topic. Research shows that around 65% of people look for animal line art on the internet. Designers all over the world often need animal line art for design.
Step 2: Lock the Layer
Now that you have it, first, load it to Photoshop. Select the layer within your line art. Go to Lock in the upper Layer panel, and select the Transparency option. The action will ensure no other pixels are added or removed from the layer.
Step 3: Select the Lasso Layer
Next, select the Lasso tool. Next, you have to do some selection work. Select the section of line art you want to work with.
Now, you have to change your Foreground color to whatever color you want your lineart to be. Click on Alt-Delete (for Windows) to change the selected section of the lineart to the chosen foreground color.
Step 4: Separate Line Art in Photoshop
Here, you will have to separate your line art or scanned drawing from a white background. It’s as simple as that. Follow us.
Choose the layer you have your line art on. Next, go to Window > Channels. Hold on Control/ Command. Now, you have to select the RGB channel. It’s easier to find it. It is the first channel in the channel pack.
It will cover the black line art of your subject. Now, go to Selection and then select Invert. It will invert your selection.
Step 5: Fill the Bucket
Now you have to create a New Layer. Apply a Layer Mask to your layer. It will, then, automatically take the shape of the line art you just selected. Here, you have to ensure that the new blank layer is active.
Once you have done it, fill the layer with the color black. You can use the Paint Bucket tool for this.
Step 6: Apply Layer Mask
Finally, click right on the layer mask. Then, select the Apply Layer Mask. Here, you have to hide the original line art. Now, you can create a New Layer filled with white.
Congratulations! You have successfully done it. Now you finally know how to color line art in Photoshop. Our guide is simple and promotes some easy techniques. It will help you add a realistic touch of color to your color art, that’s too instantly.
Go ahead and try yourself out. You can be a digital artist, designer, or just someone who is curious. Color line art will come in handy.
Tips on How to Color Line Art in Photoshop
Now that you know how to color line art in Photoshop. Here are some tips for you to improve your work. Continue reading.
- Save your work in different formats like JPEG or PNG. Also, keep a layered PSD file for future edits.
- Practice regularly to improve your coloring skills. Familiarize yourself with keyboard shortcuts to streamline your workflow.
- Fine-tune your colors using Adjustment Layers. You can easily modify the overall color balance, saturation, and brightness.
- Zoom in and add finer details using a smaller brush. It improves authenticity.
- Use different brushes to add shading, highlights, and texture. Experiment with brush opacity and size for fun effects.
Final Words
Welcome! We are at the end of our article. You can do more than this. Line Arts are full opportunities. Once you have started it. Feel free to explore the editing options and bring something that vibes with your personality.
Additionally, it will help you do business well too. You can get more clients with this skill – be it freelancing or in corporate design projects. Do you need more help with Photoshop? Feel free to explore our blog.
We also offer regular support in Photoshop and Photo Editing Services. Browse through our services here. Let us know in the comments what you think of color-line art. For more, feel free to leave a comment.
You can also share our article with your friends who want to explore more with line arts. We will get back to you soon with another article on editing tips.