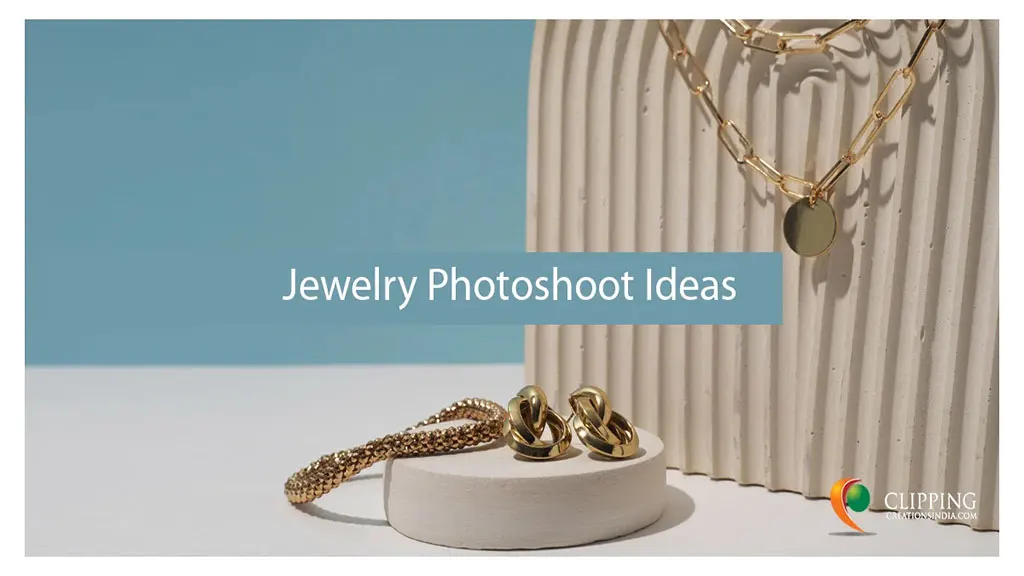
All To Learn About About High-End Jewelry Photography: Go Through Guide
- September 8, 2025
In the world of luxury and high-end jewelry photography, captivating visuals play a pivotal role in enticing potential customers and showcasing the exquisite craftsmanship and beauty of each piece.
With the rise of e-commerce and online shopping, jewelry photographers face the challenge of capturing intricate details that reflect the brilliance and allure of these precious adornments.
Today, we will dive into the art of high-end jewelry photography, exploring techniques, equipment, lighting, styling, and post-processing tips to help you elevate your jewelry photography skills and create stunning imagery that leaves a lasting impression.
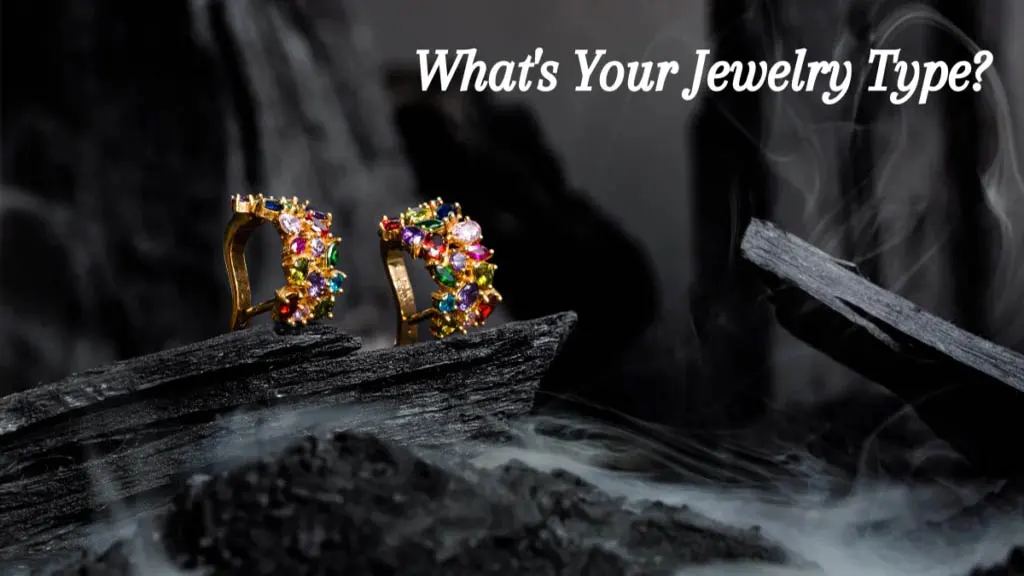
Learn About the Jewelry You’re About To Shoot
Understanding the jewelry you are going to photograph is a crucial step in high-end jewelry photography.
Familiarizing yourself with the various components, gemstones, metals, and finishes will help you highlight the unique characteristics of each piece and create compelling visuals. Here are some key points to consider when learning about the jewelry you are going to shoot:
1. Anatomy of the Jewellery
Identify the different parts of the jewelry, such as the setting, band, pendant, clasp, or prongs. Understanding the piece’s structure will help you capture it from the most flattering angles.
Examine the jewelry’s size and shape. Is it a ring, necklace, bracelet, or earrings? Determine the dimensions and proportions to showcase the piece effectively in your photographs.
2. Gemstones
Identify the type of gemstones used in the jewelry. Is it a diamond, ruby, sapphire, emerald, or another precious or semi-precious gemstone? Each gemstone has unique properties and reflective characteristics that you’ll want to capture accurately.
Learn about the cut, facets, and shape of the gemstones. This knowledge will help you capture their brilliance, fire, and scintillation, enhancing the overall visual appeal of the jewelry.
3. Metals and Finishes
Determine the type of metal used in the jewelry piece. Standard options include gold (white, yellow, or rose), platinum, silver, or a combination of metals. Each metal has its distinct properties and reflects light differently, affecting the overall appearance of the jewelry.
Note the finish of the metal. Is it polished, brushed, textured, or matte? Understanding the finish will help you adjust your lighting and capture the surface details accurately.
4. Unique Characteristics
Examine any unique design elements or features of the jewelry. Are there engravings, filigree work, or intricate patterns that you should focus on? Paying attention to these details will help you showcase the craftsmanship and artistry of the piece.
Look for any special attributes or symbolism associated with the jewelry. Understanding the story or significance behind the piece can inspire you to create a composition that aligns with its meaning.
5. Brand and Style
Research the brand or designer behind the jewelry. Each brand may have its signature style, aesthetic, or target audience. Understanding the brand’s identity can guide you in capturing images that align with its vision.
Consider the overall style of the jewelry. Is it modern and minimalist, vintage-inspired, or extravagant and ornate? Adapting your photography style to complement the jewelry’s design will enhance the overall visual impact.
By investing time in learning about the jewelry you are going to photograph, you can better understand its unique attributes and capture them effectively.
This knowledge will enable you to highlight the beauty and craftsmanship of each piece, resulting in compelling and visually stunning images.
Before delving into the technical aspects of high-end jewelry photography, it’s crucial to understand the anatomy of the jewelry itself. Learn about the cuts, facets, and reflective properties of gemstones, enabling you to accurately showcase their brilliance.
Equipment You Need for High-End Jewellery Photography
When capturing high-end jewellery photographs, having the right equipment is essential. The following are the essential tools and equipment that can help you achieve exceptional results:
1. Camera
Invest in a high-quality camera with manual settings, such as a DSLR (Digital Single-Lens Reflex) or a mirrorless camera. Look for a camera with a high resolution to capture intricate details. A full-frame sensor is preferred for its superior image quality and low-light performance.
2. Macro Lens
A dedicated macro lens is a must-have for high-end jewellery photography. It allows you to capture extreme close-ups with excellent clarity and detail. Look for a lens with a focal length of 60-100mm to maintain a comfortable working distance.
3. Tripod
A sturdy tripod is essential to keep your camera stable during the shoot. It eliminates camera shake, ensuring sharp images and facilitating precise composition. Choose a tripod that is adjustable, lightweight, and provides stability for your specific camera setup.
4. Light Tent or Lightbox
A light tent or lightbox provides diffused lighting, helping eliminate harsh shadows and reflections on the jewelry. It creates a controlled environment, ensuring uniform lighting across the piece. Look for a light tent or lightbox made of a white translucent material that can soften the light source.
5. Reflectors
Reflectors are useful tools for bouncing light back onto the jewelry and filling in shadows. They help create a more balanced and appealing image. Use white, silver, or gold reflectors depending on the desired effect. These can be handheld or mounted on stands for convenience.
6. Light Sources
Invest in high-quality lighting equipment, such as studio strobes or continuous lights, to create the desired lighting setup. Strobes provide powerful bursts of light, while continuous lights allow you to see the effects in real time. Consider using daylight-balanced LED lights for accurate color rendering.
7. Light Modifiers
Light modifiers help shape and control the direction and intensity of light. Diffusers, softboxes, and umbrellas soften and diffuse the light source, creating a more flattering and even illumination. Snoots and grids help focus the light on specific areas, adding highlights and dimension to the jewelry.
8. Color Correction Tools
Color correction tools are essential for an accurate representation of the jewelry’s colors. A color calibration chart or color checker can help ensure accurate white balance and color accuracy during post-processing.
9. Remote Shutter Release
Using a remote shutter release minimizes the risk of camera movement when capturing photos. It allows you to trigger the camera without physically touching it, reducing the chances of introducing blur or vibrations.
10. Cleaning Supplies
Keep a set of cleaning supplies handy to ensure the jewelry is spotless before each shot. Microfiber cloths, lint-free wipes, and lens cleaning solutions will help remove fingerprints, dust, and smudges from both the jewelry and the camera lens.
Remember, investing in high-quality equipment will significantly enhance your jewelry photography capabilities. However, it’s essential to learn and master the techniques required to make the most of your equipment and capture stunning high-end jewelry images.
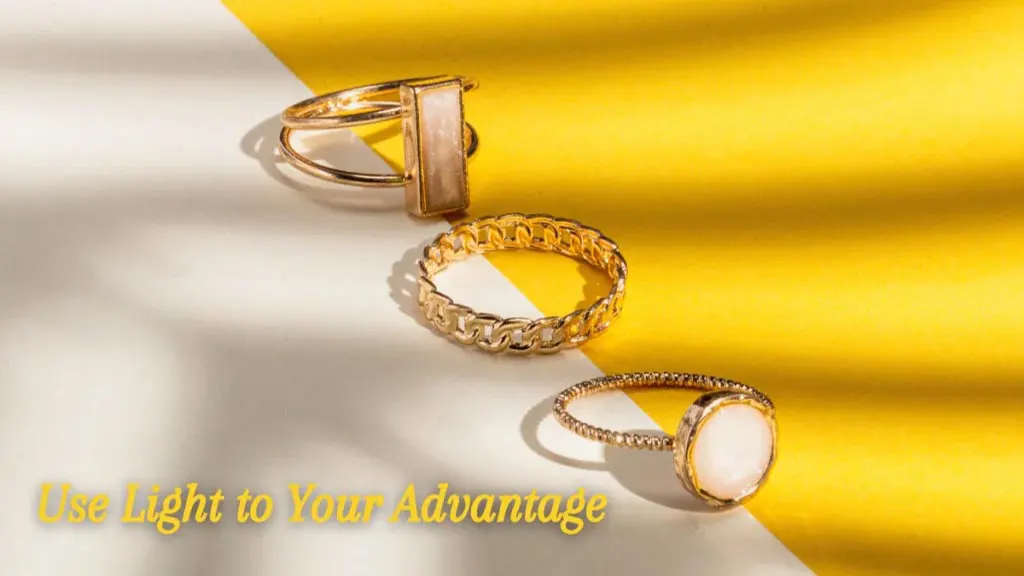
Lighting Techniques for High-End Jewellery Photography
Lighting plays a crucial role in high-end jewelry photography, as it determines how the jewelry piece is illuminated, highlights its brilliance, and enhances its overall visual appeal. Here are some essential lighting techniques to consider:
1. Natural Light
Utilizing natural light can create beautiful, soft lighting for jewelry photography. Position your setup near a large window or utilize a translucent white sheet to diffuse harsh sunlight. Avoid direct sunlight as it can create strong shadows and excessive reflections. Take advantage of the soft, diffused light to showcase the jewelry’s details and sparkle.
2. Light Tent or Lightbox
A light tent or lightbox provides controlled lighting conditions for high-end jewelry photography. These tools consist of a box or tent made of a white, translucent material that diffuses the light from the source. Place the jewelry inside the light tent or lightbox to create soft, even illumination with minimal shadows and reflections. This setup is especially useful for capturing highly reflective surfaces or gemstones.
3. Reflectors
Reflectors are essential tools for jewelry photography. They bounce light back onto the jewelry, helping to fill in shadows and create a more balanced image.
Use white, silver, or gold reflectors depending on the desired effect. Position the reflectors strategically to redirect light onto specific areas of the jewelry, highlighting details and adding dimension.
4. Light Placement
Experiment with different angles and positions of light sources to create captivating highlights and reflections on the jewelry. Consider using multiple light sources to achieve a more three-dimensional effect.
Position the lights to avoid direct reflections or hotspots on reflective surfaces, adjusting their distance and angles to control the light’s intensity and direction.
5. Light Modifiers
Light modifiers such as diffusers, softboxes, and umbrellas are invaluable for controlling the quality and direction of light in jewelry photography. Diffusers help spread the light evenly, reducing harsh shadows and minimizing reflections.
Softboxes provide soft, directional lighting, while umbrellas create a broader, more diffused light source. Experiment with different modifiers to achieve the desired lighting effect for each jewelry piece.
6. Background Lighting
Consider incorporating background lighting to add depth and interest to your jewelry images. You can place a light source behind the jewelry piece to create a gentle backlight or use colored gels to add a touch of ambience. Background lighting can help separate the jewelry from the background, enhancing its overall visual impact.
7. Light Modulation
To create interesting highlights and reflections on the jewelry, use techniques like flags, snoots, or grids to control and shape the light. Flags are opaque objects that block or shape the light, helping to control unwanted reflections or prevent light spills.
Snoots and grids narrow the beam of light, allowing you to precisely direct it onto specific areas of the jewelry, accentuating details or creating interesting patterns.
8. Light Control and Diffusion
To control the intensity of light and minimize harsh reflections, you can use diffusion materials such as tracing paper or diffusion gels. Place these materials between the light source and the jewelry to soften and diffuse the light, creating a more pleasing and even illumination.
Remember, when using multiple light sources or modifiers, take the time to adjust and fine-tune their positions to achieve the desired lighting effect.
Additionally, pay attention to the jewelry’s unique characteristics and adjust the lighting setup accordingly to capture its brilliance and intricate details effectively. Experimentation and practice are key to mastering lighting techniques in high-end jewelry photography.
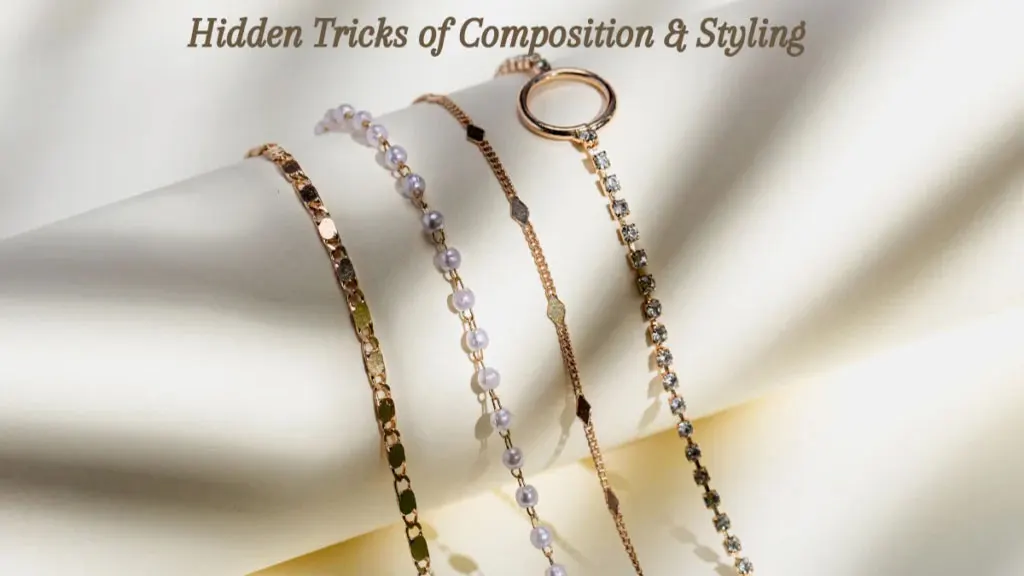
Mandatory Styling and Composition to Do
Styling and composition are crucial aspects of high-end jewelry photography. They contribute to the overall aesthetics, visual storytelling, and presentation of the jewelry piece. Here are some tips to consider when it comes to styling and composition:
1. Background Selection
Choose a clean, uncluttered background that complements the jewelry and allows it to stand out. Solid-coloured backgrounds, such as white, black, or neutral tones, are often preferred because they provide a clean, timeless look. Consider using materials like velvet, acrylic, or reflective surfaces to add a touch of luxury and elegance to the background.
2. Props and Accessories
Selective use of props can enhance the jewelry’s visual appeal and add context to the image. However, be cautious not to overshadow the main subject. Props could include items like jewelry boxes, fabric, flowers, or other complementary accessories that help tell a story or create a mood. Keep the focus primarily on the jewelry while using props as supporting elements.
3. Composition Techniques
Apply compositional principles to create visually pleasing and balanced compositions:
Rule of Thirds: Divide your frame into a 3×3 grid and place the main elements of the jewelry along the gridlines or at the points where they intersect. This creates a visually balanced composition.
Leading Lines: Use lines, whether natural or created by props or jewelry elements, to guide the viewer’s eye toward the main focal point of the image.
Negative Space: Leave space around the jewelry to draw attention to the main subject and create a sense of elegance and minimalism.
Symmetry and Asymmetry: Experiment with both symmetrical and asymmetrical compositions to create different visual effects. Symmetry can add a sense of balance and harmony, while asymmetry can create visual interest and intrigue.
4. Angles and Perspectives
Explore different angles and perspectives to highlight the unique features and textures of the jewelry. Experiment with close-ups, profile shots, and interesting viewpoints to capture the intricacies and details of the piece.
Be mindful of reflections and make adjustments to your lighting setup or camera position to minimize unwanted reflections on reflective surfaces.
5. Depth of Field
Control the depth of field to draw attention to specific areas of the jewelry and create a pleasing background blur. Use a wide aperture (smaller f-number) to achieve a shallow depth of field, isolating the main subject from the background. This technique helps accentuate details and adds a sense of depth to the image.
6. Storytelling and Mood
Consider the style and story you want to convey through your images. Reflect on the jewelry piece’s personality or the brand behind it. Experiment with different lighting, props, and styling choices to create a specific mood or evoke certain emotions, whether it’s classic and timeless, modern and edgy, or romantic and dreamy.
7. Consistency and Branding
If you’re shooting for a specific brand or consistent visual identity, ensure that your styling and composition align with their brand guidelines.
Maintain consistency in terms of lighting, background, props, and overall aesthetics to create a cohesive visual language that represents the brand’s values and target audience.
Styling and composition should enhance and complement the jewelry, allowing it to shine while adding visual interest and storytelling elements. Experiment with different techniques, but also trust your creative instincts to capture the essence and allure of high-end jewelry through your photography.
Wild Post-Processing and Retouching Tips
Post-processing and retouching are essential steps in high-end jewelry photography to refine and enhance the captured images. Here are some detailed tips on post-processing and retouching techniques for jewelry photography:
1. Raw Editing
Start by importing your RAW files into software such as Adobe Lightroom or Capture One. Adjust essential parameters like exposure, white balance, contrast, and highlights/shadows to ensure a well-balanced starting point for your editing process. RAW files retain more data and offer greater flexibility for adjustments compared to JPEG files.
2. Retouching
Jewelry retouching involves meticulous editing to achieve a flawless appearance while maintaining a natural look. Focus on the following aspects during the retouching process:
Dust and Scratches: Use the Healing Brush or Clone Stamp tool to remove any dust particles, scratches, or unwanted imperfections on the jewelry. Pay attention to small crevices and gemstone settings.
Skin Blemishes: If the jewelry is being worn by a model, ensure that their skin appears smooth and blemish-free. Use the Spot Healing Brush or Frequency Separation techniques to retouch any skin imperfections or wrinkles while preserving natural texture.
Metal Refinements: Enhance the metal parts of the jewelry by cleaning up any tarnish, scratches, or reflections that distract from its appearance. Use careful dodging and burning techniques to emphasize highlights and shadows, enhancing the metal’s three-dimensional look.
Gemstone Enhancements: Make the gemstones appear vibrant and captivating. Enhance their color and clarity while maintaining a natural look. Use selective adjustments, such as Curves or HSL sliders, to bring out the inherent beauty and sparkle of the gemstones.
Background Cleanup: Ensure that the background remains clean and distraction-free. Remove any unwanted elements or reflections that may take away from the main subject. Use the Clone Stamp or Content-Aware Fill tools for seamless background cleanup.
3. Color Enhancement for High-End Jewellery Photography
Fine-tuning the colors of the jewelry can greatly impact its visual appeal. Consider the following techniques:
Color Correction: Adjust the color temperature, tint, and white balance to ensure an accurate representation of the jewelry’s colors. Use color calibration tools, like a color checker, for precise color correction.
Saturation and Vibrancy: Increase the saturation and vibrancy of the jewelry’s colors to make them appear more vivid and appealing. However, be cautious not to overdo it, maintaining a balance between natural and enhanced colors.
Gemstone Hue and Tone: Adjust the individual hues and tones of gemstones if needed. This can help correct any color cast or enhance their natural characteristics. Use selective adjustments or masking techniques to target specific gemstones.
4. Sharpening
Apply selective sharpening techniques to enhance the details and make the jewelry appear crisp and well-defined. Use sharpening tools or filters with care, ensuring that the sharpening effect is applied selectively to the jewelry and not the background or other areas of the image. Avoid oversharpening, as it can introduce artifacts or make the image look unnatural.
5. Exporting
Save the final images in a suitable format, such as JPEG or TIFF, to ensure optimal visual quality. Consider the intended usage of the images, whether for print or web, and adjust the resolution and file size accordingly. Optimize the images for different platforms or purposes, ensuring color accuracy and maintaining the highest level of detail.
The goal of post-processing and retouching in high-end jewelry photography is to refine and enhance the images while maintaining a natural, realistic appearance.
Pay attention to the details, color accuracy, and overall visual impact to create stunning, professional-quality images that highlight the beauty and craftsmanship of the jewelry. It’s not all. Learn more about which camera fits you for your next high-end jewelry photography.
Final Words
Mastering high-end jewelry photography requires a combination of technical skills, attention to detail, and a keen eye for aesthetics. By understanding the intricacies of jewelry, investing in suitable equipment, mastering lighting techniques, applying effective styling and composition, and employing post-processing techniques, you can create captivating images that truly reflect the allure and craftsmanship of high-end jewelry.
Remember to practice, experiment, and develop your unique style, so your creativity shines through in every photograph. So, grab your camera and embark on a journey to capture the brilliance and magnificence of these exquisite treasures. Happy shooting!