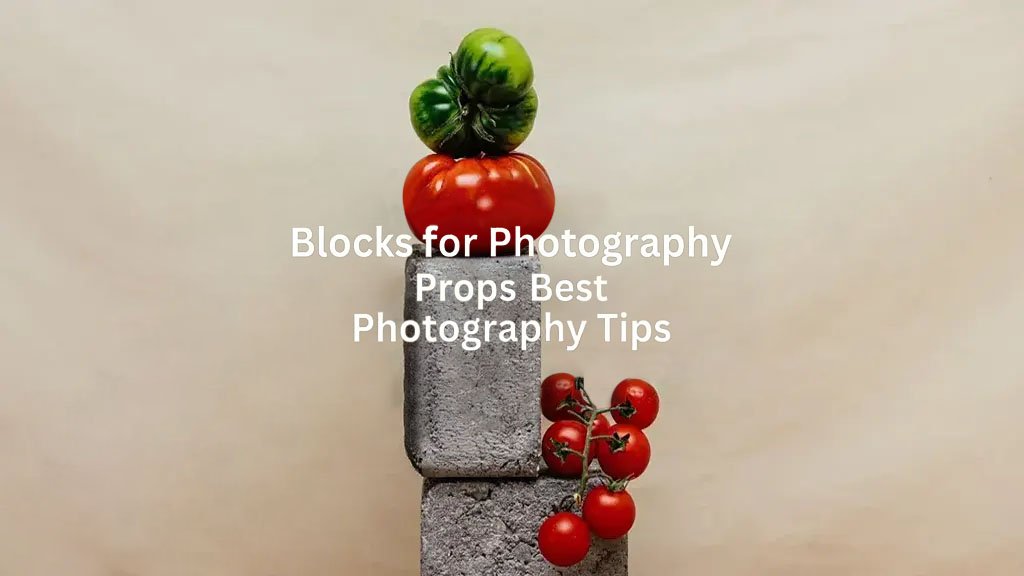
How Blocks for Photography Props Can Improve Your Product Photography
- May 17, 2025
If you’re a product photographer, you know that getting the perfect shot can be challenging. But did you know that using blocks for photography props can help you get the perfect picture every time? This article will show how blocks for photography props can improve your product photography. We’ll discuss why they’re important and how to use them for the best results. We’ll also offer advice on how to get the most out of your product shots. So, if you want to improve your product photography, read our article!
How to Use Blocks for Photography Props to Improve Your Product Photography
Product photography is an essential part of online marketing, as it helps showcase your products in their best light and can influence potential customers. Using blocks as photography props in your product photography can create unique, stylish photos that grab attention and help your products stand out from the competition. You can use blocks for photography props in several ways to improve your product photography. For example, you can use them to create a dramatic backdrop or highlight certain product details.
If you want to make a big impact with your product photography, using blocks is a great way to do it. By taking the time to experiment with different compositions and styles, you can create truly unique photos that will grab attention.
Why Blocks for Photography Props Can Be Helpful in Product Photography
Product photography can be tricky, but using blocks for photography props can help improve your photos. Using blocks can create a more stable surface for your product, helping reduce camera shake and blur.
Additionally, partnerships can help create a clean backdrop for your product. Using a white or light-colored block can help reflect light onto your product, making it appear brighter in the photo.
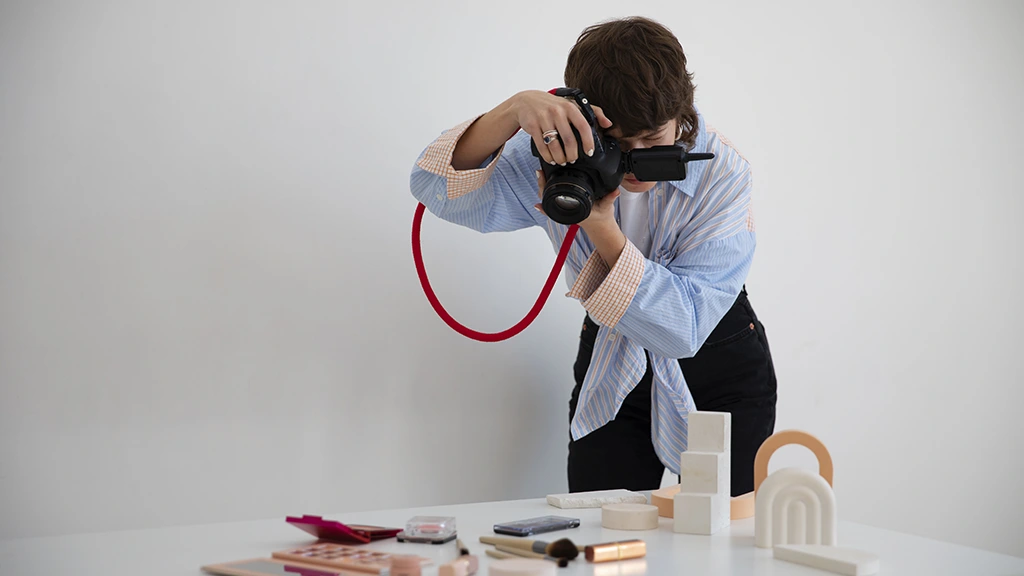
How to Set Up a Photo Shoot Using Blocks
If you’re looking to improve your product photography, one way is to use blocks as photography props. Using blocks can create various looks for your photos, making them more visually interesting. Plus, if you have a particularly challenging product to photograph, using blocks can help you get the perfect shot. Here’s how to set up a picture shoot using blocks:
-
Choose the right location:
When using blocks for photography props to improve your product photography, choosing a place that will complement your product is important. For example, if you’re shooting a small product, you’ll want to choose a location with ample negative space. This will help make your product look larger in the frame. -
Set up your blocks:
Once you’ve chosen your location, it’s time to set them up. You’ll need to arrange them so you can prop up your product. You can use various materials for your blocks, including foam core, cardboard, or even bricks. -
Place your product on the blocks:
Once your blocks for photography props are in place, it’s time to place your product on them. Make sure your product is positioned in a way that makes it look its best.
- Take your photo:
It’s time to take your photo after it’s in position. Make sure that you get a variety of shots
How to Get the Most Out of Using Blocks for Photography Props in Product Photography
Regarding product photography, blocks can be a great way to improve your shots. Using blocks can create cleaner lines and more interesting compositions. In addition, blocks can help to add depth and dimension to your photos. Here are a few tips on how to get the most out of using blocks in product photography:

1. Use different sizes and shapes of blocks:
You can create more interesting compositions by using different sizes and shapes of blocks for photography props. Try using a mix of large and small blocks or even different-shaped blocks.
2. Experiment with different colours:
Blocks for photography props come in various colours, so don’t be afraid to experiment. You may find that certain colours work better with your product than others.
3. Stack the blocks:
One way to create more interest is to stack the blocks. This might add more depth and dimension to your photos.
4. Use the blocks as props:
Blocks can also be used as props in your shots. You can use them to prop up your goods or to create a background, for example.
5. Be inventive:
When it comes to using blocks in product photography, there are no rules. So think beyond the box and see what you can come up with!
Tips and Tricks for Using Blocks for Photography Props in Product Photography
- Get creative with your product placement.
- Use different colored blocks to create interesting backgrounds.
- Use different sizes and shapes of blocks to create unique compositions.
- Play with light and shadow to create dimension and interest.
- Be careful not to overdo it – sometimes less is more.
- Have fun and experiment!
Conclusion
Boost your product photography with simple yet powerful props like blocks. They provide stability, reduce glare, and enhance depth, helping you capture clean, professional-quality images. Blocks also improve lighting control and allow creative angles for detailed close-ups. Perfect for elevating your brand visuals, they’re an easy way to create standout, high-impact product photos.