Photoshop Clipping Path Vector Mask – Everything You Need to Know
- January 9, 2023
Cutting out a particular shape or an object from an image is a powerful photo manipulation technique in Adobe Photoshop. And there are multiple ways to do it. One of Photoshop’s most effective ways of achieving a photo cutout is the wanna know-how to create a clipping path vector mask in Photoshop. There are only five simple steps that need to be followed method. But exactly why is this method so good? The vector mask method produces more accurate results compared to other pixel-based tools. A vector mask, as its name suggests, makes vector cutouts. This means the final object will be resolution independent and can be flexibly used in any other content regardless of the quality.
Give this article a read to get specific instructions for creating and editing a vector mask. You’ll also learn how to remove and convert a previously created mask. You’ll also know what other alternatives you have for this method and how they are better or worse in comparison. So, let’s jump in.
Vector Mask – What Is It?
A lot of beginners assume that vector mask or clipping path must be an intricate method containing many critical moves. But in reality, it’s actually the opposite. A vector mask can be said as a user-controlled background removal tool. You’ll find this tool in other image-editing software as well.
Like in Adobe Illustrator, this tool is named clipping path. Creating a vector mask mainly just needs a shape-making tool. Yeah, that’s it! The rest of it is just enabling the option. Although there aren’t many technicalities to this method, its outcome solely depends on the users’ skill and patience.
How to Create a Vector Mask?
As I said, the steps for creating a vector mask are not convoluted at all. Here is how you can create a clipping path vector mask in 5 simple steps.
1. Open a Project
Open an existing photoshop project or a new one with a suitable background size. To create a new project, go to File> New and create one. A dialog box will appear where you can set the background size of the file. In your newly opened file, there will be a default layer for you to primarily work on. You can hide or show this entire layer using a vector mask.
To hide the entire layer, go to Layer > Vector Mask in the toolbar and choose ‘Hide All.’ For reverting the changes or revealing a previously hidden layer, go to Layer > Vector Mask and click ‘Reveal All.’
2. Place the Image
Once your file is ready, it’s time to include the image you’ll work on. To include an image, go to ‘File’ on the toolbar and click ‘Place.’ A dialog box will then pop up. You can roam your storage space from this box and choose your desired image.
You won’t need to create any separate layers to implement this method. Just working on the image would suffice.
3. Start Drawing
After the image is set on the background, it’s time to draw. The basic idea is to create an outline of the object. You can use normal shape-building tools like circles, rectangles, and line tools for outlining simpler objects.
For complex objects, the pen tool will be your best friend. Zoom the object to a comfortable degree. Usually, between 400% to 1600% is where you’ll get the best point of view of the object’s periphery.
4. Outlining the Object
After securing a good point of view, start bordering the object. This step is where your skill comes to work. You’ll need to work with the pen tool to outline the object. And mastering this tool requires a lot of practice. The pen tool works in a click-and-drag manner. While outlining, try to keep the lines inside the object a bit.

Just a little bit so that color pixels from the background don’t remain with the cutout, and your object looks a lot fresher. Once you’ve covered almost all of the object’s outline, you should find yourself next to where you started. Join the first anchor point to your last to finish the path. You can do it by dragging the path from the last point to the first point and then double-clicking.
5. Removing the Background
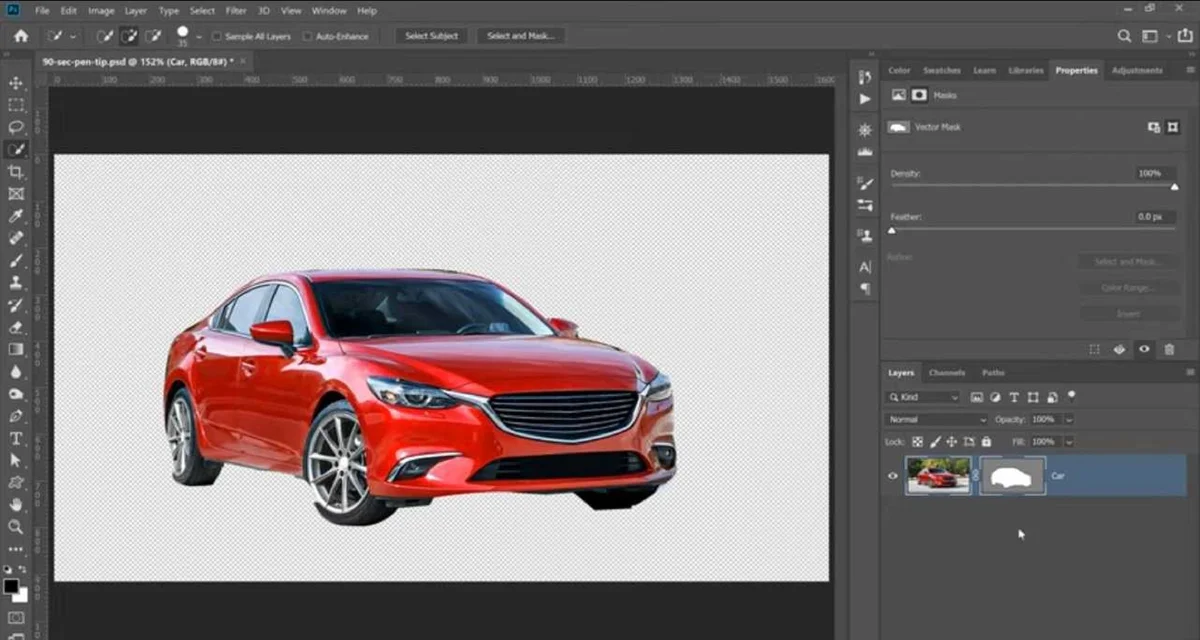
Once you’ve done outlining the object, you can now remove the background. Select the outline using the ‘Direct Selection‘ tool. Then right-click on it to access the drop-down menu, and you’ll find the option ‘Create Photoshop Vector Mask.

‘If everything is done correctly until now, your desired object shall be separated from the background. You can now add the object on a background of your choice. Or use it in another image.
Editing a Vector Mask
As creating a vector mask is all about accurately outlining the object, the final outcome may not always be satisfactory. Missing edges or overdoing parts of the outline are really some of the common mistakes you can make. To edit your created vector mask, go to the Layers Panel and select the layer that has the vector mask in it.
You will find a Vector Mask button in the Properties Panel. Click it, and then you’ll find the option to modify your current path shape. You can edit the shape either with the pen tool or the direct selection tool.
There is a density slider in the vector mask pop-up dialog. You can use this slider to adjust the opacity of the mask. There is also a feathering slide that lets you feather the mask edges.
Remove/Enable-Disable a Vector Mask
Fortunately, vector mask is a highly flexible method of image manipulation. Not only can you remove it, but you also get options to switch between masked and unmasked content whenever you want. Let’s see how.
Removing Vector Mask
This is rather straightforward. In the pop-up dialogue that appears when you click the vector mask option in the Properties Panel, you’ll find a Delete Mask button with the symbol of a Trash Can. Click this button to remove the mask.
Disabling/Enabling a Vector Mask
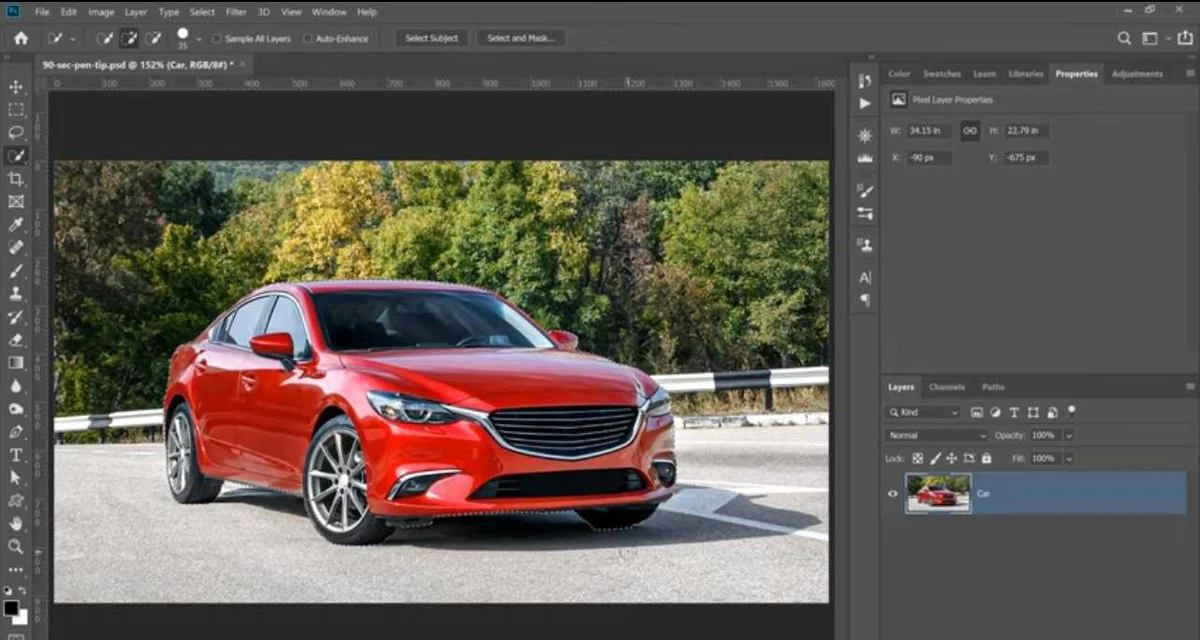
You can disable/enable a vector mask in several ways.One of the ways is selecting the layer that holds the vector mask and clicking the ‘Disable/Enable Mask’ button on the Properties Panel.
You can toggle the button to switch between the masked and unmasked content.This indicates that masking doesn’t delete the background altogether. It just hides it.Another way of doing this is to go to the Layer and go Vector Mask > Enable or Vector Mask > Disable.
Frequently Asked Questions Clipping Path Vector Mask
Clipping path is a fascinating tool only if applied correctly. Below are some of the most commonly asked questions from beginners who want to master clipping path vector mask.
What is the difference between a vector mask and a clipping mask?
Many people confuse the vector mask and clipping mask methods to be the same in Photoshop, but they are very different. Vector mask requires only one layer to work on. On the contrary, the main purpose of clipping masks is to correlate the visibility of different layers.
For creating clipping masks, you’ll require two different layers. The bottom layer will have power over the visibility of the layer above it. You can phrase the bottom layer as the mask. The top layer is what was clipped to your prepared mask.
How to convert a vector mask into a layer mask?
To convert the vector mask, select the layer that contains it first. Then go to the Layer drop-down menu and choose to Rasterize > Vector Mask. This action will convert the vector mask to a layer mask. Remember that if you rasterize a vector mask, you can’t convert it back.
Conclusion
From beginner to expert users of Photoshop, everyone should be knowledgeable about clipping path vector mask. I hope this guide will help you form vector masks properly. Remember that this method’s outcome solely depends on your skill in using the pen tool, and mastering the pen tool requires a lot of practice Please write the FAQ as mentioned in other content formats. Include a 3-4 line description underneath it.