Everything You Need to Know About Clipping Path Tool
- January 1, 2023

When it comes to editing images for product promotion, the clipping path tool is one of the most widely used. What it does is allow you to remove the subject from an image and then paste the subject on a background to create something extremely attractive. However, if you’re new to the clipping path and don’t know much about it, this is the guide you should follow. It covers all the basics of clipping paths, including easy-to-understand instructions on how you can start doing clipping paths in Adobe Photoshop. So, without any further ado, let’s get right into it!
What Is Clipping Path?
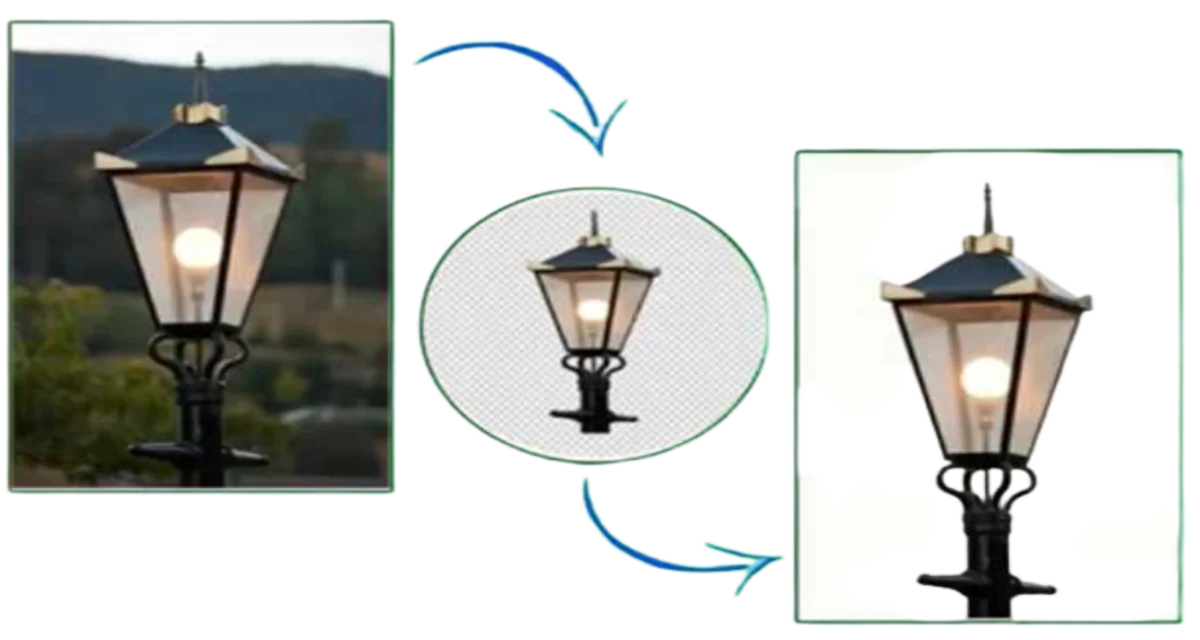
Simply put, a clipping path is a technique used to remove the subject from the background. To give you an example, let’s say you took a picture of a smartphone for advertising purposes. And you noticed that the background is dull, it’s not appealing, and it makes the image look bad. That’s where the clipping path strikes, and it allows you to mark the smartphone and then remove it from that dull background and put it over a different background that’s far better. To mark or draw the path, you need to use a pen tool, which is a common tool in various image editing software.
There are many levels of clipping paths that we’ll get into in the coming section. Clipping paths for images with subjects that have sharp, straight edges are the easiest level. That’s because it’s easy to mark them properly and extract them. But still, the editor needs to have a good grip on the pen tool and experience to extract the subject correctly. If the clipping path is drawn poorly and then used to extract the part on a different image background, it’ll look disastrous, which is probably the last thing you want.
What Are the Types of Clipping Paths Based on Difficulty Level?
Based on complexity, clipping paths are classified into four types: basic, medium, complex, and super complex.
Basic
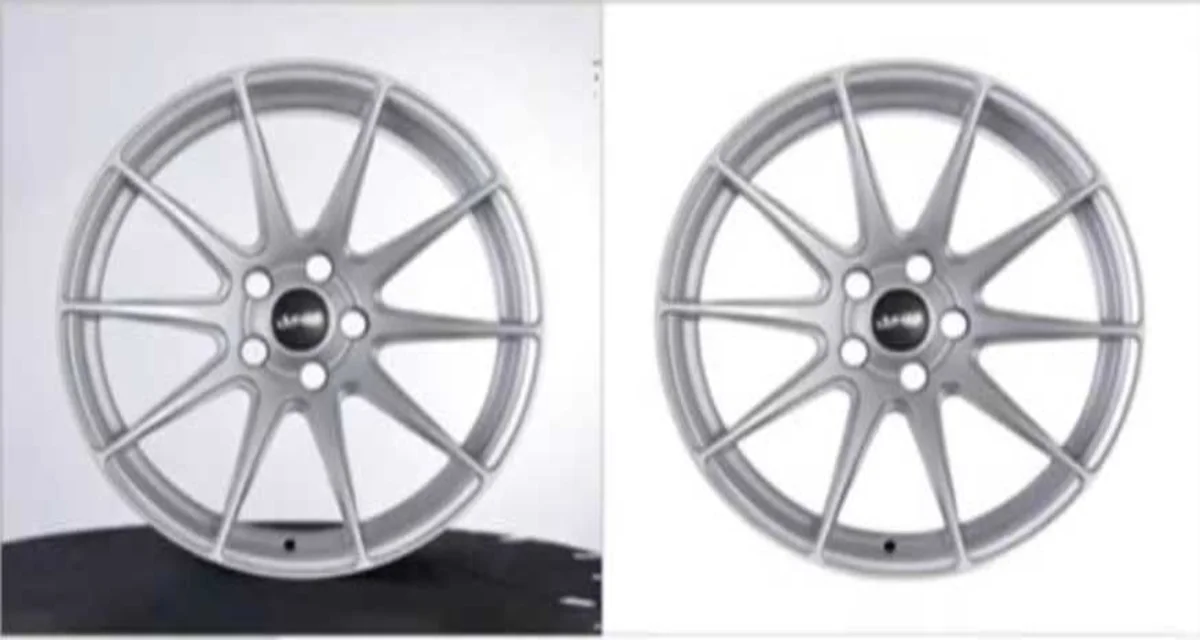
As you have probably already guessed, it’s the easiest of all. In the basic clipping path, the subject in the image has straight edges and no curves. That’s why it’s a breeze to draw the closed vector path around the edges and extract the subject accurately.
In the basic clipping path, the designer is required to use only a few anchor points. We can say that extracting a smartphone or a square box, or a book as a subject from an image is a basic clipping path. Designers give very little effort into such clipping path levels. Usually, professionals offer basic clipping paths for free.
Medium
This one’s slightly harder than the basic one. Usually, at medium levels, the image contains one or more subjects that come with straight edges and some curves too. Therefore, the designers need to have a decent hold of Adobe Photoshop and Illustrator’s pen tools.

Using a clipping path to extract jewellery, toys, clothes, and watches from the image falls under the medium clipping path category. Compared to the basic level, in this one, more anchor points are required, and so is the time.
Complex
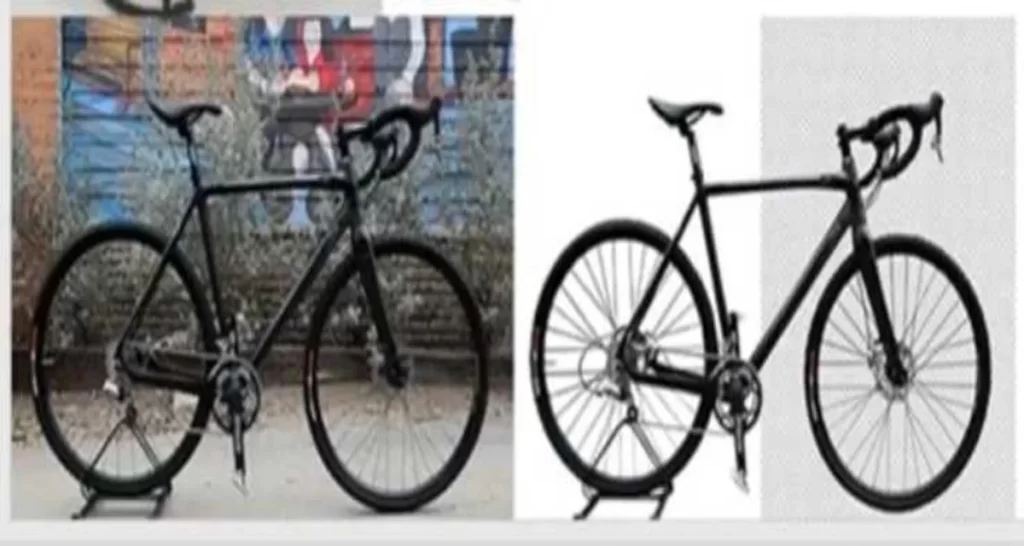
For this level, the designers need to have a good grip on the pen tool. Otherwise, it’s not possible. At this level, the images usually contain multiple subjects, and each subject requires hundreds of anchor points due to the extreme curves. Images containing a bicycle or a necklace with items of various shapes fall under the complex category.
Complex clipping paths require a lot of time; however, experienced designers can get them done more quickly. This level of clipping path service is expensive as well, due to the time and experience required.
Super Complex
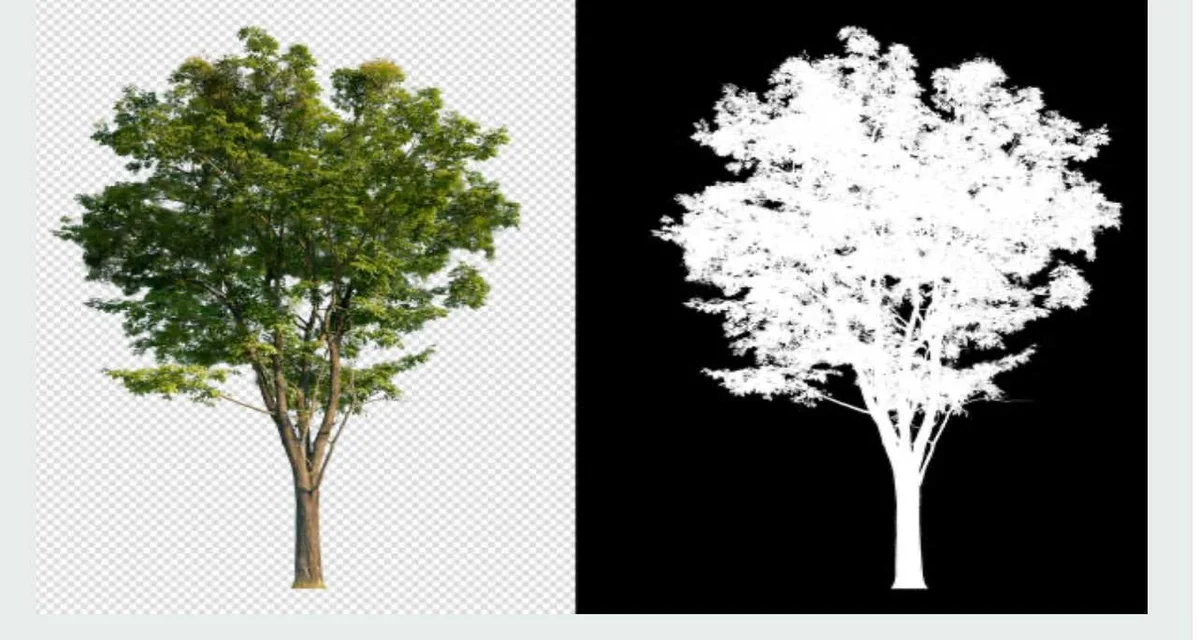
As the name suggests, complex clipping paths aren’t everyone’s cup of tea. Designers need to master the tool pen to achieve the accuracy needed for super complex clipping. This level of clipping path is required to extract subjects that have hundreds of gaps inside, whose edges aren’t that clear, and that contain complex curves. For example, extracting a female model who has high-density curly hair falls into the super complex category.
First of all, the hair itself is a thin thing, and then the curls of hair roll in all directions. Plus, they overlap with each other too, therefore, it’s indeed pretty tough to extract such subjects with optimum accuracy.
Types of Clipping Path Based on Layer
Clipping paths are based on layers. There are mainly two types of layers: single and multiple.
Single-Layer Clipping Path
This type of clipping is used when there is one subject in the image. And this single-layer clipping is pretty easy compared to the other one.
An example of single-layer clipping is an image containing only glass (single subject), and you’ll have to extract the glass from the background.
Multiple Layer Clipping
When there is more than one subject in the background, multiple-layer clipping is used there. An example of multiple-layer clipping is an image containing a human and a pet dog (Two subjects), and you’ll have to extract both of them. For obvious reasons, multiple-layer clipping requires more time than single-layer clipping.
How to Create a Clipping Path?
There are a few software programs where you can create clipping paths, but since adobe Photoshop is a widely used software, we’ll be showing how a beginner can start creating clipping paths in Photoshop step-by-step.
Step 1 – Open an Image
The first thing to do is to open an image on Adobe Photoshop. And then zoom the image so you can draw paths along the subject edges more clearly. That being said, you should only zoom to the extent that you can properly see the edge; 200%–300% would be an ideal range, depending on the image quality.
Step 2 – Select the Pen Tool
As mentioned before, clipping paths are made using the pen tool. In Adobe Photoshop, you should find the pen tool on the left toolbar.
And before you start using the tool, you’ll have to make sure the pen settings are okay. Here’s how you do it:
- First, select the pen tool from the left column, or you can just press “P”, which will automatically activate the pen.
- Then, at the top, you should see an option bar where there is an icon of a pen.
- Right beside that, you’ll see an option named “Path” upon clicking on the downward arrow, and a list will drop down containing a few other options.
- From those, you’ll have to click on “Combine Shapes.“ Well, now the pen is ready for making paths!
Step 3 – Create a Path
Time to draw the paths. After selecting the pen tool, take the cursor to the edge of the subject, right-click on the mouse (You have to keep the right button pressed), and draw along with the subject edge. Press the right button of the mouse, draw a small line, and then release the button. And keep repeating this process until you come to the point from where you started drawing the path. To complete the path, you’ll have to connect the endpoint with the starting one. Once you think you’ve reached the starting point, hover the pen over the point you think is the starting point. If you see a small circle next to the pen after hovering, then that’s the starting point. Right-click on the point, and you’ve successfully closed the path.
Step 4 – Modifying the Path
What about if you have to bring any changes to the path you just closed? Yes, that’s possible. In the left column, under the pen tool, you’ll see an icon of “Cursor.” Click on that, and you’ll get two options: path selection and direction selection.
Select the direct selection and select the path point you want to change, and now you should be able to change the path according to your needs.
Step 5 – Save your Work
When you’ve made all the changes, it’s time to save the path. To do that, you’ll have to go to the path panel, where you’ll see the path you’ve created. Left-click on that, and you’ll see a list pop up. Select “save path,” and that’s it. While saving, you won’t see any difference in the image when saving the path. If you save the file in PSD format and then open the file in Illustrator, InDesign, or any similar software, there you’ll only see the work you’ve done. And you’ll be able to put the extracted part on any background you want.
Conclusion
The Clipping Path Tool is an essential technique for achieving clean, professional image editing results. Whether you’re working in eCommerce, photography, or graphic design, mastering clipping paths helps you create precise cutouts, enhance product visuals, and improve overall image quality. By using this tool effectively, you can boost visual appeal, maintain brand consistency, and optimize images for better SEO performance and higher engagement online.
