Master Clipping Path in Procreate Like a Pro
- January 1, 2023
With the popularity of digital art and editing tools reaching high, almost all of us have heard of or used Procreate. And clipping path in Procreate is one of the most commonly used features to edit images or create art and illustrations. There are several reasons behind the popularity of clipping masks, including their non-destructive ability to add to any image without ruining the actual image. So, without further ado, let’s get into it and learn more about this amazing tool.
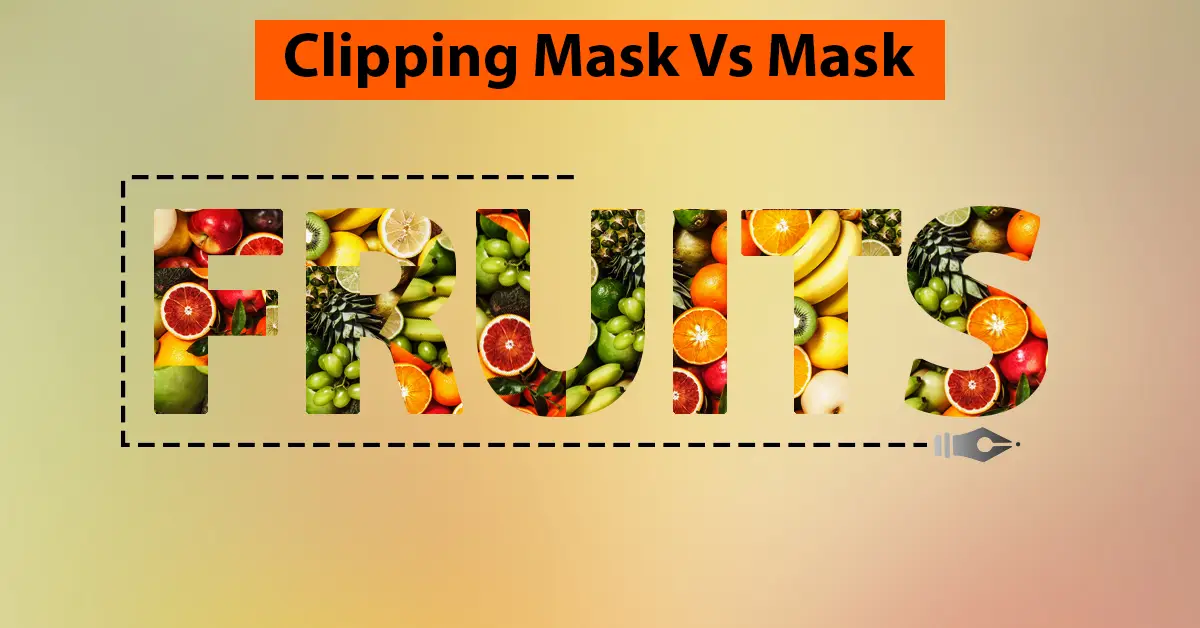
Clipping Mask Vs Mask− What Is It and What Does It Do?
Procreate has multiple options, like including masks and clipping masks. It’s easy to get confused between the two functions if you are not familiar with them.

So, let’s look at what a clipping mask is, what it does and how it is different from masks.
| Clipping Masks | Masks |
| Clipping mask in procreate is a non-destructive editing tool. | Also non-destructive editing tool. |
| It places a layer above a specific part of the image you would like to edit or change. | Masks also place a layer above the image to remove any specific part of that image. |
| Allows you to draw something on a separate layer without destroying the actual image. | Allows you to erase any work from an image while keeping the eraser marks on a separate layer. |
| Adds something to an image or art. | Removes something from an image or art without using eraser tools. |
How to Use a Clipping Mask in Procreate in 4 Steps
You can use clipping masks in Procreate with just a few easy steps. Follow the step-by-step guide to create a basic clipping mask in Procreate.
Step 1 − Selecting Original Layer Area
We are using clipping masks to edit a specific part. So, first of all, we need to select the area where we want to apply the clipping mask as well.
You can do that by simply opening the layer panel and selecting whichever part or area you would like to change.
Step 2 − Adding a New Layer
Next, we need a second layer to place above the first layer that we’ve already selected. This second layer is a separate one where we will create the changes we want to add to the original image.
So, make sure it’s placed right on top of the previous layer. You can add this new layer by clicking the plus sign in the layer panel.
Step 3 − Adding Clipping Mask
For adding the clipping mask, click on the second layer we added in step 2.
It will open a list of options, including clipping masks. Click on it to add a clipping mask to the 2nd layer.
Remember to add the mask to the new layer and not the first layer.
After adding the mask, the second layer will become indented and have a tiny arrow pointing to the original layer. This means it will now work as a clipping mask for the layer underneath. If you accidentally add the clipping mask to the first layer, it can’t act as a separate layer, and rather, it changes the original image. So, be careful with that.
Step 4 − Start Drawing
And finally, the exciting part− drawing on the clipping mask. Since it is a separate layer, anything you draw on this layer will stay on this layer without changing the original art.
Also, because the drawings are confined to the layer area, it’s easy to control the colors without spilling them onto the surrounding areas. Anything you draw on this layer will appear on the actual image. The drawing uses pixels from the selected area on the first layer.
So they are easy to blend. You can also lower the capacity to create different effects. There are undo buttons to erase anything you don’t like. It removes only the drawing, not the actual art. And that’s how you can use a clipping mask to create effects on an image or art.
Advantages and Disadvantages of Clipping Masks In Procreate
Using clipping masks has both its pros and cons. Let’s take a look at them.
Pros
- It’s a non-destructive layer
- Very useful for experimentation, especially for beginners
- Can stack multiple layers on top of each other
- Great for adding drawings, textures, and even images to an image or art
- Easier to control
Cons
- Additional layers will increase the total layer count
Alpha Lock Feature − Clipping Masks Vs. Alpha Lock
Clipping masks are not the only way to add to an image in Procreate. You can also use the alpha lock feature to add colors or patterns in Procreate. But how is it different from clipping masks? Let’s get into it. With clipping masks, anything we draw on it will apply to the layer below it while still being a separate layer.

However, the alpha lock feature locks the layer’s transparency which is known as alpha, to draw on the actual image. So, anything you draw on it will exist on the alpha.
In brief, an alpha lock affects all the layers below and above the alpha, while the clipping masks affect only the layers underneath.
When to Use − Alpha Lock Vs. Clipping Masks
Since both features have somewhat similar functions, when should we use them? It depends on your project and what type of result you are expecting.
Clipping masks naturally gives you more flexibility and comfort to experiment with your project. You can try multiple drawings or adjustments without damaging the original file. So, if you are unsure about what to try, clipping masks are a great option to go for. But at the same time, as the adjustments or additions are on a separate layer, they may not blend as well with the original art.
On the other hand, the alpha lock lets you draw directly on the image by locking its transparency. So, anything you draw on it becomes an integral part of it, unlike clipping masks. This does lead to compromising the flexibility for experimentation, but it makes up for its blending quality. In fact, one of the main reasons people like to use alpha locks is due to their exceptional blending ability. Since the drawing and the image are on the same layer, they act as a whole part and deliver a smoother result than clipping masks.
Frequently Asked Questions About Clipping Path In Procreate
The following FAQs will further add to your knowledge on clipping path procreate.
Can you use both clipping masks and alpha lock together in procreate?
Using both the clipping mask and alpha lock altogether is very much possible. In fact, using them together helps you draw within the lines.
Can you use more than one clipping mask together in procreate?
You can add multiple clipping masks in procreate by layering them on top of each other.
Is alpha lock better than clipping masks?
It depends. There are many factors, but the key reason most people choose the alpha lock feature over clipping masks is due to their outstanding blending ability.
How do you bring back something you removed on clipping masks in procreate?
There is a white brush that is used to bring back something in case you remove too much.
Final Words
From editing images to creating intricate art and illustrations, there are very few tools that let you do all of them. Clipping masks Procreate is one of them. Not only is it easy to use, but it also has versatile features to add shadows, drawings, and textures to any images you want.
