How to Exit 3D Mode in Photoshop: A Step-by-Step Guide 2025
- October 11, 2023
Adobe Photoshop is a versatile tool that serves various design needs, including 3D modeling and editing. While working in 3D mode can be a powerful and creative way to enhance your projects, it may not always be necessary. But do you know how to exit 3D mode in Photoshop?
Sometimes, you may want to return to the traditional 2D workspace. If you find yourself in 3D mode and want to exit it, this article will guide you through the process step-by-step.
What is 3D Mode in Photoshop?

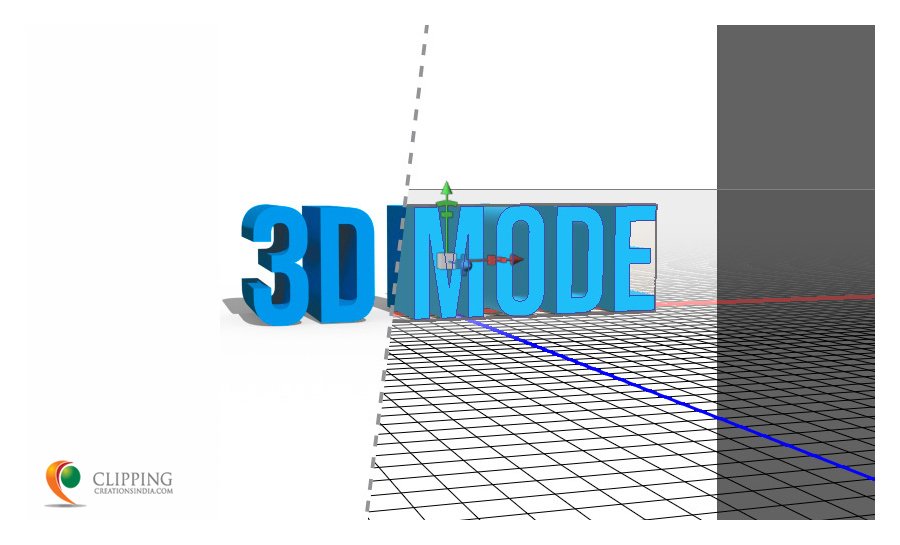
In Adobe Photoshop, 3D mode refers to a specialized workspace and set of features that allow users to work with three-dimensional objects and scenes.
While Photoshop is primarily known for its image editing capabilities, it also offers powerful 3D tools that enable users to create, edit, and manipulate 3D content.
Photoshop’s 3D mode is particularly valuable for designers, illustrators, and digital artists who want to integrate 3D elements into their artwork or create 3D visualizations for various projects.
It allows for more dynamic and realistic presentations, especially in fields like product design, advertising, and game development.
When working in 3D mode, users can:

1. Create 3D Objects:
Photoshop allows you to create basic 3D shapes like cubes, spheres, cylinders, and more. You can also import 3D models from other software or convert 2D layers into 3D objects.
2. Edit 3D Objects:
Once you have a 3D object, you can use various tools to manipulate and modify it. This includes rotating, scaling, moving, and applying deformations to change the shape and perspective of the object.
3. Texture and Material Mapping:
Photoshop provides options for applying textures and materials to 3D objects. You can add images, patterns, and colors, and even use complex textures to give the objects a realistic appearance.
4. Lighting and Shading:
3D mode allows you to set up and control lighting in your scene, including the position, intensity, and color of lights. This helps create realistic shadows, highlights, and shading on the 3D objects.
5. Camera Controls:
Just like in traditional 2D design, you can control the camera in a 3D scene. This means you can change the camera’s position, orientation, and focal length to capture the scene from different angles and perspectives.
6. Rendering:
Once you’ve set up your 3D scene and adjusted the objects, textures, lighting, and camera, you can render the final output.
Rendering is the process of converting the 3D data into a 2D image or video. Photoshop offers options to adjust the rendering quality and settings to achieve the desired results.
7. Post-Processing:
After rendering, you can perform additional post-processing using Photoshop’s standard 2D editing tools. This includes applying filters, adjustment layers, and other image editing techniques to further enhance the final output.
While 3D mode in Photoshop offers a range of capabilities, it’s essential to note that it may not be as comprehensive as dedicated 3D modeling and rendering software like Autodesk Maya or Blender.
However, for many users, Photoshop’s 3D tools are a convenient and accessible way to work with three-dimensional elements without the need for additional software or specialized knowledge.
How to Exit 3D Mode in Photoshop
Exiting 3D mode in Adobe Photoshop is a straightforward process that involves disabling the 3D workspace and returning to the standard 2D environment. Follow these step-by-step instructions to exit 3D mode:
Step 1: Open the 3D Scene (Optional)
If you already have a 3D scene open in Photoshop, proceed to the next step. If not, you can open a 3D scene by converting a 2D layer into a 3D object or importing a pre-existing 3D model.
Step 2: Access the 3D Panel
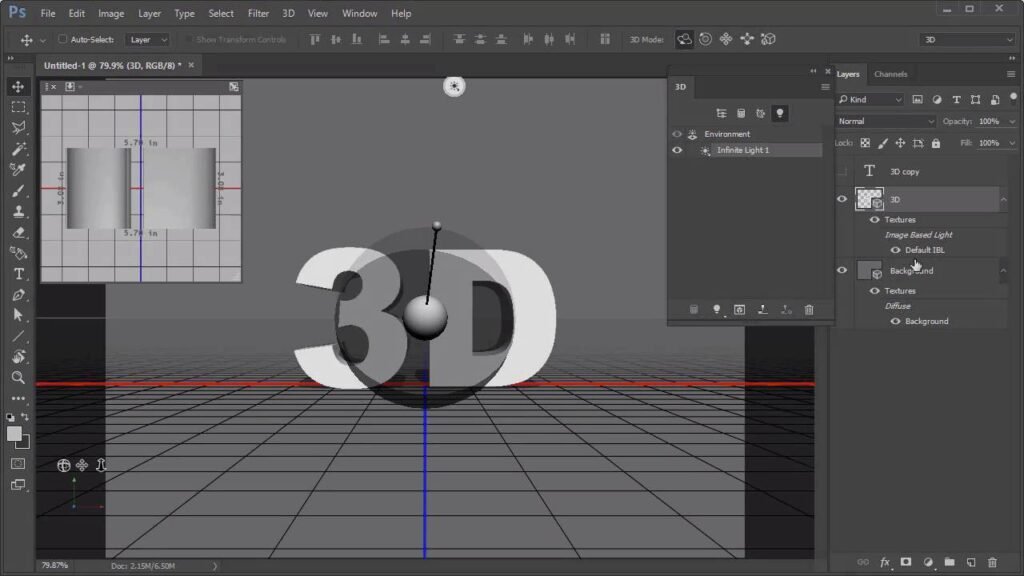
To manage 3D features in Photoshop, you need to access the 3D Panel. If the panel is not visible, go to the top menu and select “Window.” From the drop-down menu, click on “3D” to open the 3D panel.
Step 3: Select the 3D Object (Optional)
If you have multiple 3D objects in your scene, select the specific object you want to exit 3D mode. Click on the object’s name in the 3D panel to highlight it.
If you only have one 3D object in the scene or don’t need to make any changes to a specific object, you can skip this step.
Step 4: Convert to Smart Object (Optional)
Before exiting 3D mode, you have the option to convert the 3D object into a smart object. Converting to a smart object allows for non-destructive editing and flexibility.
To do this, right-click on the selected 3D object in the 3D Panel and choose “Convert to Smart Object.”
Step 5: Exit 3D Mode
To exit 3D mode, you need to disable the 3D workspace and return to the standard 2D environment. There are two methods to achieve this:
Method 1: Using the 3D Panel
1. In the 3D Panel, click on the 3D menu icon (three horizontal lines) located in the upper-right corner of the panel.
2. From the drop-down menu, select “Render Settings.”
3. In the “Render Settings” window, find the “Ray Tracing” section.
4. Toggle off the “Enable” checkbox next to “Ray Tracing.”
5. Click “OK” to apply the changes.
Method 2: Using the 3D Workspace Switch
1. At the top of the Photoshop workspace, you’ll see different workspace options.
2. Click on the “3D” workspace icon to toggle it off.
3. Alternatively, you can use the keyboard shortcut “Shift + F6” to switch between the 3D and standard workspaces.
Step 6: Save Your Work
After exiting 3D mode, make sure to save your project to retain the changes you’ve made. If you converted the 3D object to a smart object, this step is especially important as it preserves your design’s flexibility and allows you to re-enter 3D mode later if necessary.
It is a simple process and involves disabling the 3D workspace either through the 3D Panel or the workspace switch.
By following the steps outlined in this guide, you can seamlessly transition from working with three-dimensional objects to the traditional 2D environment, where you can continue editing and refining your artwork.
Why Use Adobe Photoshop?

Adobe Photoshop is one of the most popular and widely used image editing software worldwide, and for good reason.
Its comprehensive set of tools and capabilities makes it a favorite among photographers, designers, artists, and creative professionals.
Let’s explore the detailed reasons why Adobe Photoshop remains a top choice for image editing and manipulation:
1. Versatility:
Photoshop is incredibly versatile, offering a wide range of tools and features to handle various aspects of image editing, design, and digital art creation.
From basic photo retouching to complex compositing, 3D modeling, and digital painting, Photoshop can cater to a vast array of creative needs.
2. Industry Standard:
Photoshop has become the industry standard for image editing and graphic design.
Its widespread use means that professionals and businesses often expect designers and photographers to be proficient in Photoshop, making it an essential skill for anyone in the creative field.
3. User-Friendly Interface:
Despite its extensive capabilities, Photoshop maintains an intuitive and user-friendly interface.
While mastering all the features can take time, beginners can still start using the software for basic tasks with relative ease, and more advanced features become accessible with practice.
4. Powerful Editing Tools:
Photoshop offers a comprehensive set of editing tools to enhance and modify images.
These include basic adjustments like cropping, resizing, and color correction, as well as advanced features like layers, masks, filters, and blending modes, providing endless possibilities for creative expression.
5. Non-Destructive Editing:
One of Photoshop’s strengths is its support for non-destructive editing through the use of adjustment layers and Smart Objects.
Non-destructive editing allows users to make changes without permanently altering the original image, enabling easier experimentation and the ability to revisit previous edits.
6. High-Quality Output:
Whether it’s for print or digital media, Photoshop excels at producing high-quality output.
Its support for various file formats and resolution settings ensures that images look stunning on screens or in print publications.
7. Extensive Brush Engine:
Digital artists love Photoshop for its advanced brush engine, offering a wide range of brushes, customizable settings, and the ability to create custom brushes. This makes it an excellent tool for digital painting, illustration, and concept art.
8. Integration with Creative Cloud Apps:
As part of the Adobe Creative Cloud suite, Photoshop integrates seamlessly with other Adobe apps like Illustrator, InDesign, and Lightroom. This integration allows for a smooth workflow and the sharing of assets between different software, streamlining the creative process.
9. Constant Updates and Support:
Adobe consistently updates Photoshop to add new features, improve performance, and fix bugs. This commitment to regular updates ensures that users have access to the latest tools and technologies in the world of image editing.
10. Extensive Learning Resources:
Due to its popularity, there is a wealth of tutorials, guides, and online courses available for learning Photoshop.
Whether you are a beginner or an advanced user, you can find numerous resources to help you improve your skills and techniques.
Adobe Photoshop’s versatility, powerful editing tools, user-friendly interface, and extensive support make it the go-to choice for image editing, graphic design, and digital art creation.
As the industry standard, it offers endless possibilities for creative expression and enables professionals and enthusiasts alike to achieve stunning and impactful results.
Whether you are a photographer, designer, or digital artist, Adobe Photoshop remains an indispensable tool in your creative arsenal.
FAQs on How to Exit 3D Mode in Photoshop
How do I know if I am in 3D mode in Photoshop?
When you are in 3D mode in Photoshop, you will have access to the 3D workspace, which displays additional panels and tools related to 3D modeling.
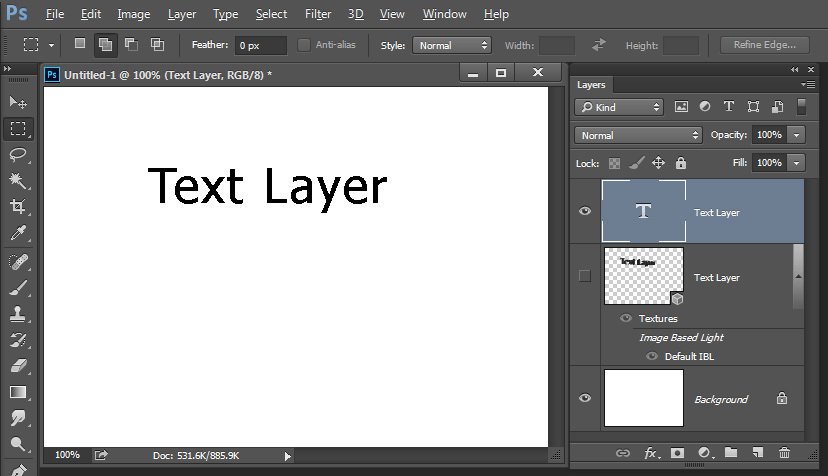
Also, your Layers panel will have a unique structure, showing sub-layers for different elements of the 3D scene.
Can I exit 3D mode without losing my changes to the 3D object?
Yes, you can exit 3D mode without losing your changes by converting the 3D object into a Smart Object before exiting. This will allow you to retain the flexibility to re-enter 3D mode later and make further adjustments.
What is the quickest way to exit 3D mode in Photoshop?
The fastest way to exit 3D mode in Photoshop is to use the keyboard shortcut “Shift + F6” to switch between the 3D and standard 2D workspaces.
Will exiting 3D mode affect the appearance of my 3D object?
Exiting the 3D mode itself will not affect the appearance of your 3D object. However, if you have made any changes to the 3D object while in 3D mode, those changes will remain in place.
Can I re-enter 3D mode after I’ve exited it?
Yes, you can re-enter 3D mode in Photoshop as long as you have an open 3D scene. You can access the 3D workspace by clicking on the “3D” workspace icon or by going to “Window” > “Workspace” > “3D.”
Can I save my 3D scene as a 2D image after exiting 3D mode?
Yes, after exiting 3D mode and returning to the 2D workspace, you can save your 3D scene as a 2D image. Use the “Save As” option to choose a file format (e.g., JPEG or PNG) and save the image.
How do I remove the 3D workspace entirely from my Photoshop interface?
To remove the 3D workspace entirely, go to “Window” in the top menu and uncheck “3D.” This action will close the 3D-related panels and restore your workspace to a standard 2D layout.
Last Words
Working in 3D mode in Photoshop opens up exciting possibilities for creative designs and visualizations.
However, if you ever need to return to the 2D workspace, follow the steps outlined in this guide. By accessing the 3D Panel and disabling the 3D features, you can seamlessly exit 3D mode and continue working on your projects in the traditional 2D environment.
Remember to save your work regularly to keep track of your progress and ensure the safety of your edits. Happy designing!
