
How to Make a Caricature from an Image Using Photoshop?
- February 14, 2025
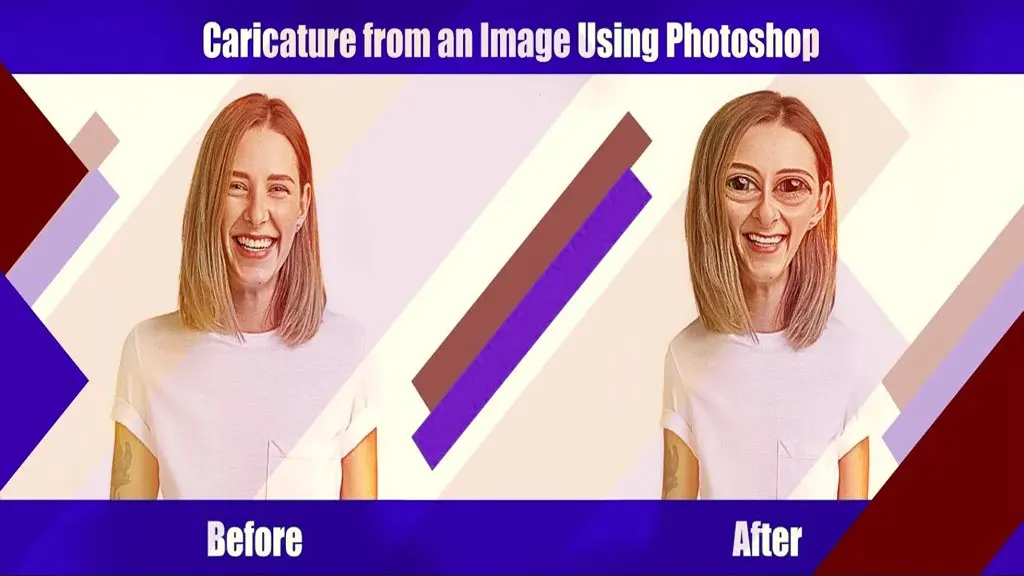
Photoshop has made editing and manipulating pictures extremely easy. There are countless tutorials on the internet on how to make a caricature from an image using Photoshop.
With just a few tricks, you can do it yourself within minutes using different photo effects. But the best method is to experiment with the tools and find your own favourite method. And while you do that, here’s an easy guide to lead you through it.
2 Simple Techniques to Make a Caricature from an Image Using Photoshop?
You can make a caricature from an image in two ways. One is using just the Liquify Tool, and the other one is doing it manually.
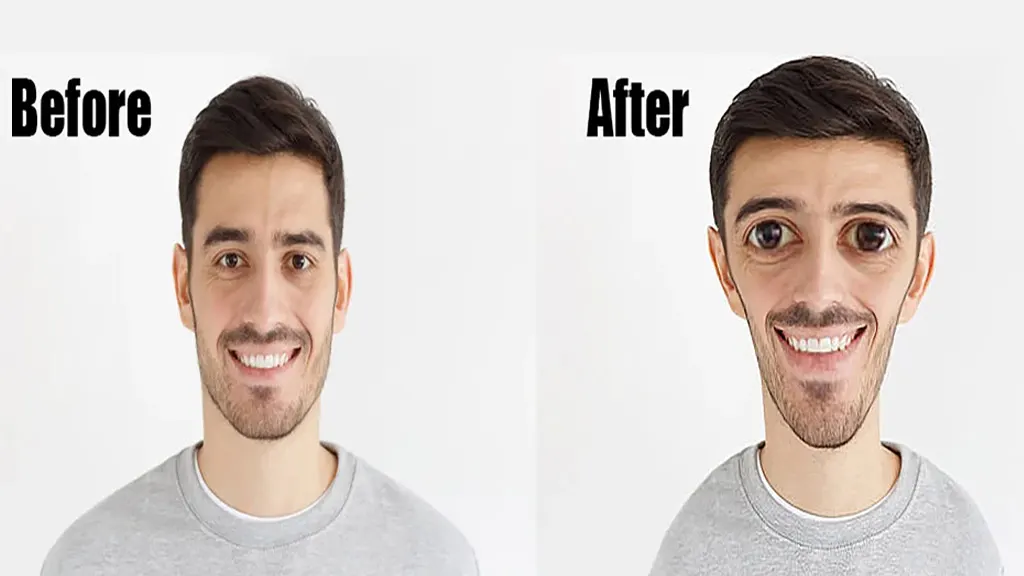
Liquifying Technique
This is more of a shortcut or timesaving method of turning an image into a caricature. Also, the result is less satisfying than what you can do with the manual process. However, if you are looking to save time and effort, this technique is a good start.
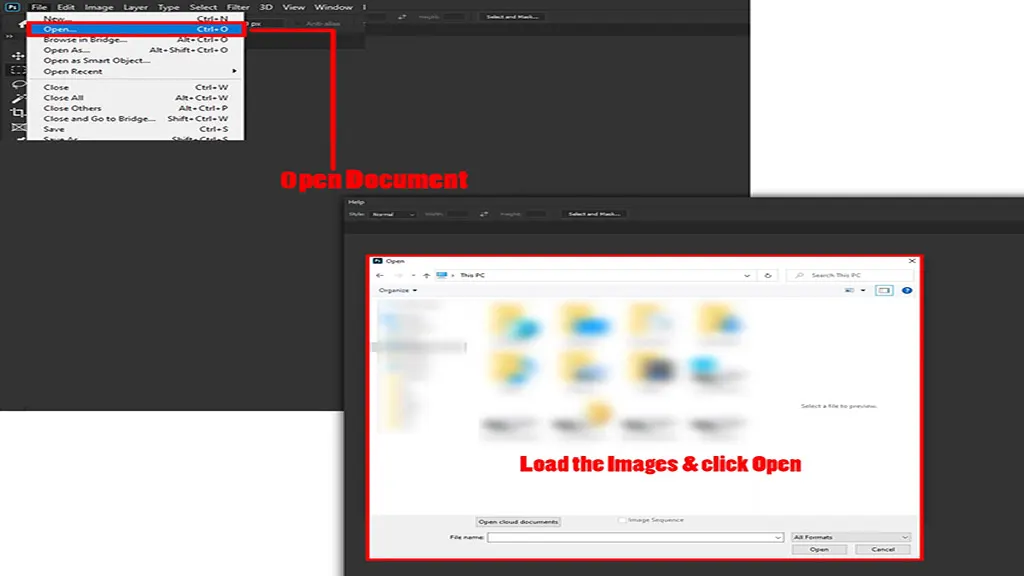
Step 1: Analyse the Picture
Open the image you want to use in Photoshop and select Liquify from the filter option at the top. It analyses the picture and highlights the facial features automatically.
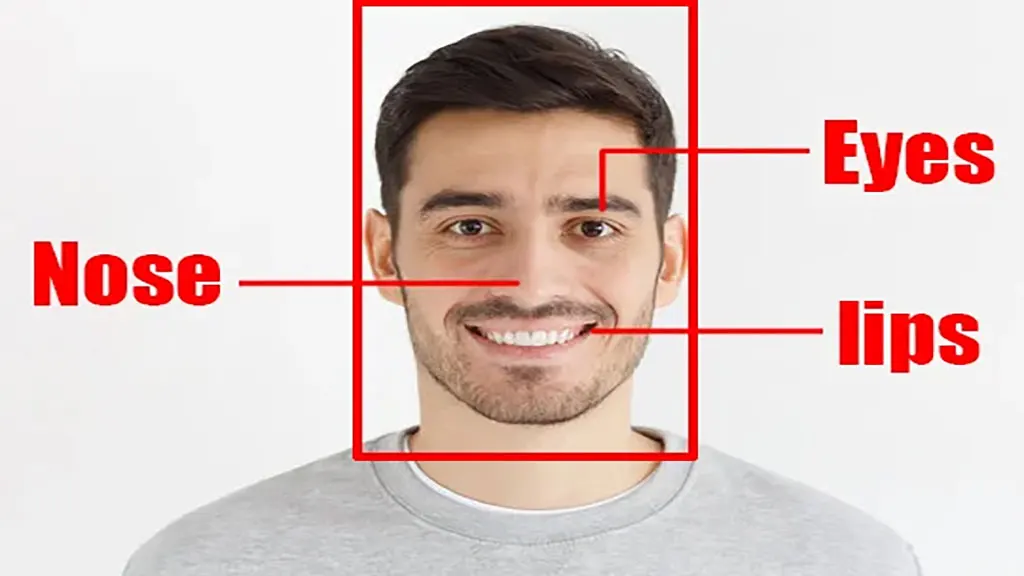
Step 2: Manipulate
Once the features are locked in, you can start the main task, which is manipulating them to make them cartoonish. Usually, the eyes, nose, lips, chin, and other facial features are outlined with points that you can drag around to change shape and size.
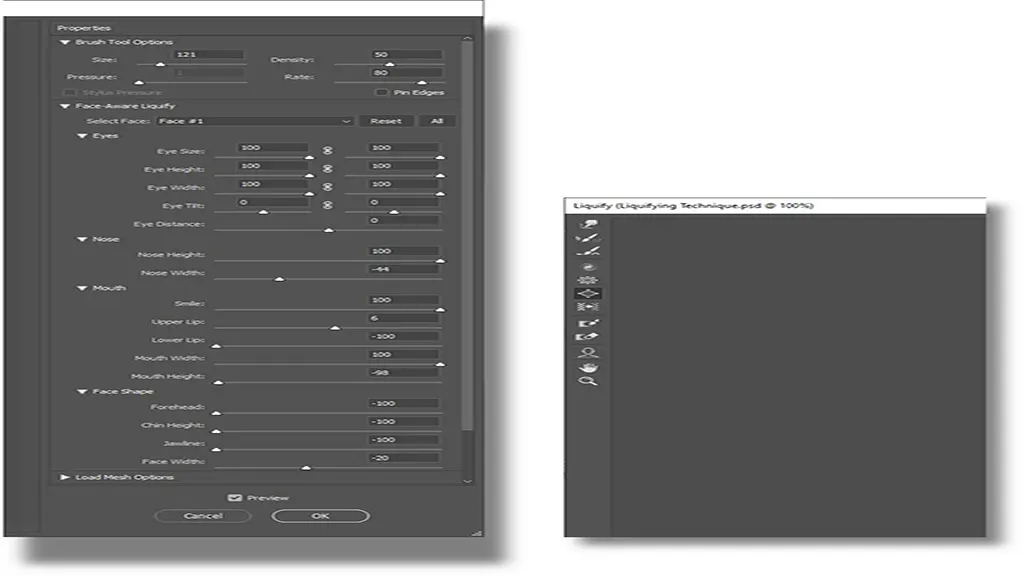
Step 3: Exceed the Maximum Level When Needed
If you reach the maximum level on any features but still want to go further, first hit “okay” to save the changes. Then you can again use the liquify tool to make them even bigger.
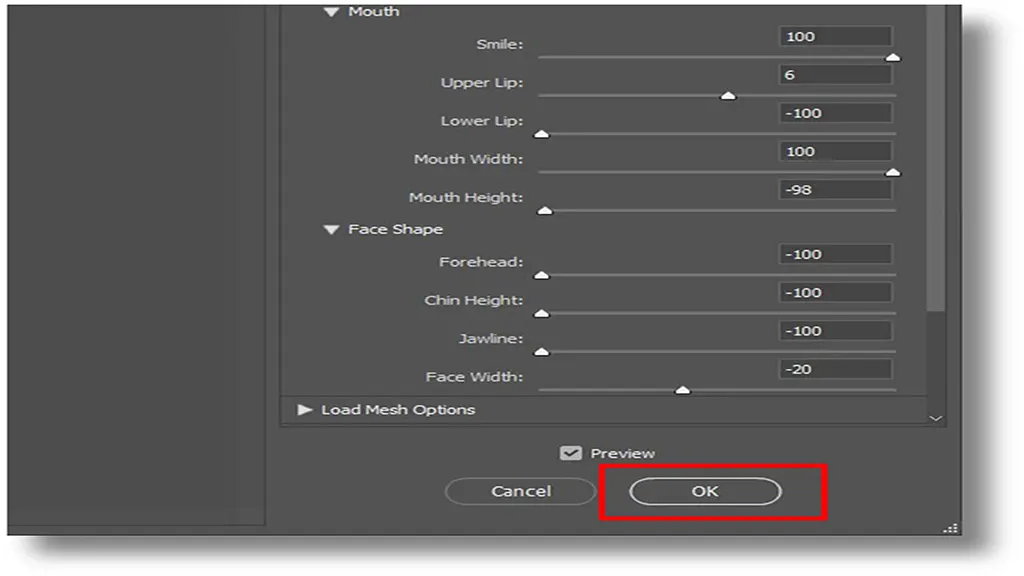
Step 4: And Save
Once you are satisfied with the result, hit okay again to save the edited image. Remember, the result won’t be as smooth or cartoonish as you would expect from a high-quality caricature. However, in such a short time and effort, the result is plausible enough.
Manual Technique Using Photo Effects
The manual technique uses different photo effects in Photoshop to make caricatures from any image. This technique requires more time and effort to deliver a better result. Still, the process is fairly quick, with just a few easy steps.
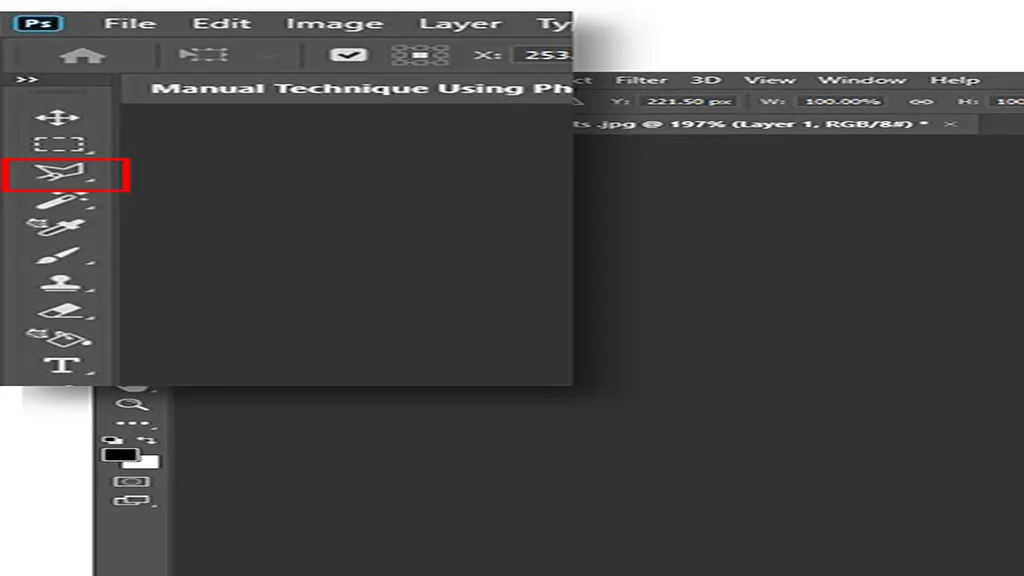
Step 1: Preparing the Image
Preparing the image you are making a caricature from is the very first step of the process. This is important because the better you can prepare the image, the better your end result will be.
The step also highlights the noticeable features of the image, such as eyes, nose, lips, hairlines, accessories like glasses, etc. Each of these features can then be manipulated to make them more cartoonish and comical.
You can use a Freeform Pen Tool or Polygonal Lasso Tool to outline and select any part of the image you plan to exaggerate further. The Freeform Pen Tool gives you dimensional freedom by adding anchor points through the selected path. Meanwhile, the Polygonal Lasso Tool can only select straight-edged areas.
For more than one selection, repeat the step multiple times. Each of the selections is saved as a separate layer and can be influenced separately.
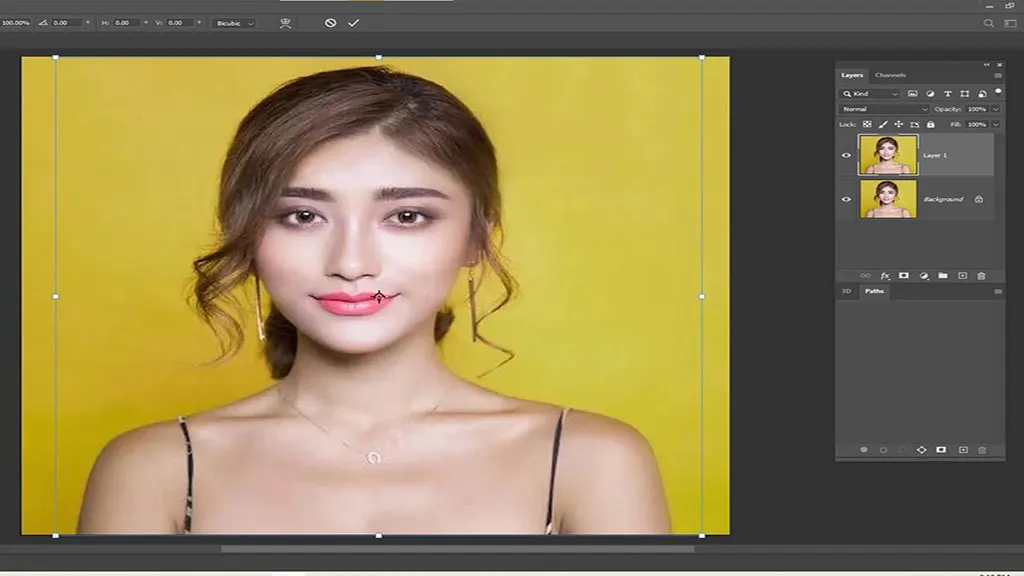
Step 2: Changing Sizes and Proportions
Once you’re done selecting the features you want to influence, they are saved as separate layers. For more flexibility and convenience when working, transform each layer into a smart object. This will give you the freedom to transform a layer without affecting neighbouring layers.
Now, it’s time to play with the proportions. One of the common caricature patterns is making the head shape extremely large or small. You can do either by using the free transform feature. Free transform retains the proportionality of the image by locking the aspect ratio.
You can do a bunch of tricks, like rotate, scale, flip, distort, etc., with the free transform feature. Similarly, transform the body to a larger or smaller shape.
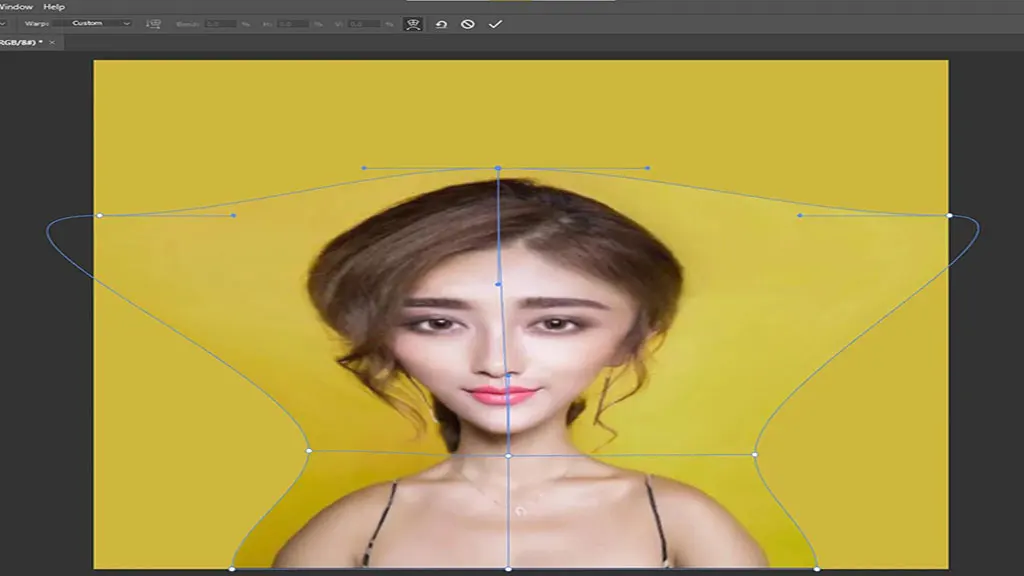
Step 3: Facial Feature Warping
At this point, you can use the warp tool to drag the anchor points of the layer and reshape it however you want. Dragging the mouth to create a devilish smile or making the eyes comically large, sharpening the chin, etc., are some of the common techniques. Make sure the layers follow each other by bending them.
Step 4: Applying the Adjustment Layer
Even though the layers, shape, and proportions are in line with each other at this point, there’s more to do. To make the individual layers more natural and regular, apply an adjustment layer. It is used to make small additional adjustments, such as colour and tone details, without permanently changing the pixel value. Use the brush tool to add details, such as highlighting any colour or adding shadows in any area.
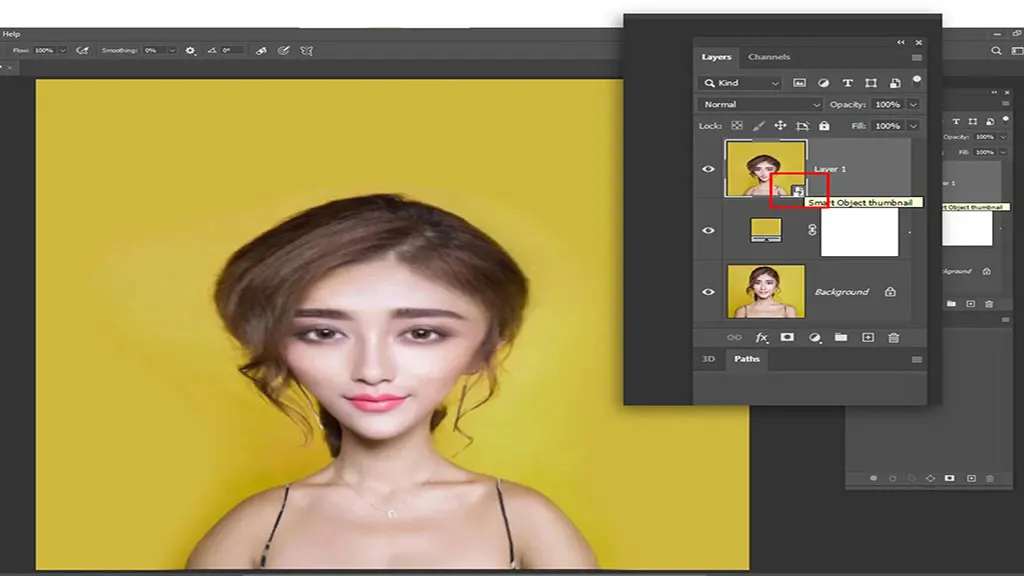
Step 5: Merging and Blending
However, the central tool that really ties all adjustments and transformations is the Liquify Tool. To make use of the full potential of this tool, first, you need to merge all the layers into one single smart object.
The liquify feature has tools like forward warp and bloating that help make the facial features more prominent, like widening the forehead or expanding the nose. Liquifying helps blend and makes the image more fluid and exaggerated without it looking disoriented.
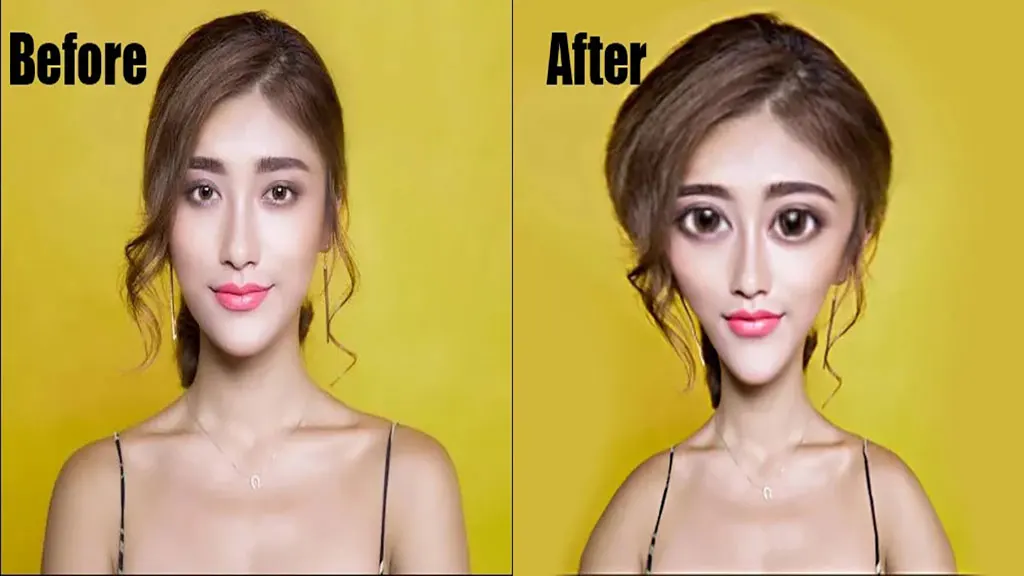
Step 6: Adding Background
And finally, an appropriate background is needed to make it more like a painted image. Adding background also makes the caricatures more cartoonish. There are actually multiple ways you can add a background.
The simplest one is using a Polygonal Lasso Tool to outline the image to remove the background from it.
- To avoid accidentally removing any part of the image, do a rough outline first with the Lasso Tool.
- Then use the Magic Wand Tool to remove any residual parts you want to delete further.
- Once the background is fully removed from the image, crop it.
- Now, use the Paint Bucket Tool to add a solid colour to create the background.
You can use a layer mask as well to create a background.
- First, add a layer mask to the image layer and smooth out the bottom with a textured brush.
- Next, add a layer below the image layer, which will work as the textured background.
- Now add another layer over this textured one and paint it white. Since the layers are all piled on top of each other, use the same brush to smudge the edges. This will give you a nice white background to give the image a more painted effect.
And this is how you can make a caricature from any image using Photoshop.
Final Words
Hopefully, this answers your question about how to make a caricature from an image using Photoshop. Once you get the hang of how to use the tools, turning any image into a caricature in Photoshop is like a piece of cake. Just remember, the better the blending, the more natural and fluid it will look.