How Change The Background For A Photo: Basic Guide
- November 21, 2025
We know that capturing the perfect photo is an art. However, sometimes the background might not be as appealing as the main subject. Or, you simply need to replace the background with something better. Ever wondered how a photo’s background is created? If you haven’t, don’t worry! Our guide is here to help you learn how to change a photo’s background.
By the end of our article, you’ll be able to make regular photos look super cool. Even if you are just starting or you’re already a photo pro, stick with us through these easy steps to make your pictures look amazing.
The Basics of Background Removal
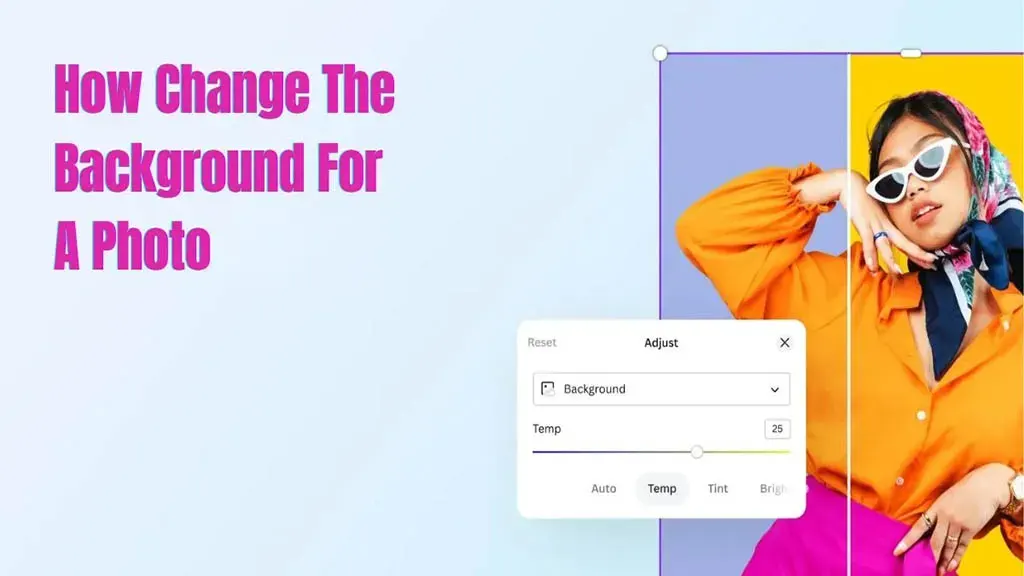
Before we get into the tricky stuff, let’s talk about the basics of getting rid of the background. When you use programs like Adobe Photoshop or online tools like Canva, they include quick selectors. These tools help you choose the background with great precision. It’s like having a virtual eraser that lets you pick out just what you want to keep in your picture. Cool, right?
How Can I Change The Background Of A Photo?
Learn the few steps with us. You can explore and discover new methods as you like. There are plenty of tools to select from. However, stick to the basics with us and follow the steps below.
Step 1: Select the Right Software
Picking the right computer magic (software) is important to change the background smoothly. If you’re just starting, there are cool and easy tools on the internet, like Remove.bg or Canva, that are perfect.
For those who are already experts, Adobe Photoshop is like a superhero tool. It has lots of different tricks and options you can use to make your photos look exactly how you want.
Step 2: Open Your Photo
Once you’ve picked the tool you like, it’s time to open the picture you want to work on. Take a moment to get to know how the buttons and things work in the tool. This will help you do things more easily and make changing the background a piece of cake!
Step 3: Select the Background
Grab the selection tool (like the Magic Wand or Quick Selection tool) to draw a line around the background you want to remove. Make sure to adjust the tool’s sensitivity so it captures the entire background. This helps you remove exactly what you don’t want from the picture.
Step 4: Refine Your Selection
To make sure your cutout looks super neat, zoom in and tweak the edges a bit. Many editing tools have cool features, such as feathering or refining edges. Think of it like smoothing out the edges of a sticker so it fits perfectly on your notebook. This helps the subject blend smoothly with the new background, making it all look like it belongs together.
Step 5: Remove the Background
Once you’ve chosen the part you want to keep in your picture, it’s time to get rid of the background. In some online tools like Remove.bg, this happens all by itself – you don’t have to do anything! But if you’re using fancier software, just press the delete key or use the cut command. That way, you’re saying goodbye to the background you don’t want in your photo. Easy peasy!
Select a New Background
Now that you’ve taken away the old background and know How Change The Background For A Photo, it’s like a blank canvas waiting for a new look. Some tools have many backgrounds to choose from, while others let you use your own. Think about how you want your picture to feel—like the vibe and style you’re going for. This is your chance to give your photo a whole new mood!
Step 6: Add the New Background
Now, put the new background you picked behind your main subject. Make sure it’s in the right spot and isn’t too big or too small. You might need to play around with it a bit, trying different things until it looks just the way you want. It’s like solving a little puzzle to get everything to fit perfectly. Don’t worry if it takes a couple of tries—that’s part of the fun! Just keep adjusting until you get the look you’re aiming for.
Step 7: Fine-Tune the Details
To make things look more real, let’s tweak some details. Change the brightness, darkness, and colors to make the main part of your picture fit in with the new background. Think about how the light falls and where the shadows go, so it all looks like it belongs together. Also, watch out for reflections and how the light hits things in your picture. This way, everything looks natural and not like it was glued together.
Step 8: Save Your Work
When you’re happy with how your picture looks, it’s time to save it. Think of saving like putting your photo in a safe place on your computer. Pick a high-quality setting when saving, especially if you want to print the picture or share it online. This way, your photo will look super clear and fantastic!

Background Removal Service Near You
Our background removal service is invaluable for different reasons. First and foremost, we offer you a clean, polished look for your photos by precisely isolating the main subject from its background. This is particularly important for businesses looking to create professional product images or individuals aiming to enhance personal photos.
The process of ‘How to Change the Background for a Photo’ provides the flexibility to choose or change the backdrop, allowing you to tailor the visual environment to your specific preferences. Whether you want a consistent look for your e-commerce product images or desire a creative and personalized touch for your portraits, background removal services offer a quick and efficient solution.
Moreover, manually removing backgrounds with complex editing tools can be time-consuming and challenging, especially for those without advanced graphic design skills. Outsourcing this task to a professional service not only saves time but also ensures a high level of accuracy and precision in the final result.
In addition, background removal streamlines the photo editing process, enhances the overall visual appeal of your images, and provides the flexibility to achieve diverse, captivating aesthetics tailored to your unique preferences and needs.
Conclusion
At the beginning of changing the background for a photo, switching up a photo’s background might seem a bit scary, but once you get the hang of the right tools and tricks, it turns into a fun and satisfying thing to do.
Try out various backgrounds, practice your skills, and see your photos change into really awesome pieces. Let your creative side shine, and let your mind come up with all sorts of cool ideas as you play around with background editing. Have a blast editing!