Color Splash Effect: Easy Trick for Amazing Results
- August 1, 2025
You’ve probably seen those cool images on Instagram where the subject is in colour, and the background is black and white. It’s a cool effect known as the colour splash effect that can deliver outstanding and unique results, as always, outgrowing your competitors. Colour Splash is a smart way to add climax and drama to an image. It’s perfect for emphasizing detail or creating an abstract look. Utilizing this effect correctly, you can have a mind-blowing effect on your photos. In this post, we’ll show you how to create a colour splash effect with your photos. When you have mastered the Colour Splash Technique, you can let your creativity run wild.

Color Splash Effect: What We Know
It is a smart solution to add some spices to your photos. The Colour Splash Effect is really easy for anyone. All you have to do is — open the app, select a photo (it doesn’t have to be black and white), and start painting! Colour Splash is really trending right now.
The most interesting thing about this effect is that it provides a lot of opportunities for being creative. You can either keep the colours consistent or go for a more eclectic look. And by any chance, if the end result doesn’t meet up to your expectations, you can always start over with the colour splash.
Go ahead and experiment with this trick—who knows what the result will have in it for you.
Read more : about amazing rain effect photoshop here .
Colour Splash Online: How to Create the Colour Splash Effect Online
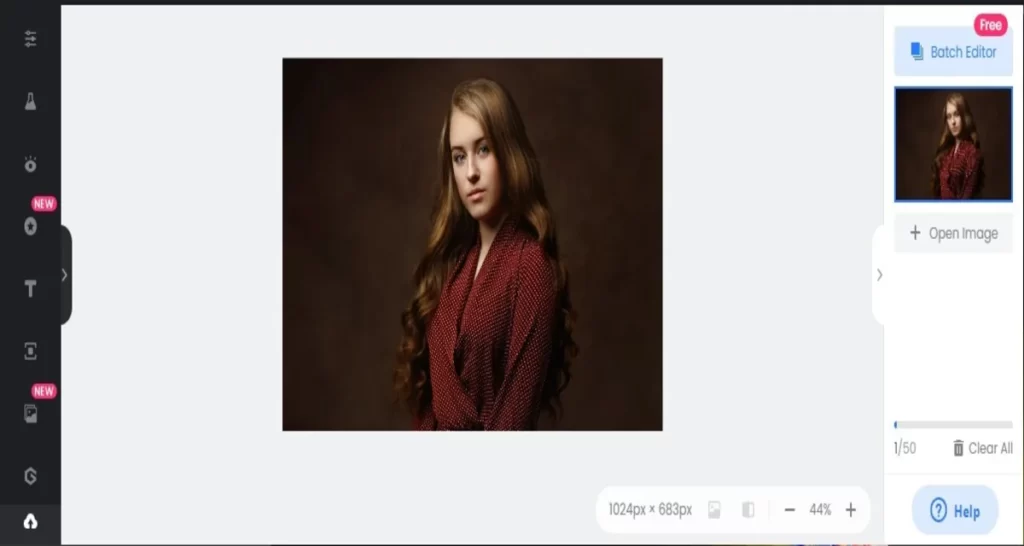
It is not always necessary to use Photoshop or Lightroom to have effects like colour splash. You can also use many online free tools for creating this simple trick – colour splash. Here’s how:
- Open up your photo in your favourite photo editor. In my case, I am using Fotor.
- It is wise to duplicate the layer and then erase the top layer so that the background is visible. However, the online editor I am using comes with a default colour splash effect.

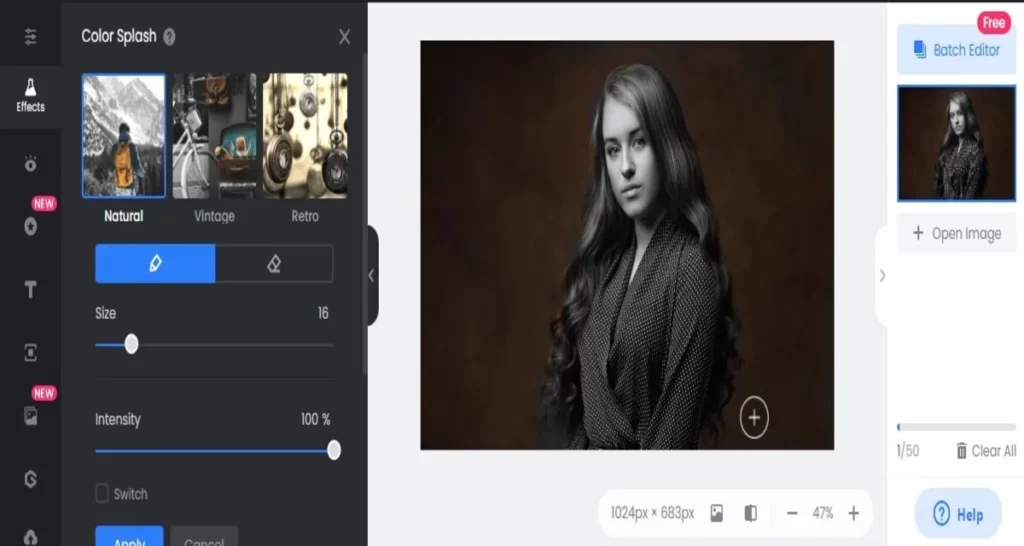
- Go to Effects. There you will see two options. Choose Effects> Colour Splash.

- You will see different modes for Colour Splash – Natural, Vintage, Retro, and others. I preferred it natural.
- Once you have selected your desired mode, you will see the photo is black and white in the preview section.
- Photoshop’s Brush tool is a very clever tool. Selecting it is not enough; you have to bring some changes to the brush. Select one with a hard edge. And, keep the brush size according to the height of the object you want to change.
- Start moving the brush over the black and white area you want to change/ keep in colour. Once you are done, if there is any mistake, you can always select the brush tool eraser and remove any unwanted brush spots.
- To finish off the effect, reduce the Intensity of the layer until it looks natural.

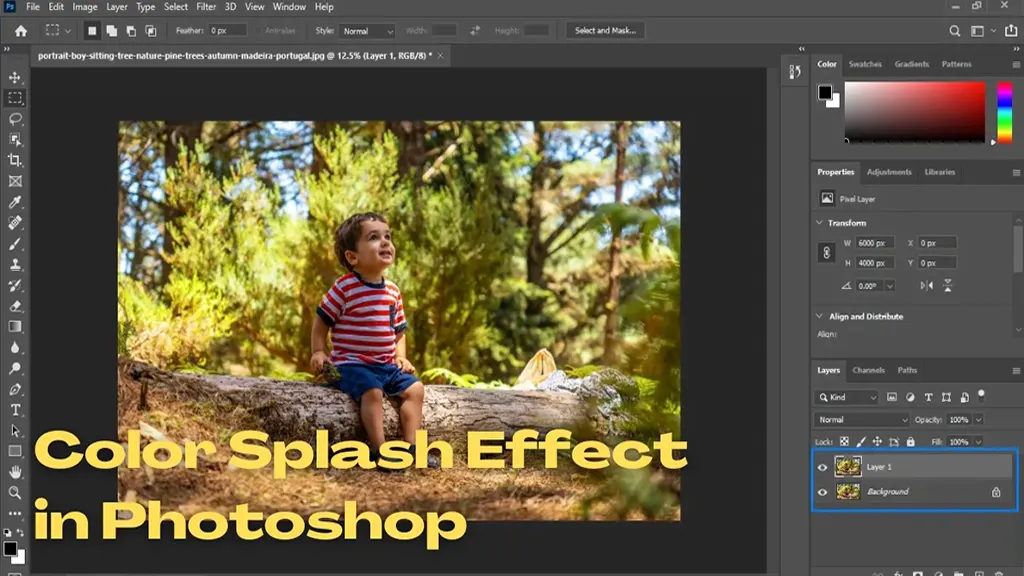
Colour Splash Effect in Photoshop: Where to Begin
Now it’s time for the fun part.
Now that you know how to create the basic colour splash effect, let’s take it up a notch.
- Go to Photoshop from your device and run it.
- Open the image you want to edit.
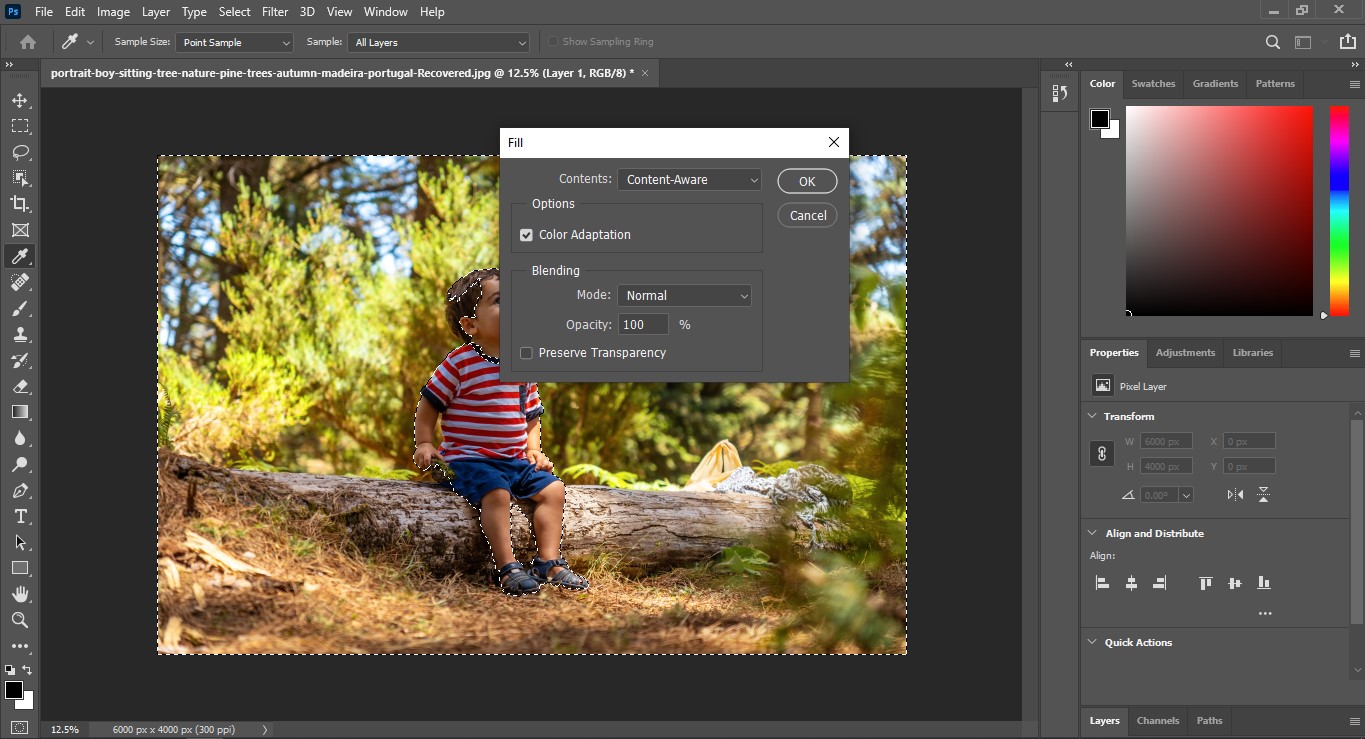
- Now you have to duplicate the background layer by pressing Ctrl+J (Windows) or Cmd+J (Mac).

- On the duplicate layer, find the Magic Wand Tool from the Selection toolbar. By this, you can select the area you want to keep as a colour.

- Invert the selection by pressing Ctrl+Shift+I (Windows) or Cmd+Shift+I (Mac).

- Go to Edit > Fill. Here, you have to choose the black colour from the Colour Picker.
- You will find the Blend Mode of the layer there. Switch it to Screen or Soft Light.

- Add a layer mask to the layer and use a black brush to mask off the parts of the layer you don’t want.
- Reduce the opacity of the mask to get the desired effect.
- Continue adding layers and adjusting the opacity until you’re happy with the result, and don’t want any more changes.
Easy to learn, isn’t it?
Now that you know all about the colour splash effect, let’s take a look at how to use it.
The first thing you need to do is open up the photo you want to work on within your photo editor. Once your photo is open, select the colour splash effect tool. This is usually a brush tool, and you’ll want to make sure it’s set to 100% opacity.
Select the colour you want to keep in your photo and start painting over the parts of the image you want to keep. The other colours will disappear, leaving behind a black and white image with your selected colour as the only colour remaining.
You can also use this colour splash technique to add more climax and excitement to the images. Try painting over a cloudy sky to create a dramatic effect on portraits or add some interest to a boring landscape by painting over the trees or mountains in green or another bright colour.

Tips for Using the Color Splash Effect
Here are some tips to help you use this effect and make your photos look better:
- Pick the right picture. Not every photo works well with the colour splash effect. Look for an image with clear contrast so the effect looks nice.
- Add the effect to the correct layer. If you apply it to the wrong layer, it might be hard to fix later.
- Use a mask. Masks let you choose where the effect appears. This is useful if you want to apply it only to certain parts of the photo.
- Try different settings. Every photo is unique, so you might need to adjust the settings a few times to get the look you like. You can try again and again without any issues. Keep experimenting until you’re happy with the result. That’s all you can do for practice on your own.

When and Why to Use Color Splash Effect?
It is a great way to narrow down the viewer’s attention to a significant part of a photo. You can use it to add drama or point out the important part of the image.
When there are too many subjects to draw the audience’s interest, this effect is the best solution. You can also have several uses for this effect, like creating an abstract look or emphasizing a text or logo.
So far, we’ve discussed the general aspect of colour splash. But did you actually imagine how it would turn out in reality?
Well, you will find many references throughout this article. And you have already come to know that this effect can create some cool and eye-catching results.
In some cases, it is perfect for focusing attention on a particular element in the photo. For example, you might use this colour splash to highlight the colours in a flag or the details in a pattern.
Otherwise, it adds a beautiful cinematic vibe to the environment of your photos. For example, you might use the colour splash tool to add some excitement to a portrait or to give a water splash effect in a photo.
Colour Splash Effect: What’s Our Final Verdict?
There are a few things to keep in mind when using the colour splash effect. You’ll need to decide which part of the image you want in colour and which parts are to be black and white. Also, ensure to be careful not to overuse the effect. Too much colour can make an image look garish and unprofessional. We are now at the end of our guide. It’s time to put your new knowledge on colour splash to use! With a little practice, you can take your favourite image and turn it into a work of passion and art.
Go creative, have some joy and find out the beautiful things you can have with this trick. Our informative site Clipping Creations India
Conclusion:
This straightforward yet potent photo editing method can turn mundane pictures into captivating visual art. Strategically emphasizing specific hues directs the viewer’s focus and enhances the visual depth of your images. Whether you choose Photoshop or web-based applications, mastering this effect unlocks limitless creative potential. Ensure it is applied with discretion to preserve a professional appearance. Through practice and experimentation, the colour splash technique can greatly improve your photography abilities and visual storytelling.