How to Make Clipping Path Text InDesign in 3 Simple Steps
- February 3, 2025
Creating a clipping path text in InDesign may seem confusing, but it takes less than a few minutes once you know how to do it. Clipping paths and masks are already accessible, but text outlines require a few extra steps. To summarise, you must load the image, type out your text, create the outline, and then cut and paste. This is explained more elaborately in the guide. But first, let’s look at clipping paths, how they are created, and the common issue of InDesign clipping paths being greyed out.
What Are Clipping Paths?
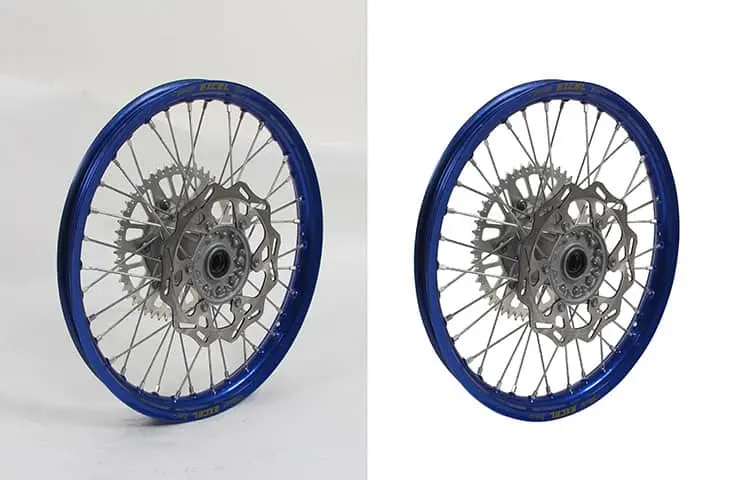
A clipping path is created using the ‘Pen Tool’ in InDesign. Using this tool, you can outline any part of an image you want to crop. The clipping path appears as an outline and crops only the selected portion of the image, hiding the other unwanted components.
You can make changes to the clipping path without affecting the graphics frame using the Direct Selection tool and some drawing tools found in the toolbox. This is because InDesign keeps the graphics frame separate from the clipping path. Adobe InDesign also includes an automatic clipping path option, so you can choose to crop an image manually or save time by letting the tool do it for you.
Why Are the Clipping Path Options Greyed Out?
After selecting an image you want to work on, you may see that the InDesign clipping path is greyed out. This indicates that the software is not allowing you to create a clipping path, most likely because the image type is incompatible.The clipping path option will only be available for images that have one.
Also, if the copied image is in a group, the clipping mask cannot be created, because the image must stand alone. The clipping mask can be greyed out because the existing layer doesn’t have an active state, so you cannot enable the option. To solve this, select the existing layer and click the ‘layer mask’ option at the bottom of the ‘layers’ panel.
3-Step Guide to Make Clipping Path Text InDesign
Joint clipping paths create a clipping mask. And clipping masks can be made of any shape or size using the pen tool. However, creating a clipping mask from text can be confusing.
Here is the easiest way to create a clipping path text in InDesign:
Step 1 Select the Image
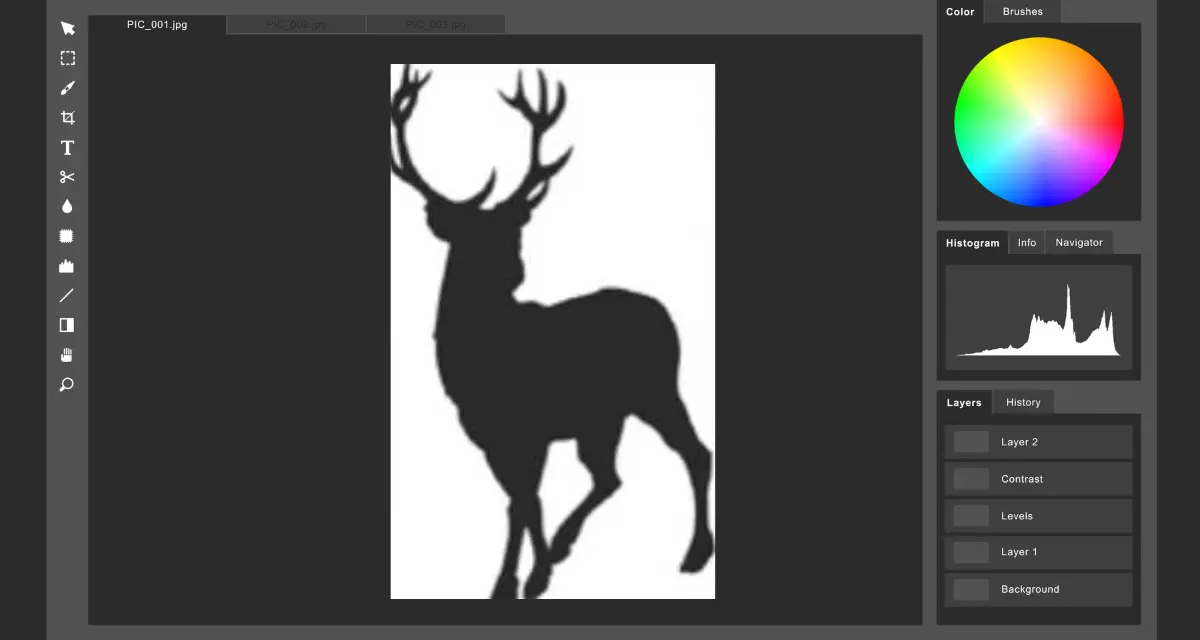
Choose the image you want to use to make the clipping mask text. Use the type menu to find the type tool and write out your text.
For your first try, choose a font in all caps, thick lettering, and medium to large. This will give you a clearer idea of how the image will turn out.
Step 2 Create the Outline
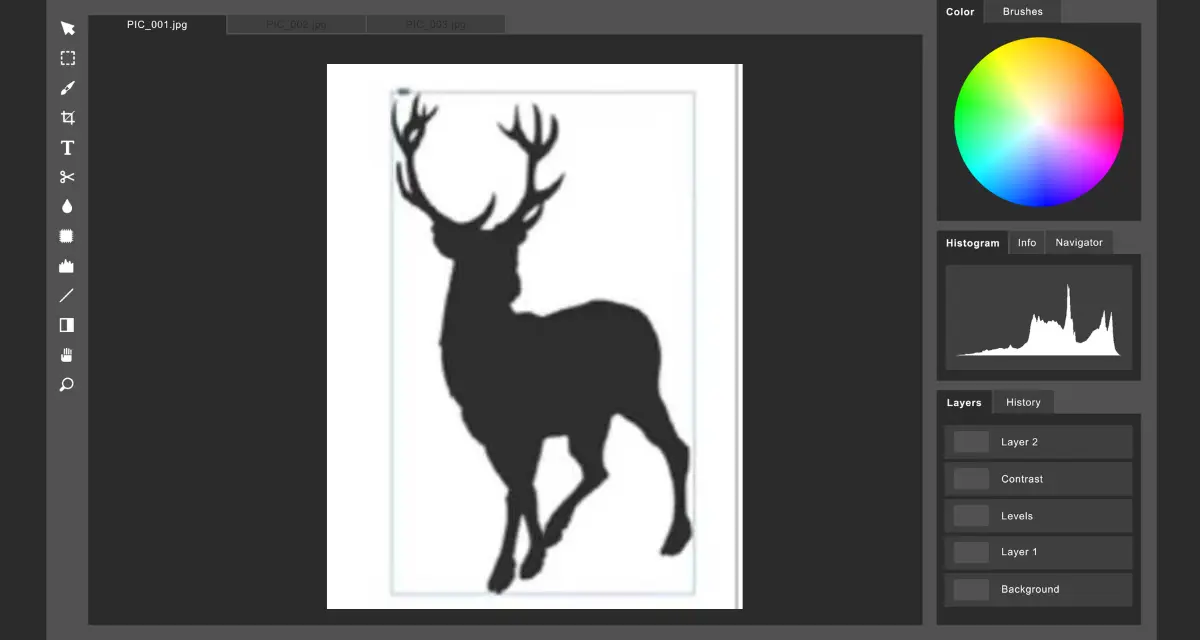
Select the text you want to outline, then go to the type menu and Click ‘Create Outlines.’ You will now see a clipping path around the text you wrote.
By creating a clipping path, you have also created a clipping mask that can be used to cut out the original image.
Step 3 Cut and Paste
Move the clipping path around, holding the Shift key until you know where to make the cutout. Once you’ve decided, cut the image. This will remove the background image, leaving the text.
Now, you can paste the cut image onto a new layer. You should now see your selected text with the original image filled inside its outline. We recommend watching this video if you want a visual tutorial for this guide. The time the clipping path text tutorial starts is already set.
How Alpha Channels Enable Clipping Path Text InDesign
An alpha channel is invisible inside a graphic with CMYK or RGB channels. Its role is to define the transparent areas of a graphic file and is primarily used in video editing software.In InDesign, imported graphics such as TIFF, Photoshop, or EPS files can be cropped using the embedded clipping path or alpha channel. When there are more alpha channels or clipping paths, you are given the option to choose between them. InDesign can instantly recognise an image’s transparent parts as alpha channels, which display a checkered background. In cases where there is no transparent background, Photoshop needs to be used to remove the opaqueness and enable clipping.
Conclusion
Creating clipping path text in Adobe InDesign doesn’t have to be complicated. By following these three simple steps, you can easily wrap text around images and achieve a clean, professional layout. Whether you’re designing magazines, brochures, or social media graphics, mastering clipping paths in InDesign will significantly improve your design workflow and visual appeal. Using clipping path text not only enhances readability but also adds a polished, modern touch to your projects. As you practice, you’ll gain better control over image boundaries and text flow, allowing you to create more dynamic and engaging designs.