Clipping Path for Photographers: Enhance Your Photography
- January 31, 2026

Do you ever open up an image in Photoshop and wonder what the heck is going on with all those confusing circles and lines? You’re not alone! In this article, we’ll walk you through everything you need to know about clipping paths for Photographers and how to use them in your images.
We will have a head start on what the clipping path is and how you can have it. Other sections also include the benefits of Clipping Paths and where you can have the best clipping path service.
What Is a Clipping Path for Photographers?
Blue city car with blank surface for your creative design. 3D rendering A clipping path is essentially a shape that is created by a vector-based software program (like Illustrator) that allows you to isolate an object from its background. This isolated object can then be placed on any other background you choose, making it look like it’s a part of that new background.
There are different ways to create clipping paths, but the basic idea is always the same: You create a shape around the object you want to clip, and then the software program cuts it out from the background. This allows you to control the final appearance of the isolated object in terms of shading, lighting, and texture.
In Photoshop, How to Make a Clipping Path
With clipping paths, you can easily isolate an object from its background and change its colour or delete it altogether. Here’s how to create a clipping path in Photoshop:
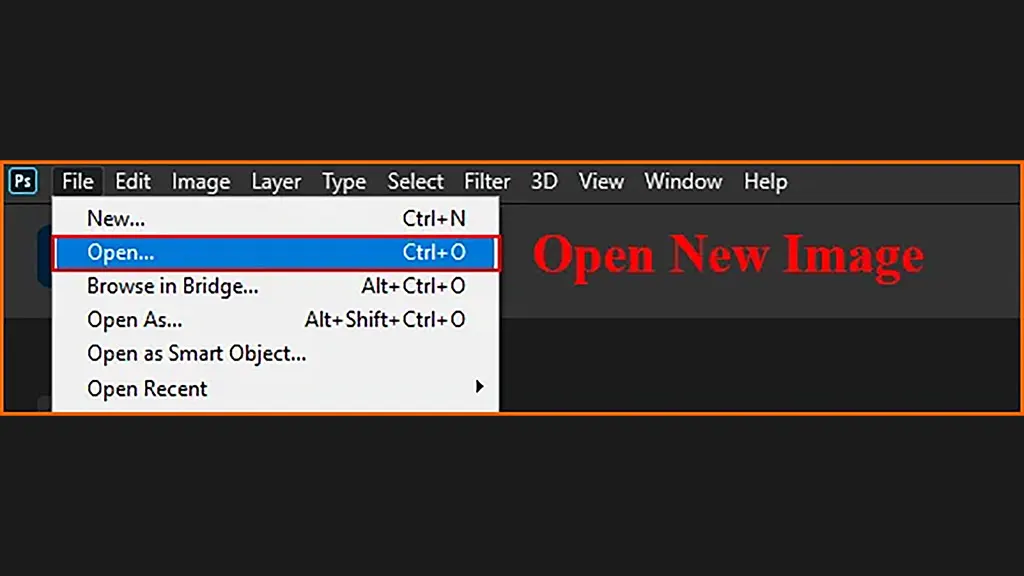
1. Launch Photoshop and open the image you wish to edit.
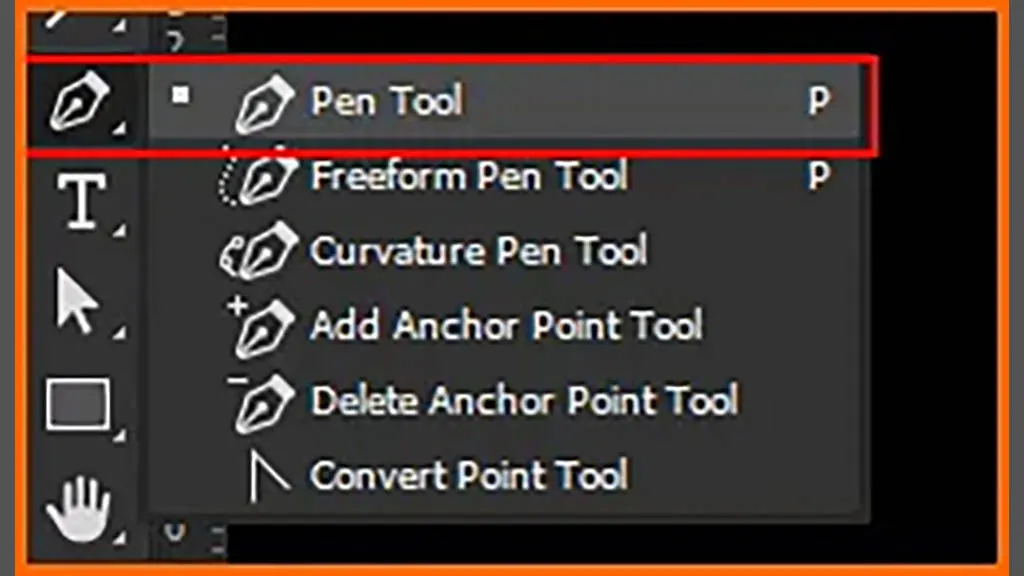
2. Select the Pen Tool (often located in the Tools panel on the screen’s left side).
3. Set the Mode to Path and check the Points box in the Options bar at the top of the screen.
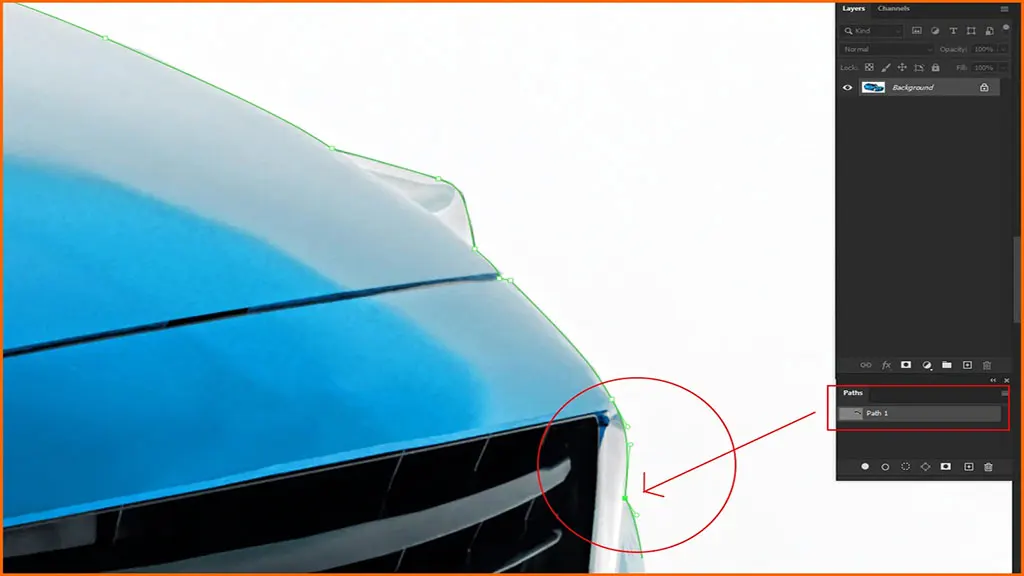
4. To clip an object, draw a path around it.
5. The Direct Selection Tool can be used to alter your path if necessary (the white arrow).
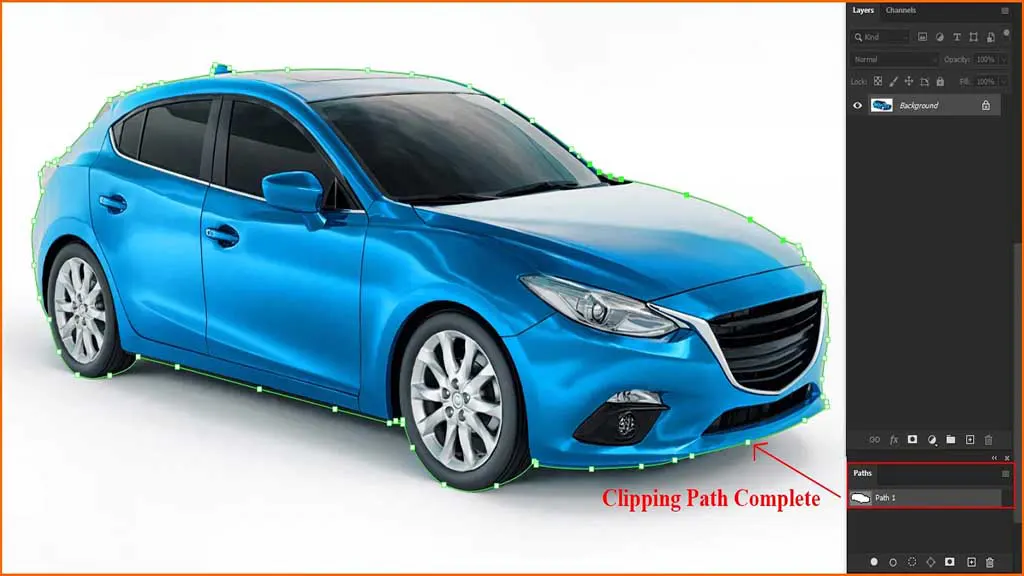
6. Click the OK button in the Options bar once you are satisfied with your path.
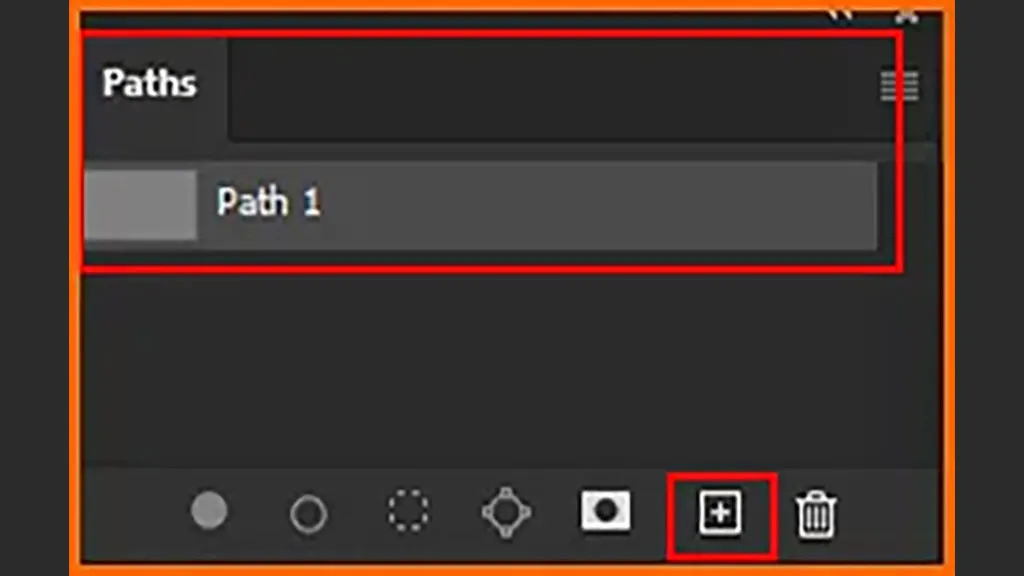
7. A new layer will be created and named “Clipping Path 1” (or whatever number you’ve been given). This is the layer that contains your clipping path.
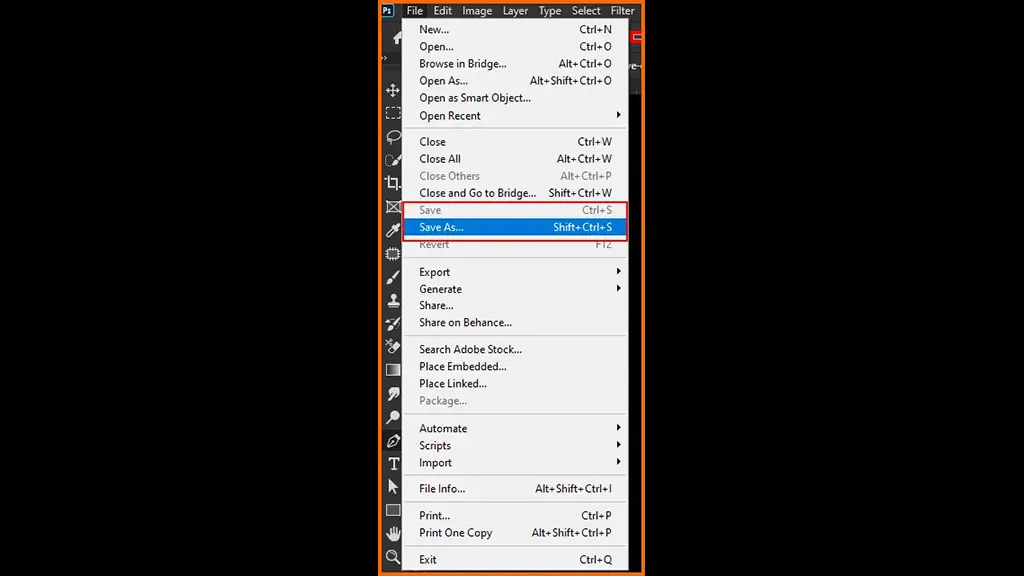
8. To save your clipping path, go to File > Save As, select Photoshop PDF from the Save as type drop-down menu, and click on OK.
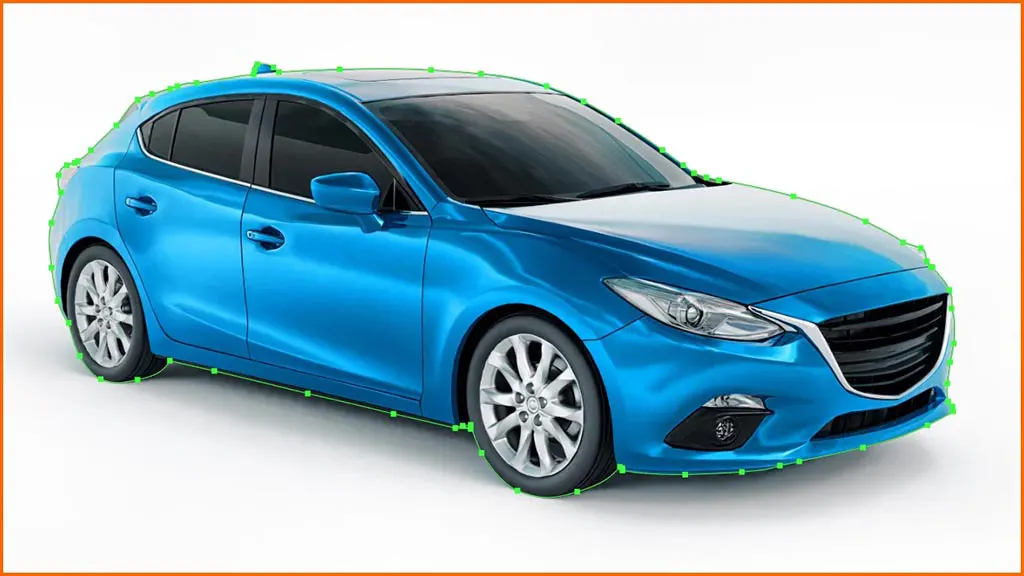
9. Final Image.
Types of Clipping Paths for Photographers
There are three main types of clipping paths: basic, advanced, and compound. The simplest clipping pathway is to separate an image from its background. They’re usually a single line or curve, and you can use them to create a straight or curved edge.
Advanced clipping paths are more complex. Anybody can use them to create more detailed shapes with smooth curves and multiple points. They’re perfect for intricate images with lots of details.
Compound clipping paths are groups of multiple basic or advanced clipping paths. Together, they create a more complex shape. This is useful for images with lots of detail that you need to cut out accurately, like a product shot with a complex background.
Benefits of Using Clipping Paths
Any photographer who works with eCommerce photography or complex compositions should be aware of the benefits of using clipping paths. Clipping paths are essential tools if you want to make precise cuts out of images and remove any unwanted elements.
Clipping paths are especially useful if you’re dealing with photos with intricate edges, like hair, fur, or feathers. The path allows you to easily select and remove those elements without damaging the background. Additionally, you can use the path to quickly break down an image into multiple layers, making it easier to retouch the different parts separately.
And because it’s a vector-dependent tool, you can also scale and manipulate the path without losing any resolution or quality—so it’s safe for use on high-resolution images as well. Finally, angles and curves that would be tricky to edit by hand—you can do them easily and seamlessly with clipping paths, saving you time in post-production.
How to Outsource Clipping Path Services
So now that you know why clipping paths are useful and how they work, it’s time to explore how to outsource this work. Outsourcing clipping path services can help save you time, effort, and money.
When looking for a provider, make sure they have proper skills—it’s often worth seeking out a specialist who does clipping paths solely. Make sure the business is reputable and trustworthy and provides excellent customer service. It’s also important to make sure the provider is secure, so your photos are safe from potential copyright infringement or data theft.
It’s advisable to start off with a few trial images before committing to anything—this way, you can get an idea of the cost-per-image and the overall quality of their clipping paths. You may even want to compare several different outsourcing companies before making your decision for an ongoing partnership.
Best Practices and Advice for Using Clipping Paths
Having a clear idea of the look you’re going for before starting is important for any project, and this is especially true when it comes to understanding clipping paths. You should take some time to plan out your clipping paths and make sure you have all the necessary elements before starting in order to make the process simpler and less time-consuming.
Here are some additional pointers and recommended techniques for using clipping paths:
- Establish good habits in Photoshop—This means becoming familiar with navigation commands and selecting tools and masks.
- Ask yourself which areas you have to include or exclude from the image. – Do a few test runs by selecting parts of the image to see how it looks.
- Zoom in and out regularly to keep an eye on small details—make sure you don’t cut out any important parts of the image.
- Use a combination of Pen Tool, Lasso Tool, and Magic Wand Tool—all three can be helpful when it comes to refining edges.
- Experiment with different paths – To get the most accurate results, use multiple layers of selections, masks, and pen strokes.
Conclusion
So, to recap, here’s a step-by-step guide to understanding clipping paths for photographers. Clipping paths are simple outlines that professionals use to cut an image out of its background. You can use Clipping Paths to isolate particular objects inside an image or to give a picture a translucent background. You can make clipping paths by hand or with the aid of programs like Photoshop. For a range of tasks, such as photo editing, graphic design, and web design, clipping paths are a terrific method to enhance the quality of your images.