2 Successful Steps to How to Align Layers in Photoshop
- March 17, 2024
Layers are the foundation of Photoshop. If you are using Photoshop and don’t know about layers, we must say you are still at the beginning level. In Photoshop, you must know the ins and outs of layers. This is the first thing you must know: you can only progress further by being an expert in layers.
Don’t fret! To help you further, we are here today to teach you how to align layers in Photoshop. We have conducted our research and found that even though beginners start with Photoshop, most of them get stuck on the align option.
Let’s start with our article. By the end, you will know how to align layers in Photoshop perfectly. After this, you don’t have to look around and browse through the wrong elements anymore.
Key Takeaways
- You can rearrange the active layer with the move tool or nudge the chosen layer with the arrow keys until you achieve the precise distance you desire between layers (while referencing the Smart Guide’s measurement).
- When using the arrow keys, the distance that Photoshop moves the layer is determined by the zoom percentage. If you want to move a layer in single-pixel increments, zoom to 100%.
- It’s not always possible for us to see when a layer is out of alignment by a few millimeters.
How to Align Layers in Photoshop?
There are several ways to align layers in Photoshop. However, we will move forward with the two steps. Since our article is for beginners, we need to make sure everyone understands the process. Let’s start, shall we?
Steps to Align Layers in Photoshop?
It automatically snaps chosen layers into place. Our solution delivers a quick, accurate result across six distinct areas. Let’s find out.
Step 1: Cover All Layers
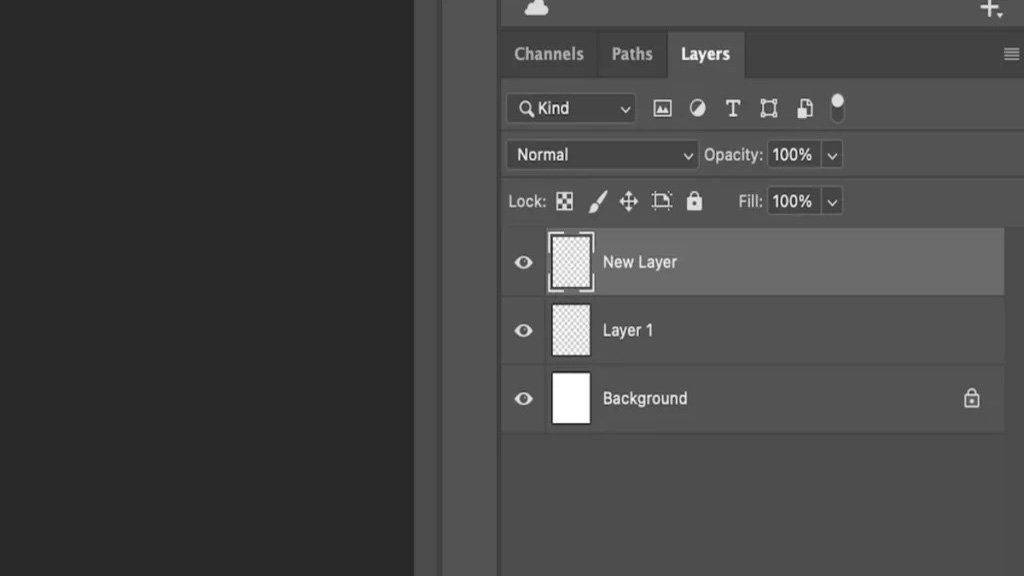
The first step is to pick all of the layers you want to align. In order to do this, hold down the Shift key while clicking on each layer’s icon in the Layers window.
When a layer changes from dark grey to light grey, it indicates that it has been chosen. To select all layers, go to the top menu bar and click Layers > All Layers. Once chosen, every layer will be prepared for alignment.
Step 2: Align the Layers
It’s important to note that if you can’t pick Align, it’s because the Layers panel only allows one active layer. You will need to return to step 1 and pick more levels.
Once you click Align, a pop-up menu appears. From here, you’ll be offered six options. You can align the layers to the top, vertical, bottom, left, horizontal, or right edges. For example, we can use an image before the layers are lined up on the top edges.
To edit multiple layers in Photoshop, group them. To do this, select the folder icon at the bottom of the Layers panel. When the folder appears, drag the layers you want to edit together into it.
The video shows how the layers appear when Top Edges is selected as the alignment option. As you can see, the layers will be perfectly aligned with the highest layer, in this example, the square.
Now, we know how to align the layers. But what happens if you have to align the inner elements of layers? As Photoshop experts, we often see our users and customers struggle to align elements across multiple layers. The next part of our article defines that. Check it out.
How to Align the Elements of Multiple Layers?
Select two or more layers (or layer groups or connected layers) and utilize the Move tool’s Align icons in the Options bar. Note that the Align and Distribute options are also menu items (Layer > Align, Layer > Distribute).
Layers are automatically aligned based on their placement on the canvas. If you wish to align the layers to a specific position, use a selection tool to specify the location, then choose the alignment option. To align layers based on the canvas, click the More button (three dots) and select Canvas.
You can also align and distribute multiple shapes on a single layer. Apply the Path Selection tool to choose numerous shapes (on the same layer). Then, in the Options box, pick the Path Alignment symbol to align and distribute the selected forms.
The Move tool’s settings tab can spread layers throughout the alignment. To open the conversation window, click the three-dot icon. The Distribute icons appear in the second box.
Tips to Align Layers in Photoshop
Always activate the guidelines! It helps a lot. You can disperse the layers inside the alignment by using the Move tool’s settings tab. To open the conversation window, click the three-dot icon. The Distribute icons appear in the second box. You can obtain precise alignment with the Move tool and Smart Guides.
Can’t align properly? One probable reason why Photoshop won’t let you auto-align layers is that they’ve been transformed into smart objects. Smart objects are non-destructive; hence, not all editing operations can be applied to them.
It’s Easier to Align! Get Professional PS Help With Us
Photoshop is easy to learn only if you have a proper guide. We believe our article is sufficient to help you learn how to properly align layers in Photoshop. Next time, if you face any issue other than layer alignment, you can also find a reasonable solution here.
We offer regular solutions in Photoshop. Feel free to get in touch with us for serious photo editing issues. We would be glad to help you out. Also, don’t forget to share our article with others. It will help us grow, too. Stay with us; we will soon move on to our next article on the difference between JPEG & PNG photo formats.