Quick Selection Tool In Photoshop CS6
- August 9, 2025
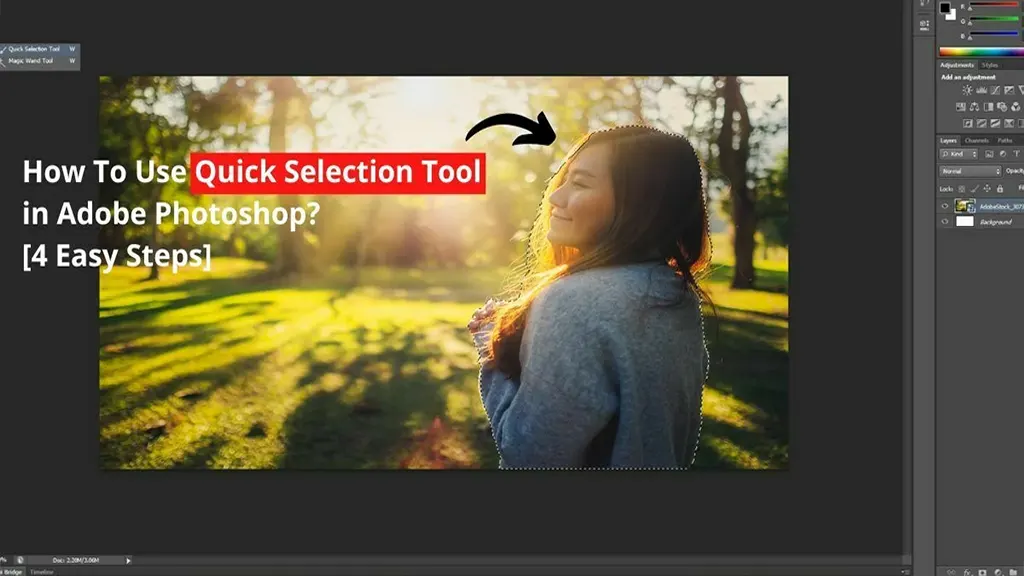
In Adobe Photoshop, the quick selection tool is much more important than the ‘ magic wand tool.’ In addition, this tool is much better at delineating object boundaries because it generally searches for similar textures in the image. Still, this tool functions more like an encounter, allowing us to choose regions by simply ‘ painting’ over them. At the same time, the magic wand tool requires clicking on a specific region. In this composition, I’ll talk about how to use Photoshop’s quick selection tool and the benefits of this amazing tool. This tool may replace your old go- to selection tool if you’re working with Photoshop CS4 or a later version ( I’m using Adobe Photoshop CS6 then). So guys, start reading from now.
What Is Quick Selection Tool?
With the wide range of Photoshop tools, users like you can quickly change an image in any way, from minor adjustments to major transformations. Here, the quick selection tool is one of these tools.
Quick Selection Tool In Adobe Photoshop: Step-By-Step Process
The Quick Selection Tool, launched in Photoshop CS4 Or the latest version, is comparable to the ‘Magic Wand.’ You can easily choose custom pixels and set up other features depending on tone and color. Let’s have a quick look at the following steps:
Step-1:
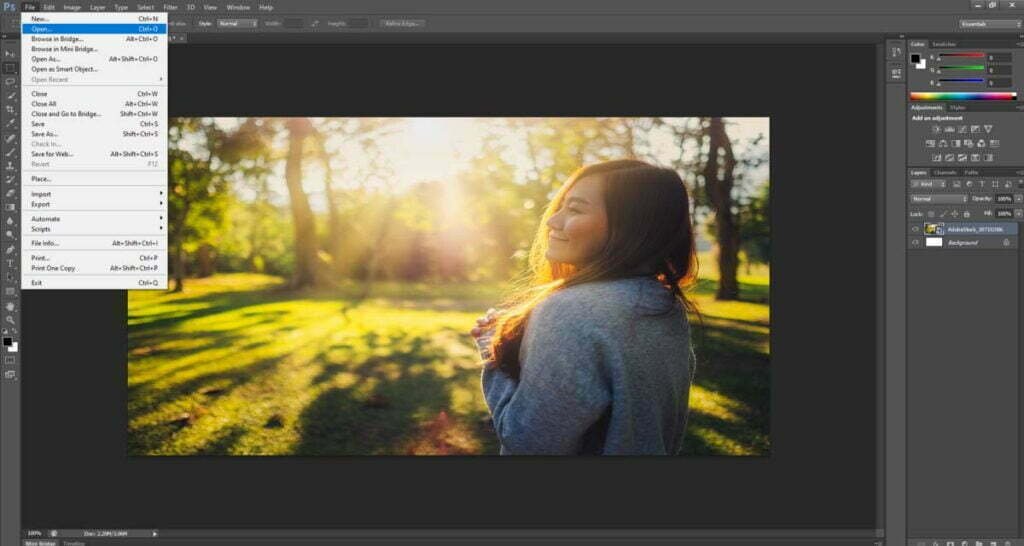
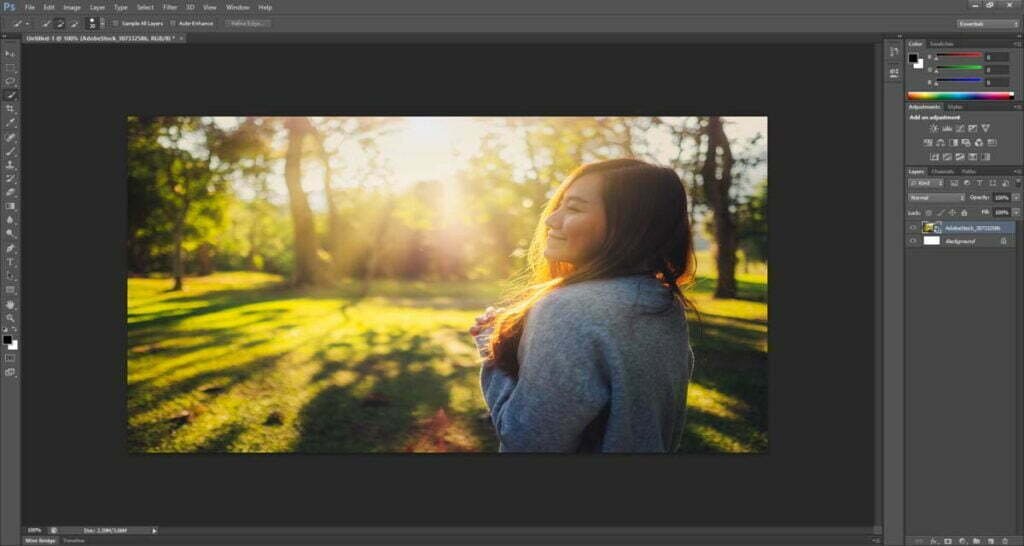
First, launch Adobe Photoshop CS4 Or the latest versions on your Mac or Windows computer. Then you have to open your ‘selected image file’ once the program functions properly.
Step-2:
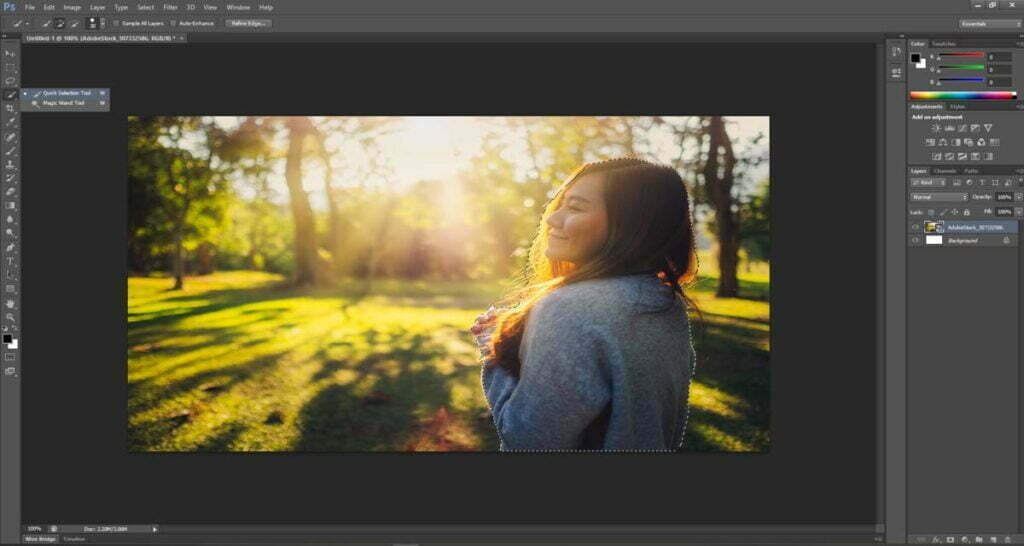
Next, you must choose the ‘quick selection tool’ from the ‘tool menu on the left side of the screen. Its icon is a ‘paintbrush’ with some dashed line, which typically stands in the selection’s perimeter.

Step-3:
Now, click on the icon & drag it over the area you want to choose in Adobe Photoshop using the quick selection tool shortcut. You will see the intended selection or outlines in this phase as moving, ant-like dots on your computer screen.
Step-4:
In this stage, you can easily hold down the ‘Alt Key’ to deselect the large areas on your windows screen.
Similarly, you can drag the pointer on a Mac over any region you want to eliminate while holding down the option key. The area where the selected outlines will instantly vanish.
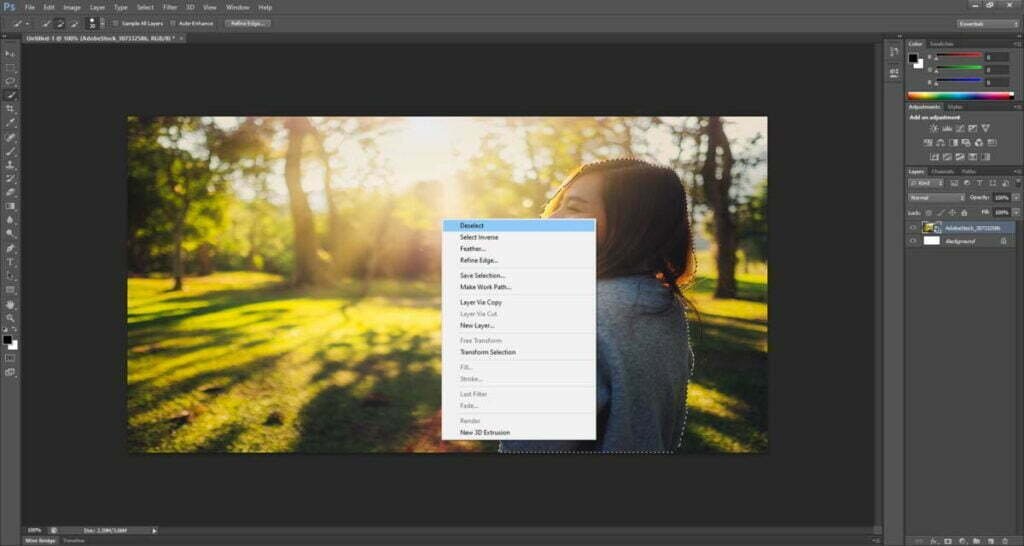
In the end, I’d like to advise you to try working with layers when learning this Photoshop’s selection tool. Using this selection tool can be the best option to prevent deleting your photo file permanently. You can also start by duplicating the layers and working your way there.
Let’s face it. You may have all desired to produce captivating photos against various backgrounds. With this selection tool, it’s now simpler than ever to choose an object or topic from an existing image and change the background without delay.
You can use this tool to give your photographs a stunning depth of natural vibe. First, choose the object or subject using this selection tool to remove the background, then select the filter option’s blur photo album. However, you may use Gaussian blur, spiral blur, or whatever you feel best suits your image file, and flip the choice. After that, the background will become the ultimate selection due to this function.
With the help of this selection tool, you can quickly and effortlessly select a specific area or portion of any image. Although various tools in Adobe Photoshop can be used to perform the same work, each has its own advantages and disadvantages.
Moreover, you can select objects with the Magnetic Lasso, but it takes more effort and a steadier hand. For example, you have a selection close in color to the background from which you wish to split it. In that case, the magnetic lasso tool can be more difficult to use because it relies on pixel colors to identify the borders. On top of that, you’ll have more authority over tiny regions you want to choose or deselect with the quick selection tool’s smoother edges. So, for instance, to modify the backdrop behind a person standing with their hand on their hip, you will need to choose both the bigger region behind them and the smaller area behind the crook in their arm, because you can see the background behind that small area.
While some selection tools let you select the full subject, they make it more challenging to pick out specific details like the triangle between the subject’s arms. Hence, you can choose and deselect numerous locations with this selection tool. With a single mouse swipe, you can effectively choose about four or five various portions of any picture. Simply put, there are many advantages to using Photoshop’s quick selection tool, and here are just a handful of them.
When To Use The Quick Selection Tool?
This selection tool enables you to complete the task quickly and easily without compromising precision if you need to choose a broad region. You can use this tool to pick out foregrounds, backgrounds, or any other aspect of an image that you want to separate. Additionally, this tool is very accurate because it can recognize outlines and color ranges.
For instance, take a photo of any dog retrieving a tennis ball. The dog has to be moved to a different background and isolated.
By using this tool, you can rapidly isolate the dog’s entire background. After that, you can either reposition the dog or change the background to one that is more appropriate. Here, the entire procedure is quicker and simpler with this selection tool.
Conclusion
In a nutshell, these are the key pointers for using Photoshop’s quick selection tool. Plus, the technique of photo modification is becoming simpler as Adobe releases new Photoshop versions. For instance, Photoshop can replicate the blur that was once only possible with high-end DSLR cameras. It is best to remember to watch carefully for image alterations while modifying the background. That is to say, ensure your Photoshop program is open before launching the raw camera application (CTRL+ Shift + A). Here, you must coordinate the backdrop and choice by paying particular attention to their colors. Along with this extra tip, remember to duplicate the layer to prevent permanently erasing your selections. With that said, we sincerely hope that you carefully and accurately followed the instructions mentioned earlier. Finally, continue your photographic journey and enjoy choosing from a vast array of options for your photo-editing business. If the quick selection tool is not working in your Photoshop program, you can share your issues in the comment box below. If this Photoshop tutorial was helpful to you, please like, comment, or share this blog with your friends. Never stop learning.
