How To Save A Clipping Path To Preserve The Image Detail
- April 1, 2025

Clipping paths are a great way to showcase your Photoshop prowess. They allow you to remove objects from images and give them a creative makeover. Although most professionals have a good grasp of creating and saving a clipping path, beginners often have no idea how to save one. In the article, we will first draw a path around an object with the pen tool to make a clipping path. Following that, we will provide detailed instructions for saving it.
Let’s jump right in!

Clipping Paths: An Overview
In image processing, a clipping path is a vector outline that precisely isolates a specific region of an image. This selected area can then be edited, removed, or cropped.
Adobe Photoshop and Illustrator are popular programs for creating clipping paths. These vector-based tools let you outline an image or object precisely.
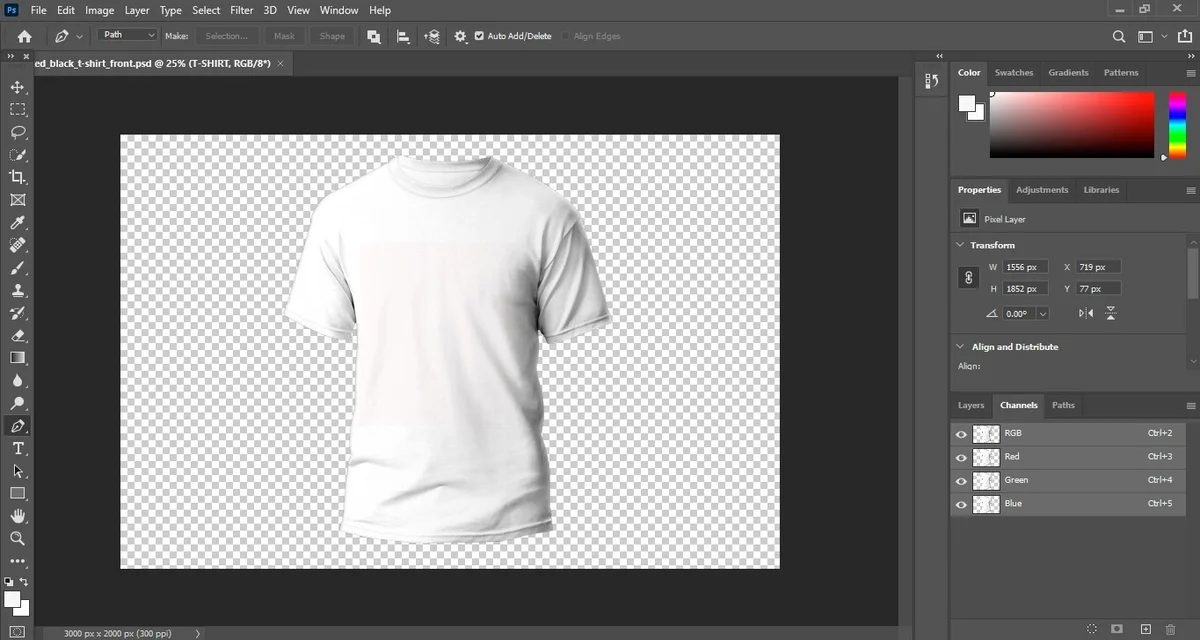
Clipping paths enable precise shapes, designs, and cutouts. They are frequently used in product photography to isolate products from backgrounds.
How To Save Clipping Paths In Photoshop?
You cannot save a clipping path unless you create one first. An image is necessary for that. Therefore, using a picture, we will establish a path and then save it.
STEP 1 – Select the Pen Tool
Choose the pen tool from the toolbar. If you find this tedious, press the ‘p’ key on your keyboard, and the tool should appear.
Occasionally, you may have trouble locating it. If so, the tool is likely tucked away in either the freeform pen tool or the curvature pen tool.
STEP 2 – Trace a Path Through the Object
The process of drawing a path around an object is quite simple.All you have to do is click once across all edges using the pen tool. When you have positioned a point on the edge, do not let go of your mouse button right away. Rather, follow the edge around in a curve-like manner. Repeat this process until every single edge of the picture is marked off. Once you have done that, move your pen tool to the starting point and wait for a circle to appear. The circle indicates that the path is safe to close. Close it with a click on the first point you made. Sometimes, when people are hurrying, their paths can be a bit sloppy.
In that case, the Direct Selection Tool comes in handy. It allows you to adjust any point you’ve set to alter the path.
STEP 3 – Set Up the Clipping Path
Now is the time to start creating a clipping path. To do so, click on the previously created path. You can then choose the clipping path option from the menu. Please remember that if you would like to view the original clipping path, you must save it as a PSD file. And you can test it later in InDesign or Illustrator.
STEP 4 – Save the Clipping Path
This is probably the part you were most looking forward to. Since we just talked about the saving process, let’s explore what to do when saving the clipping path.
The first step is to open Photoshop’s paths panel by clicking on Windows, followed by Paths. If a clipping path has already been selected, it should appear automatically. When it doesn’t, navigate to the Work Path to locate it. You can save the newly constructed path by clicking Save Path in the panel menu. Most people don’t rename the outlined path. Unfortunately, this practice can lead to the misidentification of the file in the future. Therefore, be sure to rename it correctly.
STEP 5 – Make a Selection from the Clipping Path
In most cases, clipping paths are used to delete backgrounds from images. Does the thought of removing background stress you out?
It shouldn’t, since the hardest task, constructing and saving the path, has already been done. Removing the background will take only a few seconds.
To do so, open the layers panel from Windows and select Layer from the dropdown menu. It is likely that the image is locked.
Most rookies won’t unlock it, and that’s a huge mistake. To make sure the image is unlocked, click the layer twice and move it to layer 0.
Once again, open the paths panel and check whether the new path is selected. Now, click Make Selection in the panel menu. Make sure you have set the Feather Radius to 0.
To continue, click Modify, then Contract in the dropdown menu under Select. A dialog box will pop up. You must enter 1 as the contract radius. This shifts the selection inward, reducing the likelihood of background artifacts.
STEP 6 – Prepare a Clipping Mask
In the last step, return to the layers panel and select the layer you wish to work with.
Now check out the panel up close. An icon resembling a black rectangle should be present. If you hover over it, it will say ‘Add Layer Mask.’ Click on it, and your product’s image will be separated from the background.

Benefits of Saving Clipping Paths
Here are the top five reasons why it is crucial to save clipping paths.
Maintaining Consistency
The biggest perk of saving clipping paths is that they ensure consistency throughout a project.
For example, your project includes a large number of objects in a scene. To maintain consistency, all objects must have the same dimensions and shapes.
By saving your clipping paths, you can achieve greater accuracy, consistency, and professionalism in your work.
Retaining True Form
When editing a photo, it can lose some of its original details or become distorted. As you save clipping paths, you ensure that the image’s true essence is preserved.
Preventing Fraud
By saving clipping paths, you can protect your work from unauthorized copying or reproduction. Once the file is saved, it is easy to spot if any changes have been made to the picture.
Avoiding Unnecessary Remakes
If you modify a clipping path, reversing the changes may be difficult. Consequently, you will have to recreate the path from scratch.
On the other hand, as long as the clipping path is saved, it doesn’t need to be remade.
Showing Creativity
Last but not least, you can use saved clipping paths to express your creativity. Since you can make multiple duplicates of the path, you can apply different effects and elements to each copy.
This allows for more depth, complexity, and creativity in your images.
Conclusion
Saving a clipping path is essential for maintaining image precision, consistency, and professional quality. It streamlines editing workflows while preserving intricate details. By using tools like Adobe Photoshop effectively, designers can achieve clean cutouts and scalable edits. For SEO-driven visual content, mastering clipping paths ensures better image optimization and presentation across digital platforms.