cci logo

Clipping Creations India

  • Home
  • Services
    • Background Remove
    • Clipping Path Service
    • Multi-Clipping Path
    • Ghost Mannequin Services
    • Car Photo Editing
    • Image Masking Service
    • Product Photo Editing
    • Image Masking
    • Drop Shadow
    • Color Changes
    • Photo Retouching
    • Vector services
    • Color Change Service
    • Photo Editing Service
  • About Us
  • Blog
  • Pricing
  • Contact Us
  • Free Trial
Home  »  Tutorial   »   Learn to Create Clipping Path Layer in Photoshop: 7 Ninja Steps

Learn to Create Clipping Path Layer in Photoshop: 7 Ninja Steps

  • Paul Jones
  • February 1, 2026
  •  
    • Tutorial
  • Tags: clipping path layer step by step, clipping path Photoshop tutorial, how to create clipping path Photoshop, Photoshop pen tool guide

Learn to Create Clipping Path Layer in Photoshop

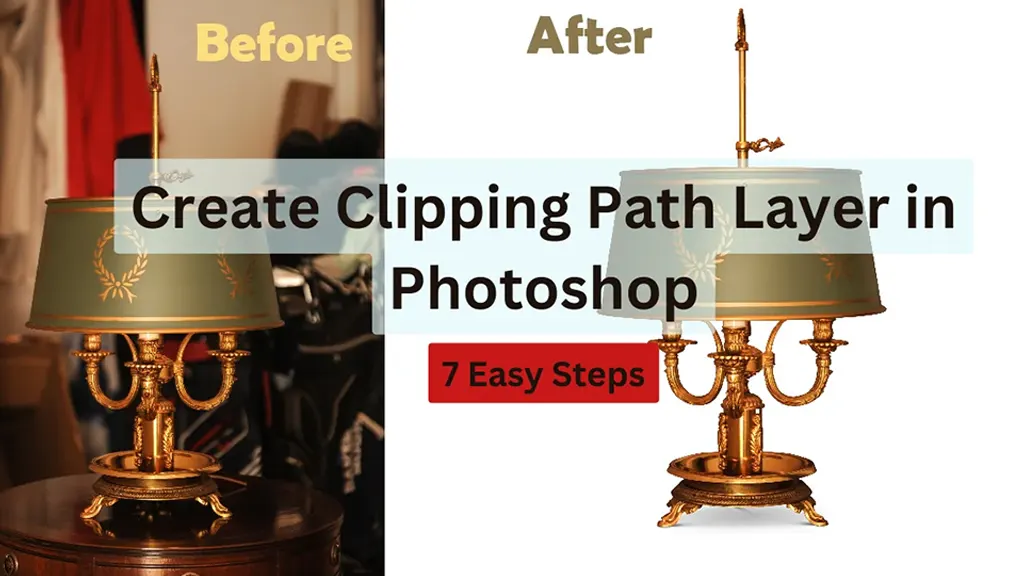
The E-commerce industry relies heavily on photo-enhancing skills. So, having expertise in the clipping path layer in Photoshop can help you produce lifelike pictures with minimal effort. To keep up with the online product promotion trend, producing natural, visually striking images is a must. ‘Clipping Path’ offers the advantage of working with the image’s opacity, layers, and colours. If you want to master this skill, with practice and time, you’ll figure it out very well.

How to Make a Clipping Path Layer in Photoshop

Even if this is the first time you’ll be using Adobe Photoshop, following the procedures below, you can master the clipping path in Photoshop in no time.

1. Enable Pen Tool

Before you set off, make sure the pen tool is selected in Photoshop. If not, you can simply head to the Toolbar and then select the pen tool.

Clipping Path Layer

Before proceeding to the next step, select the Combined Shapes option to draw paths. This feature is present in the Path option located in the Options Bar.

2. Start to Trace

Afterwards, everything depends on how well you can handle that pen. Zooming in on the image will make the tracing much easier. Use the Pen Tool to click and trace the object’s borders.

Continue the clicking motion until the area is covered, making sure you don’t release the mouse. Be sure to work your way through the entire object neatly for better results.

Use the Pen Tool

As the pen returns to the starting point, a small circle will appear, indicating the endpoint. You don’t have to be stressed about making any mistakes, as there is a Direct Selection Tool that you can use to your advantage to bring any change in your path points.

3. Seal It Up

After successful clipping, save the new path with a name for easier identification.

Clicking on the Save Path

Clicking on the Save Path option in the Panel menu will get the work done in no time.

4. The Original Technique to Create Clipping Path

One reason for using a clipping path is to ensure that the background of your image stays clipped when you transfer the file from Adobe Photoshop to other design software.

Create Clipping Path

To perform this task, click the Panel menu, then select the Clipping Path option.

5. Removal of the Bottom Layer

These steps can be used to remove the Background without hiring a professional clipping path service. Thus, it comes in quite handy when editing images for personal use.

  1. First, open the Layers Panel to verify that your selected layer is unlocked. If it’s locked, you can double-click it to name it Layer 0.
  2. Then, you will have to select the Make Selection option from the Path menu.
  3. From here, make sure the feather radius is 0.
  4. In a sequence, you can use the dropdown menu to find the Select option, then Modify, and lastly, Contract.
  5. After that, you will see a dialogue box where you can simply set the contract radius to 1. This ensures the background objects are isolated on the new layer.

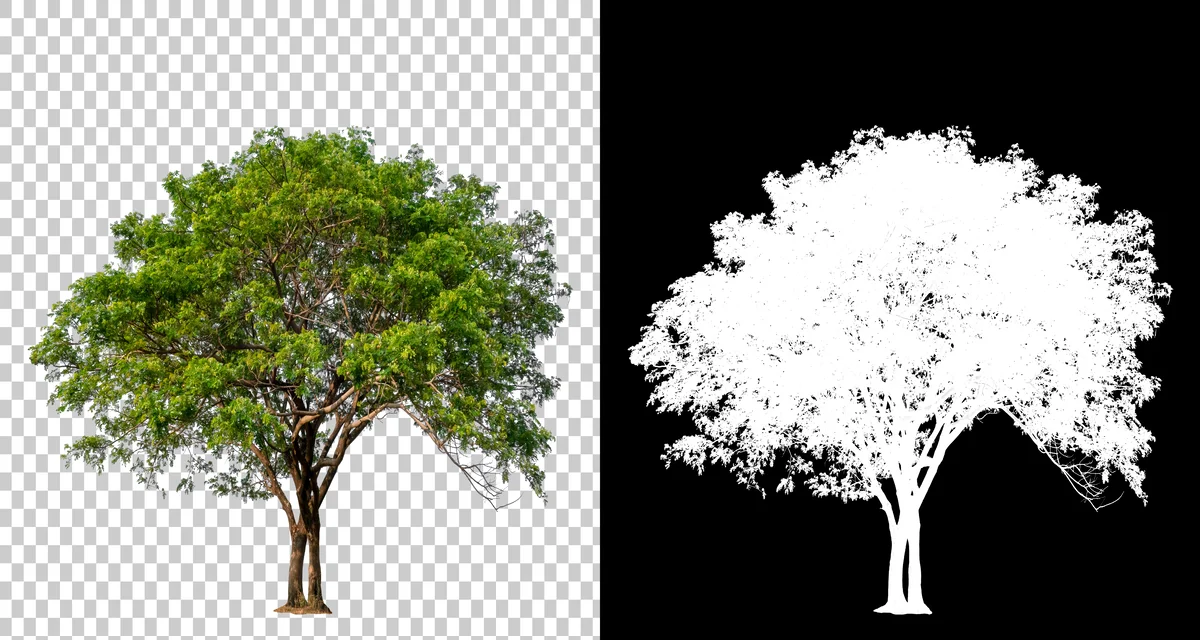
6. Farewell to the background

Before you add the layer mask, go to the Layers Panel to ensure the desired layer is selected for a clipping mask. At the bottom, you will find the clipping mask icon.

clipping mask icon

This creates a clipping mask that will completely separate your layers.

7. Save Your Path

Finally, you will see a separate layer to release the clipping mask option. To seal the deal, you have to save the path, as Photoshop tends to create a Work Path each time you draw a new path.

clipping mask

You won’t want your paths to get messed up, would you? To avoid such a scenario, select the Panel option, then choose Save Path.                 

Suggestions for Improving Clipping Path Layer in Photoshop

If you properly follow the steps we guided you through, you should do just fine. However, there are some extra tips that can elevate your efficiency.

Clipping Path Layer in Photoshop

Let’s have a quick look –

  1. Draw the minimum number of paths required. Too many paths can reduce the image quality.
  2. Keeping the Rubber band option activated will help you increase the accuracy. You can find it in Photoshop’s Path settings.
  3. Pressing Ctrl and the S button simultaneously will save your paths immediately.
  4. Pressing Ctrl and Z simultaneously will delete any mistake that you want to discard.
  5. Using the default Pen option will provide you with the best path results.

Conclusion

Whether it’s for personal or professional use, a clipping path ensures standard quality editing. If you follow our guidelines on how to make a clipping path a layer in Photoshop, you should be able to remove the background from an object in no time. The smooth clipping will allow you to get the other edits done properly, too.  Thus making your pictures stand out in the bunch without any second  doubts. Just get yourself accustomed to the pen tool, and the remaining steps for the clipping path layer in Photoshop should feel like a piece of cake!

FAQ's

Frequently Asked Questions

Faqs
What is a clipping path in Photoshop and why is it important for image editing?

A clipping path in Photoshop is a vector path used to isolate objects from their background. It is essential for creating clean, professional images, especially for eCommerce product photography and marketing visuals.

How do beginners create a clipping path using the Pen Tool in Photoshop?

Beginners can create a clipping path by selecting the Pen Tool, carefully tracing around the object, closing the path, and converting it into a selection. This method ensures precise background removal and high-quality edits.

What is the difference between clipping path and clipping mask in Photoshop?

A clipping path uses vector paths to cut out an image, while a clipping mask uses layers to control visibility. Clipping paths are ideal for precise selections, whereas clipping masks are better for non-destructive editing.

How can I improve accuracy when creating clipping paths in Photoshop?

To improve accuracy, zoom into the image, use fewer anchor points, enable the rubber band option, and adjust paths with the Direct Selection Tool. These techniques help create smoother and more professional results.


  • Facebook
  • Share on X
  • LinkedIn
  • WhatsApp
  • Email
  • Copy Link
(Visited 73 times, 10 visits today)

Post navigation

< Previous
Next >

Leave a Reply Cancel reply

You must be logged in to post a comment.

Top Services:

  • Clipping Path Service
  • Car Image Editing Service
  • Ghost Mannequin Service
  • Product Photo Editing Service
  • Multiple Clipping Path Service
  • Ghost Mannequin Service
  • Color Change Service
  • Drop Shadow Service
  • Color Change Service
  • Photo Editing Service
  • Image Masking Service

Popular posts:

  • How to Move Eyes in Photoshop and Online ToolsHow to Move Eyes in Photoshop and Online Tools
  • See Through Cloth In Photoshop − Best PracticeSee Through Cloth in Photoshop − Best Practice
  • How to Clip in GIMP: Step-by-Step Guide to Clipping…Step-by-Step Guide to Clipping Mask & Image Editing
  • How to Reverse Video in Photoshop: Photoshop GuideHow to Reverse Video in Photoshop
  • How to Export Photoshop Actions in 2025How to export Photoshop actions
  • How to Create an Alpha Channel in Photoshop?clipping path service Feature
  • How To Fix A Lazy Eye In Photoshop 2025Lazy Eye Problem Here’s What to Do,
  • How to Fix a Dark Polaroid Picture? Easy Solution to…How to Fix a Dark Polaroid Picture?
  • 10 Professional Photo Manipulation Artists You Must FollowPhoto-Manipulation-Artists
  • How to Swap Eyes in Photoshop? All-Inclusive Guide How to Swap Eyes in Photoshop

Recent Post

  • Mastering Flat Lay Clothing Photography: A Step-by-Step Guide
  • How to Use Clipping Path After Effects in 5 Easy Steps
  • Merge Photos with Graphics
  • 5 Must-Have Effective Photo Editing Tools
  • What is the Importance of Clipping Path?

Categories

  • Photo Editing
  • Tutorial

About CCI

Here, every pixel tells a story. We offer our unparalleled service and invest our most talented minds at your solution whether you are a photographer or an agency.
We are the gateway to exceptional photo editing services!

Get Your Quote

Quick Menu

  • About Us
  • Services
  • Blog
  • Terms and Conditions
  • Privacy & Policy

Payment Method

  • PayPal
  • Stripe
  • Western Union
  • Skrill
  • Payoneer
  • Wise

Get In Touch

+8801715-491890

hello@clippingcreationsindia.com

Canada Office: 1401-2900 Carling Ave. Ottawa, ON, K2B 7J6

India Office: C-20, Lajpat Nagar 3, New Delhi, Delhi 110024, India

Bangladesh Office: 15 Bijoy Nagar, Abdur Rouf Tower (6th Floor), Dhaka – 1000, Bangladesh

Copyright © 2012 - 2026 Clipping Creations India | All rights reserved.

  • facebook
  • twitter
  • instagram
  • pinterest
  • linkedin

Live Chat