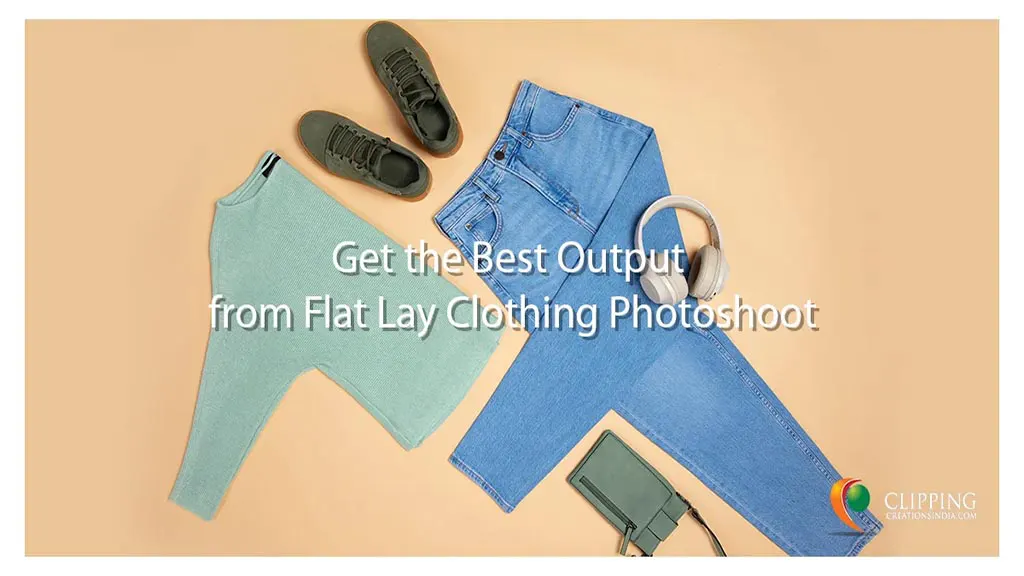
Flat Lay Clothing Photography Setup − A to Z Guide
- September 6, 2025
An overhead-style flat-lay clothing photography setup was once a go-to technique for rising entrepreneurs and small e-commerce businesses because it was manageable and frugal. Now, flat-lay clothing photography has become much more complicated, popular, and elegant. But how?
This particular photography style was mainly popularized by online businesses and startups on various social media platforms like Facebook, Instagram, Pinterest, etc. What used to be a simple, cheap technique rapidly grew thanks to people’s creativity and technological advancement.
In this article, I’ll provide a comprehensive guide to flat-lay clothing photography, covering all the equipment and techniques you may require for your setup. I’ll also give you some tips for swiftly mastering this method.
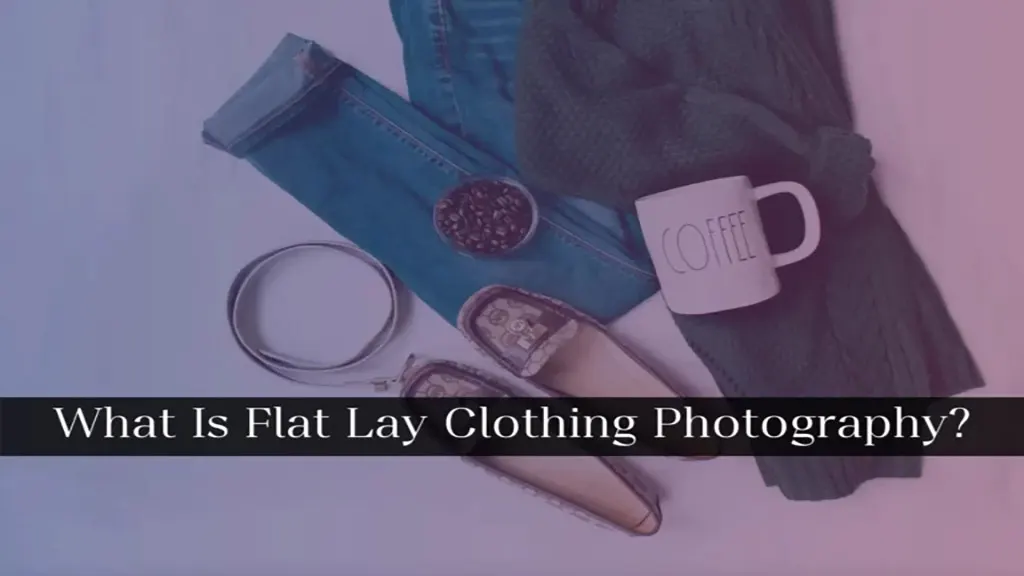
What Is Flat Lay Clothing Photography?
Flat-lay clothing photography is exactly what it sounds like. The term “Flat Lay” refers to the arrangement of products on a flat surface, such as a table or a floor, and photographing them from above.
This style of photography is also called overhead photography or bird’s-eye-view photography by some. But these terms don’t fully cover its concept.
In the authentic flat-lay photography trend, you’re not allowed to put the subjects even slightly inclined. This particular style aims to create a visually appealing composition that showcases your products in an attractive way to the buyer.
It also allows you to showcase multiple items at once. The method is especially useful for online retailers who want to showcase their products without a live model or mannequin.
History of Flat Lay Photography
Believe it or not, flat-lay photography has been around for decades. But as I said earlier, it wasn’t until the advent of social media that it really took off as a popular style of product photography.
It originally came as a means of aesthetic photography. For instance, can you think of any better ways of showcasing a collection of stamps, coins, or colorful shells? Probably not.
Small business owners soon picked up on this technique because it didn’t require hiring models, making it quite cheap and manageable. As social media platforms and online businesses became popular, this trend became more diverse.
People soon realized they could showcase large collections with just one picture using different, highly appealing ways. With better equipment, decoration, and setup, the method got better and better with time.
Creating a Flat Lay Clothing Photography Setup – Step By Step
If you’re a business owner with little to no photography skills, then starting with flat-lay clothing photography may be easier if you follow the instructions below. Let’s dive in.
Select a Flat Surface
This step is quite straightforward: find a large enough flat surface. The surface should be large enough to house your clothing products.
Also, ensure the surface is located somewhere spacious if you have a decent amount of photography equipment. You might also need to move things around a lot, including yourself, to find the correct angle.
So, choosing a roomy area is more important than it seems. Although not mandatory at all, people sometimes use backlit tables as their surface, which greatly complements this photography style.
Choose the Proper Lighting Arrangement
Lighting is an important aspect of flat-lay photography, as it can greatly affect the look and feel of your photographs. With lighting, you can go two ways, basically.
If you don’t have the budget for advanced lighting equipment, then you should opt for a lot of natural light. Natural light can give your photographs a more natural and flattering look while making them appear very welcoming.
But one thing natural light can’t give you is consistency. That’s why, if you have the budget, I suggest getting appropriate lighting equipment.
Lighting arrangement won’t only make your pictures appear brighter, but it’ll also set the mood and complement the background.
Set Up the Background
Your background should complement your lighting arrangement and vice versa. Also, a correctly chosen background will make your clothing products more visible and attractive.
To make the products more apparent, set the background color in such a way that the colors of the product strongly contrast with it.
If you have a particular theme in mind, your background can help bring the right vibe. For a Halloween sale advertisement, you may want a deep background and shadowy lighting for a spooky look. In contrast, a red-and-white background with bright light will suit a jolly Christmas theme better.
Create a Set to Showcase
Flat-lay photography lets you showcase many items in a single picture. But that doesn’t mean you can throw in everything you have in the same photo. A more sophisticated approach will be creating sets of items that complement each other and provide a cohesive look.
You should also consider the colors, textures, and patterns of the clothing items, as these can greatly affect the overall look of your photographs.
Arrange the Product Set
Once you’ve decided which products to showcase, you’ll need to determine how you’ll present them. Product arrangement is closely tied to a photo’s aesthetics and must be done meticulously.
There are no hard-and-fast rules for arranging your clothing, but aim to create a visually appealing composition that showcases each item in the best possible way.
Add More Depth
You can use different colored layers of background along with various props to emphasize a theme and make your photos more eventful and appealing.
While adding props isn’t mandatory, using them correctly can take your photos to a whole new level. Using props is a sensitive matter, as their misuse can make your photos look crowded and overwhelming. Also, they need to be arranged so they don’t take the focus away from the main product.
Capture Your Creation
Once you have arranged your clothing items, you can start photographing them. You should keep your camera steady and ensure that your photographs are sharp and in focus. And be sure to also experiment with different angles and compositions to find the one that works best for your clothing items.
Finalize the Photos With Post-production Editing
Post-production editing is what gives most flat-lay photos found on the internet an elegant and sophisticated look. Professional-level editing actions like brightness and contrast adjustment, light and color correction, and retouching can enhance the look of a poorly captured photo. You can also fix minor light flares and blemishes in the process to make the photos appear pitch-perfect.
What Equipment Will You Need for Flat Lay Photography and Its Price Range
In this section, I will inform you about all the required equipment for a flat-lay clothing photography setup, including why you need each item and its price range.
A Good Quality Camera
Flat-lay photography can be done with an exceptionally cheap setup, which includes a simple mobile phone with a decent camera and a tripod. But if you wish to look more professional and sophisticated, I’d suggest investing in a quality camera.
With a good budget, you can go for a DSLR camera or a smartphone camera with a high megapixel count for your flat-lay photography venture.
A DSLR camera provides more control over the camera settings and produces higher-quality images, while a high-quality smartphone camera will produce high-definition AI-processed images. This makes using smartphone cameras highly convenient and easy to use.
You can find DSLR cameras ranging from $200 to over $1000. Similarly, a high-quality camera smartphone like the Google Pixel 6 or iPhone 12 can be bought for $300-$700, depending on the phone’s specs.
Backdrop Materials and Props
You can use a white or colored paper or cloth backdrop or use textured materials like wood or marble. How you will furnish your backdrop depends entirely on your creativity. It’s possible to create an attractive, eye-catching backdrop for less than $20. Just use simple props that are available to you.
Lighting Equipment
Although natural light should always be the preferred choice, you can buy simple lighting equipment, such as a ring light or a softbox, to gain exceptional control over your setup.
The price range for lighting equipment can vary widely, depending on the type and size you choose. You can find affordable ring lights or softboxes for under $50, and more expensive options can cost up to several hundred dollars.
Tripod or Stands
A tripod or stand is necessary to mount the camera and take steady photos without any camera shake. You can find affordable options between $20 and $50, while more professional-grade tripods can cost up to $100.
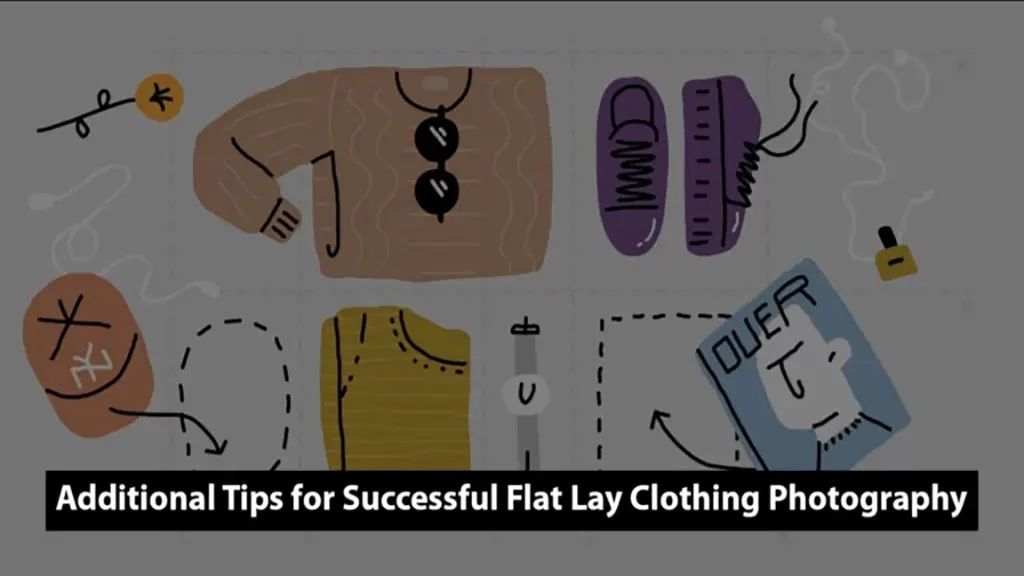
Additional Tips for Successful Flat-Lay Clothing Photography
Creating an aesthetic flat-lay clothing photography setup can be challenging, especially if you don’t have enough experience with cameras. Here are some tips that can help you achieve a satisfactory result.
Iron the Clothing Items Beforehand
Don’t put wrinkly items in the frame. Iron your clothes beforehand to achieve a clean, sharp look.
Expand Your Frame
You should include more space within the frame while capturing. This will provide you with more freedom while editing in post-production.
Use a Variety of Angles
Experiment with different camera angles to create more interesting and dynamic shots. This can be achieved by slightly tilting your camera in any direction and changing your position. Using a combination of different angles can help create a more diverse and interesting set of photos.
Capture a Good Amount of Photos
It’s better if you have a good number of options to choose from for your final result. This will come in handy if you don’t have enough understanding of camera angles and frames. Just click a lot of different photos, and one of them must come out in good condition.
Utilize Lower Angle Lighting
One of the challenging aspects of flat-lay photography is adding depth and a 3D vibe to your photo. A good solution for this is incorporating a lower-angle lighting setup.
And a lower-angle lighting setup will emphasize the shadows from the wrinkles of your product. These shadows will give more depth and realism to your photos by highlighting the textures and details of the garments.
Use the Appropriate Camera Settings
To achieve clearer product photos, it’s recommended to use an ISO of 200 or lower. Additionally, using a fast shutter speed and a higher F-stop, which results in a smaller aperture opening, can help create sharper photos.
Final Words
If you have an online clothing business, whether it’s an e-commerce site or a social media-based business, a flat-lay clothing photography setup can be your go-to for representing your brand.
This method captures the intricate details of the clothing and accessories, including the fabric texture, prints, and embellishments.
Also, a flat-lay photography setup can be created with minimal investment in equipment and can be done at home, making it a cost-effective option for small businesses and independent sellers.