Photoshop Glow Effect: Get the Best Photoshop Retouch
- April 2, 2025
Applying a glow effect in Photoshop imparts a soft radiance that enhances the visual appeal and professional quality of your images. Adobe Photoshop tools allow you to effortlessly improve lighting, emphasize key subjects, and achieve a refined finish. This effect makes your images stand out, whether for natural edits or commercial purposes. This tutorial guides you through effortlessly applying a stunning glow effect using straightforward steps.
What Is the Photoshop Glow Effect?
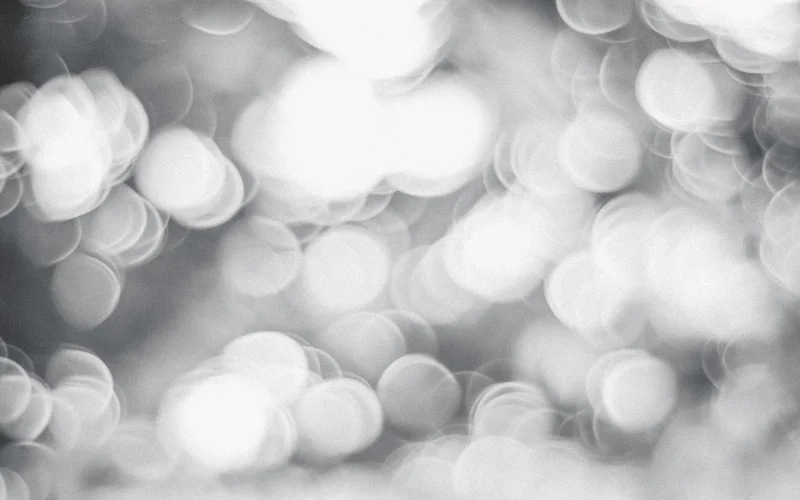
The Photoshop Glow effect is a versatile tool that you can use to add more vibrance to your images. It’s perfect for adding extra spices to your images and is easy to use. Add a glow-layer style to your photo and find the difference yourself. This Layer will give your image a soft, dreamy glow. You can modify the tone and strength of the polish to match your preferences.
The Photoshop Glow effect is a magnificent way to bring a cinematic vibe to your photos and is effortless. Give it a try! Unlike other impacts of Photoshop, you can complete it with just a few simple steps. At least we are providing a more straightforward method for this glowing effect so that you can make a habit out of it.
How to Use the Glow Effect
You can use the Glow effect in Photoshop to add extra shimmer and shine to your photos. The glow effect is an effective way to make your images look more natural and competent.
Here’s how to do it:
- Open the photo you want to add to the Photoshop glow effect.
- You have to select the Layer where you want the glow effect.
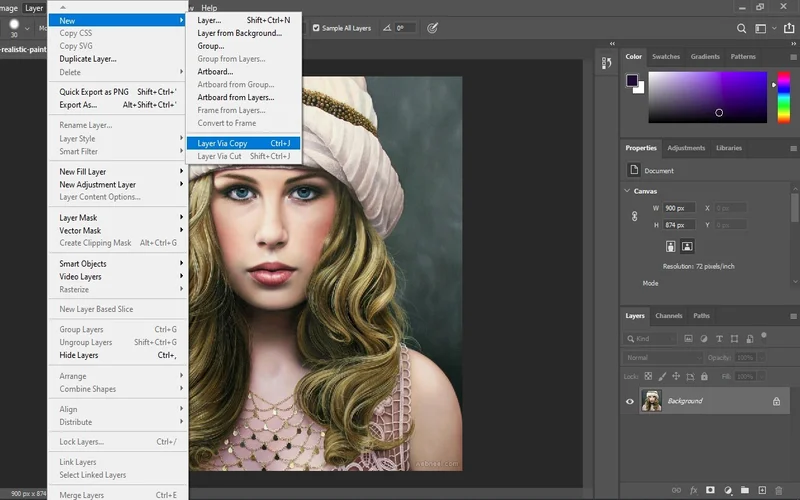
- Select Layer> New > Layer via Copy. Or, you can also press (Ctrl+J) on your keyboard. Layer via Copy will create a copy of the Layer you selected.
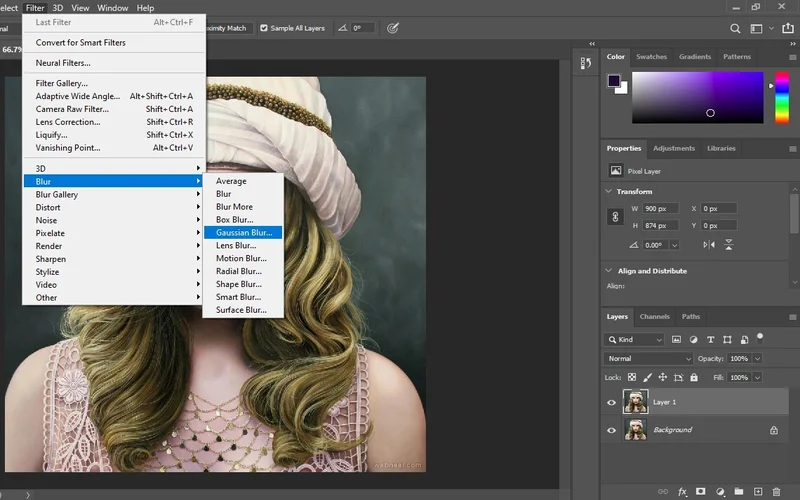
- Select the Layer copy and go to Filter > Blur > Gaussian Blur.
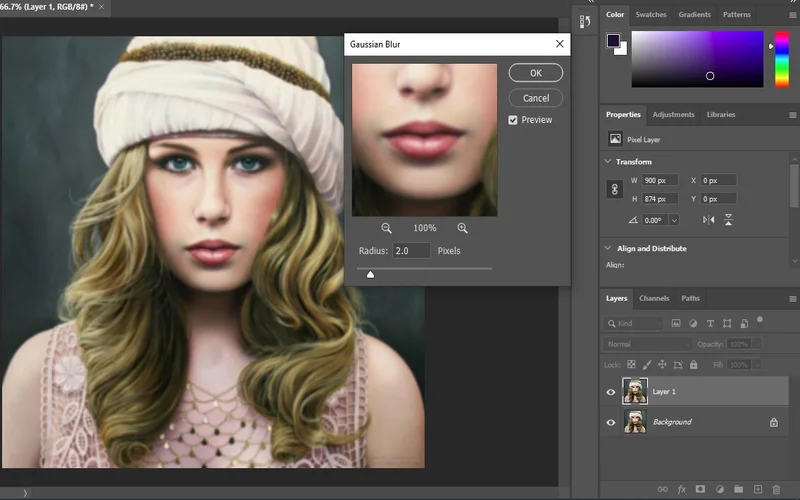
- Enter a radius of about 2-3 pixels.
- Click OK.
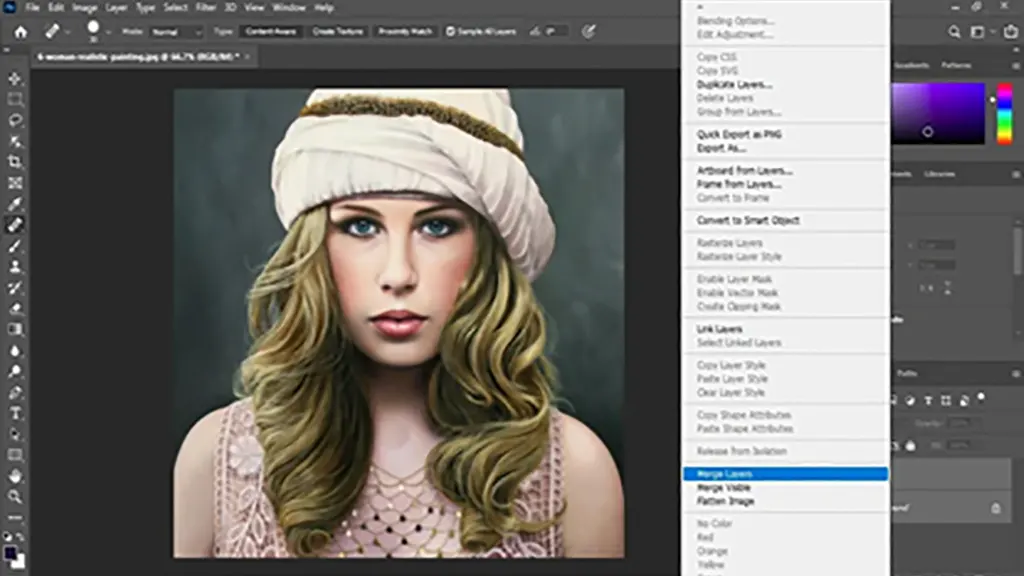
Select the original Layer, go to Layer> Merge Down, or press Ctrl+E on your keyboard.
You may need to adjust the radius depending on the photo you’re working on at present. Wander over a little bit until you finally have the end result of your preference.
Tips for Using the Glow Effect

When it comes to using the glow effect in Photoshop, there are a few things to keep in mind:
- Anyone should use the Photoshop glow effect If you use it too much, your photos will look dated and over-the-top.
- The glow effect works best with photos with a lot of contrast. This result is because the product is most visible against a dark background.
- Use the glow effect to enhance your photos, not to cover up mistakes. If there are errors in your image, the glow effect will only make them stand out more.
When to Use the Glow Effect
You can use the Photoshop glow effect to enhance your photos in several ways. Follow these quick tips on when you should board in with Glow Effect.
- Use this effect to create a soft, romantic look.
- Helps to add some atmosphere to your photos.
- Use it to make your photos more festive or celebratory.
- Make your photos more dramatic or eye-catching.
- Create a dreamy or ethereal look.
- Add extra interest or intrigue to your photos.
How to Choose the Right Photoshop Glow Effect
Now that you know all about the different types of glow effects, it’s time to learn how to choose the right one for your photo. Here are a few tips:
First, consider the overall tone of your photo. For example, a warm glow effect will work well with pictures with a natural or earthy feeling, while a cool or icy glow effect will be more suited to images with a more modern or futuristic vibe.
Next, imagine the atmosphere you want to create with your photo. For example, a soft glow effect can create a dreamy or romantic feeling, while an intense glow effect can create an energetic or exciting feeling.
Read more: How to Create an Alpha Channel in Photoshop?
Finally, always experiment and try out different effects until you finally have the output that syncs in the best way with your photo.
The Best Photoshop Glow Effect Tutorials
To learn how to use the glow effect to enhance your photos? Well, you’re in luck! There are tons of great tutorials that can teach you how to achieve the perfect glow.
Here are a few of our favourites:
- This tutorial by We Photoshop Effects is a great place to start. It’s easy to implement and will guide you through the basics of using the glow effect in Photoshop.
- This tutorial by Photoshop Star is a little more advanced, but it will show you how to add a beautiful soft glow to your photos.
- If you’re looking for a subtle glow, this tutorial by PicsArt is worth checking out.
- This tutorial by Creative Bloq is a little more complex, but it will teach you how to create amazing light effects using the glow effect.
- Finally, this tutorial by Photoshoptutorials7 is a great way to end things. It’s a little more challenging, but it will show you how to create an incredible glow effect perfect for weddings or other special occasions.
Conclusion
The Photoshop Glow effect can make your photos look more dramatic and stunning. It significantly affects portraits, landscapes, and other types of images. You can add a sparkle of glamour and climax to any photo. But, of course, using Photoshop’s glow effect is more leisurely. However, as a beginner, you can always begin with our easy tutorial that involves more straightforward methods. Our guide has shown you how you can use this effect to enhance your photos. We also provided you with a few tips on how to have an excellent result. Of course, if you need professional support with Photoshop, you can always count on experts like CCI. Besides providing clipping services, we are also providing regular tips on Photoshop. Stay in touch with our blog section.
